
Whats in my studio?

Im sharing all of the things I keep in my micro-printmaking studio!
Think you need a large studio with endless space? Think again! Ive had great success just by printing in a micro studio — hardly any room, but I’ve managed to make things work. Don’t get me wrong, I would SO take a custom studio with windows on all sides, including skylights…and room for all of my equipment — but thats still a dream in-the-works. The most important thing here -for me- isn’t aesthetics but my work itself. My prints at the end of the day matter the most to me. Do you also relate to this? If so, get cozy and stick around for a bit — I’ll be sharing what I use, my tools, my drying set-up and whatever else! Yes, the music will be loud, always.
Remember, if you are just starting out..don’t worry about having it all. These things take time :)
My most trusted tool, my Iron Frog Press glass baren
Like many printmakers, I print by hand — which means I do not use a press to pull my prints (one day). For now, I print by hand using this glass baren made by Iron Frog Press. I highly recommend their products—made for us printmakers by a printmaker. His tools are tried and tested. Ive personally had this glass baren for close to 3 years now and it’s been amazing to have in the studio. Hand-burnishing is a love language :) I also use wooden spoons, smaller spoons, and sometimes my own hands! What I love about this specific glass baren is the fact that it’s smooth, works well with thin papers, and really produces a clean print. Hand burnishing can be tiring, but not with the right tools. I print very large (which can really break out a sweat)…this glass baren really takes the complicated bits away. It has the right amount of weight, very ergonomic, and easy to hold which is a plus if you ask me. Anything that makes working with my hands a little easier will always grab my attention.
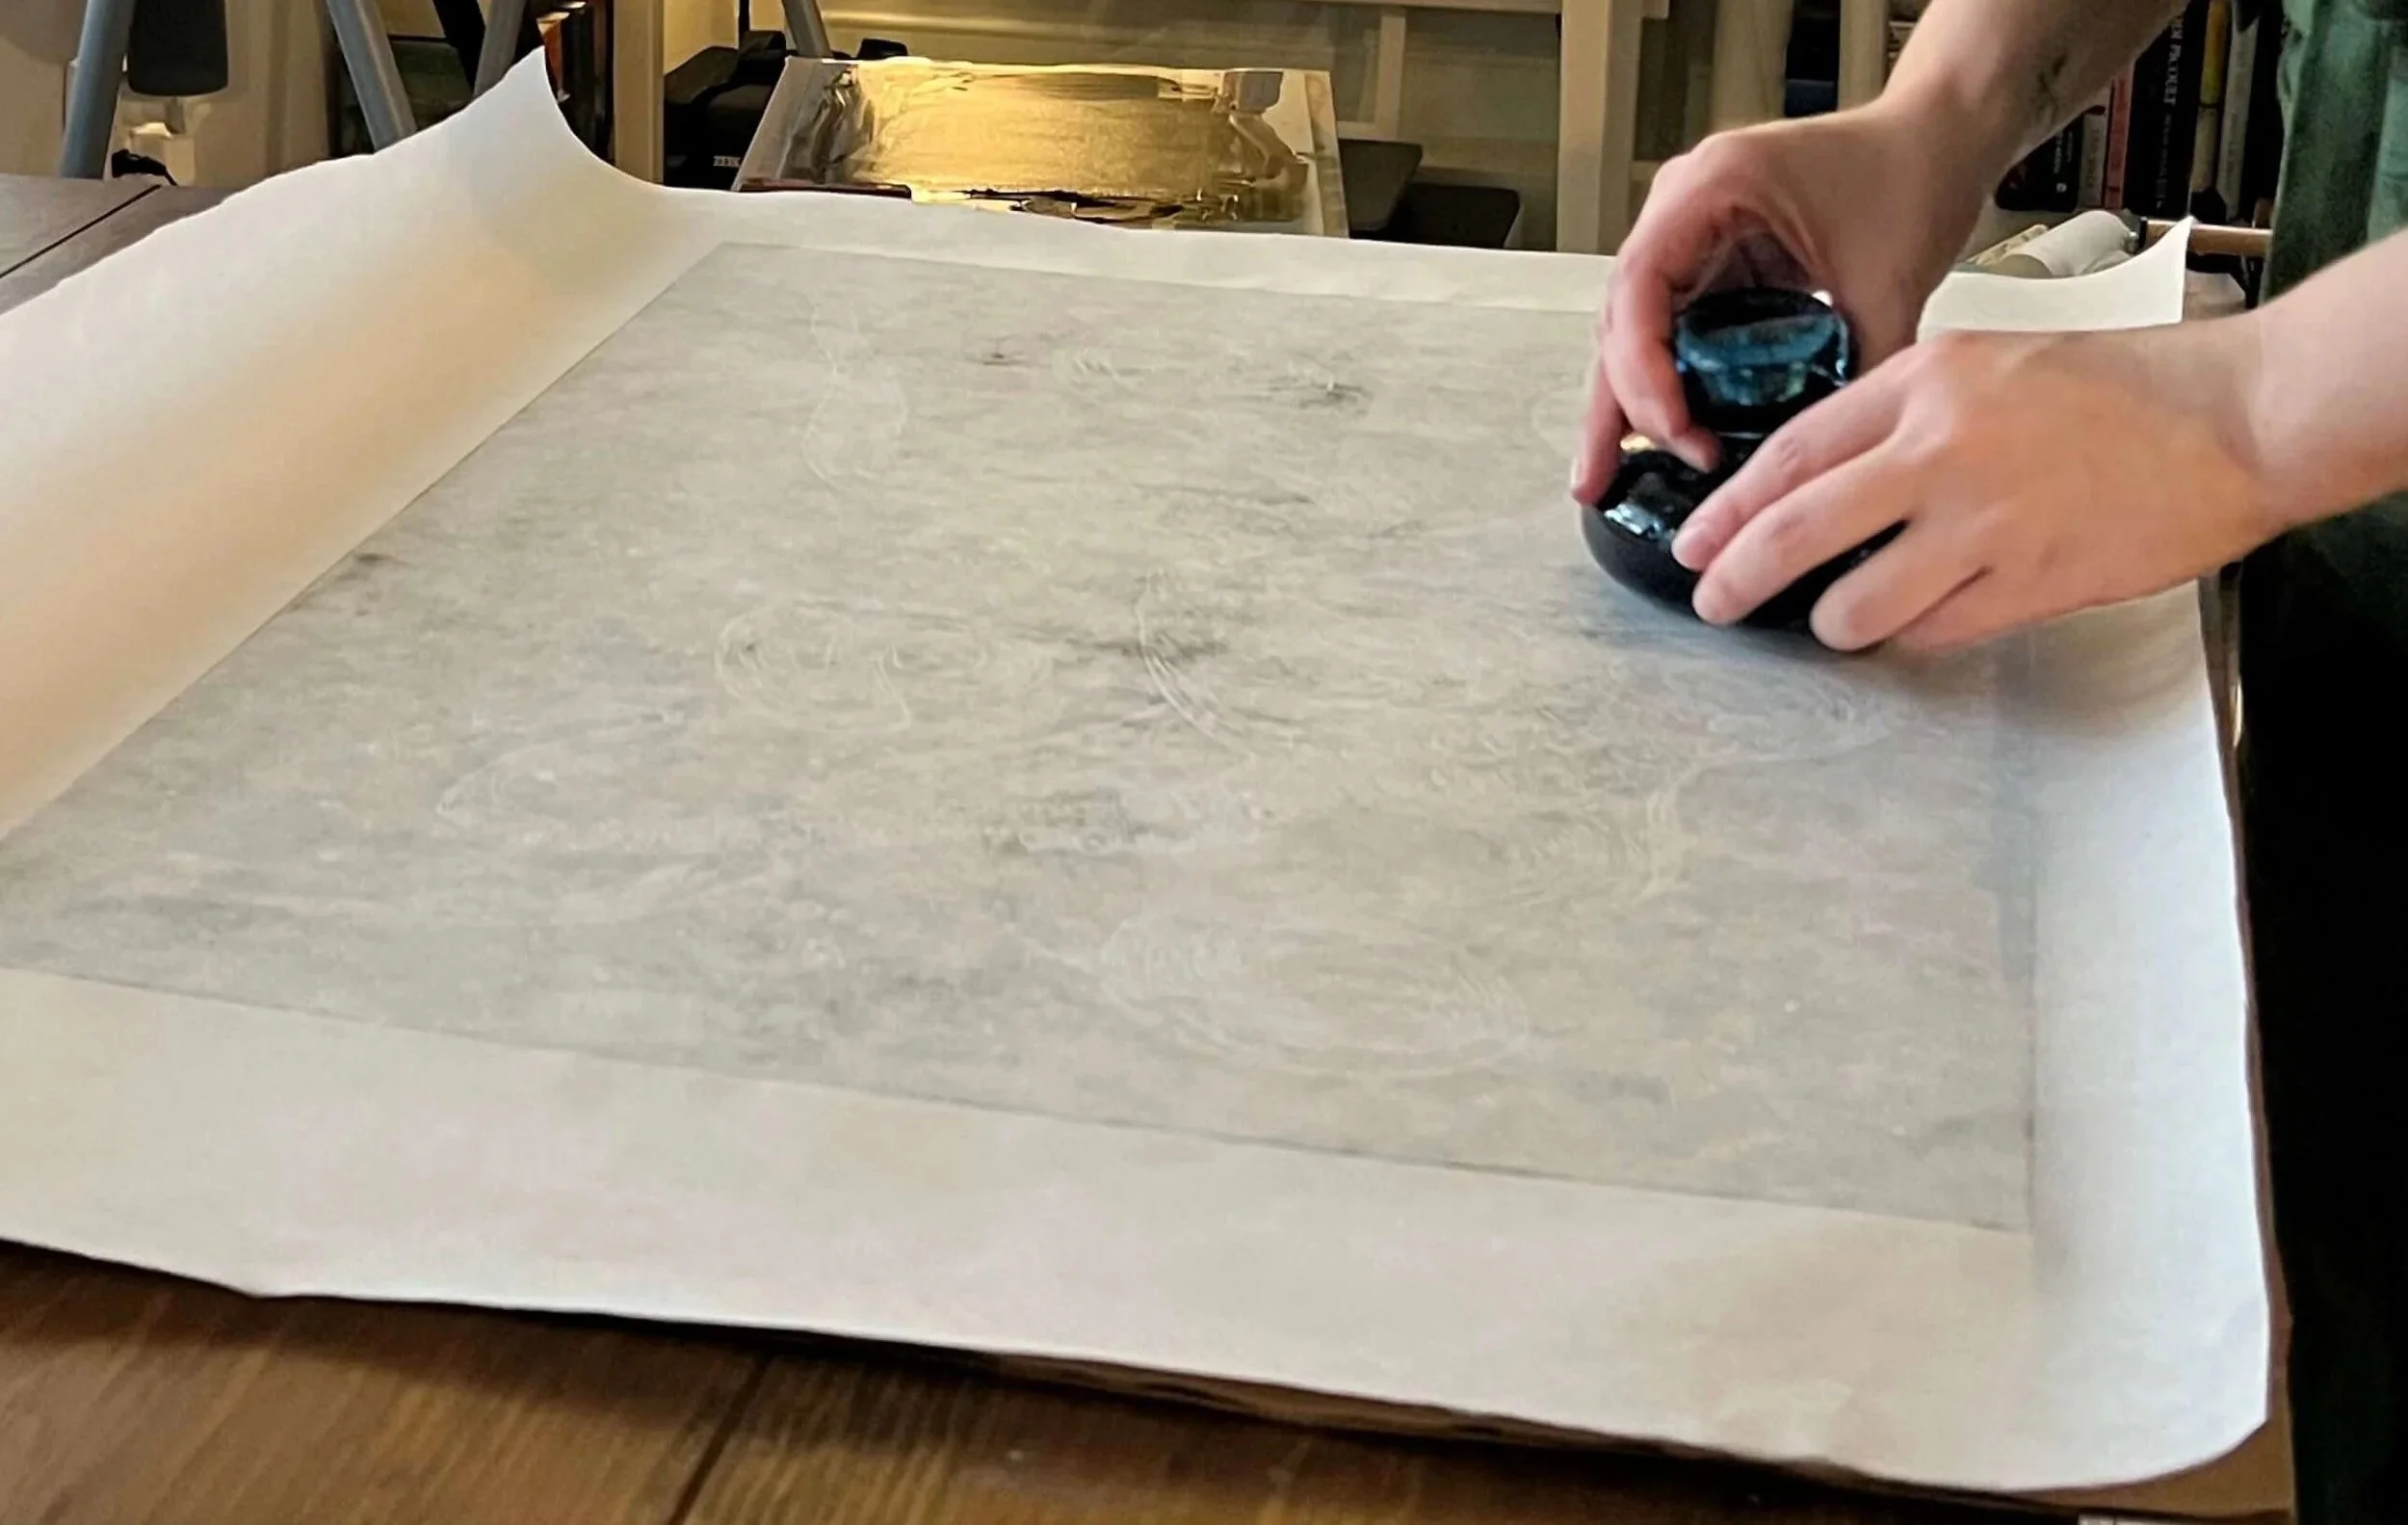
My glass baren in action — this print was large! 18”x24’’!
Be sure to experiment with different papers — you wont know what you like until you sample a few!
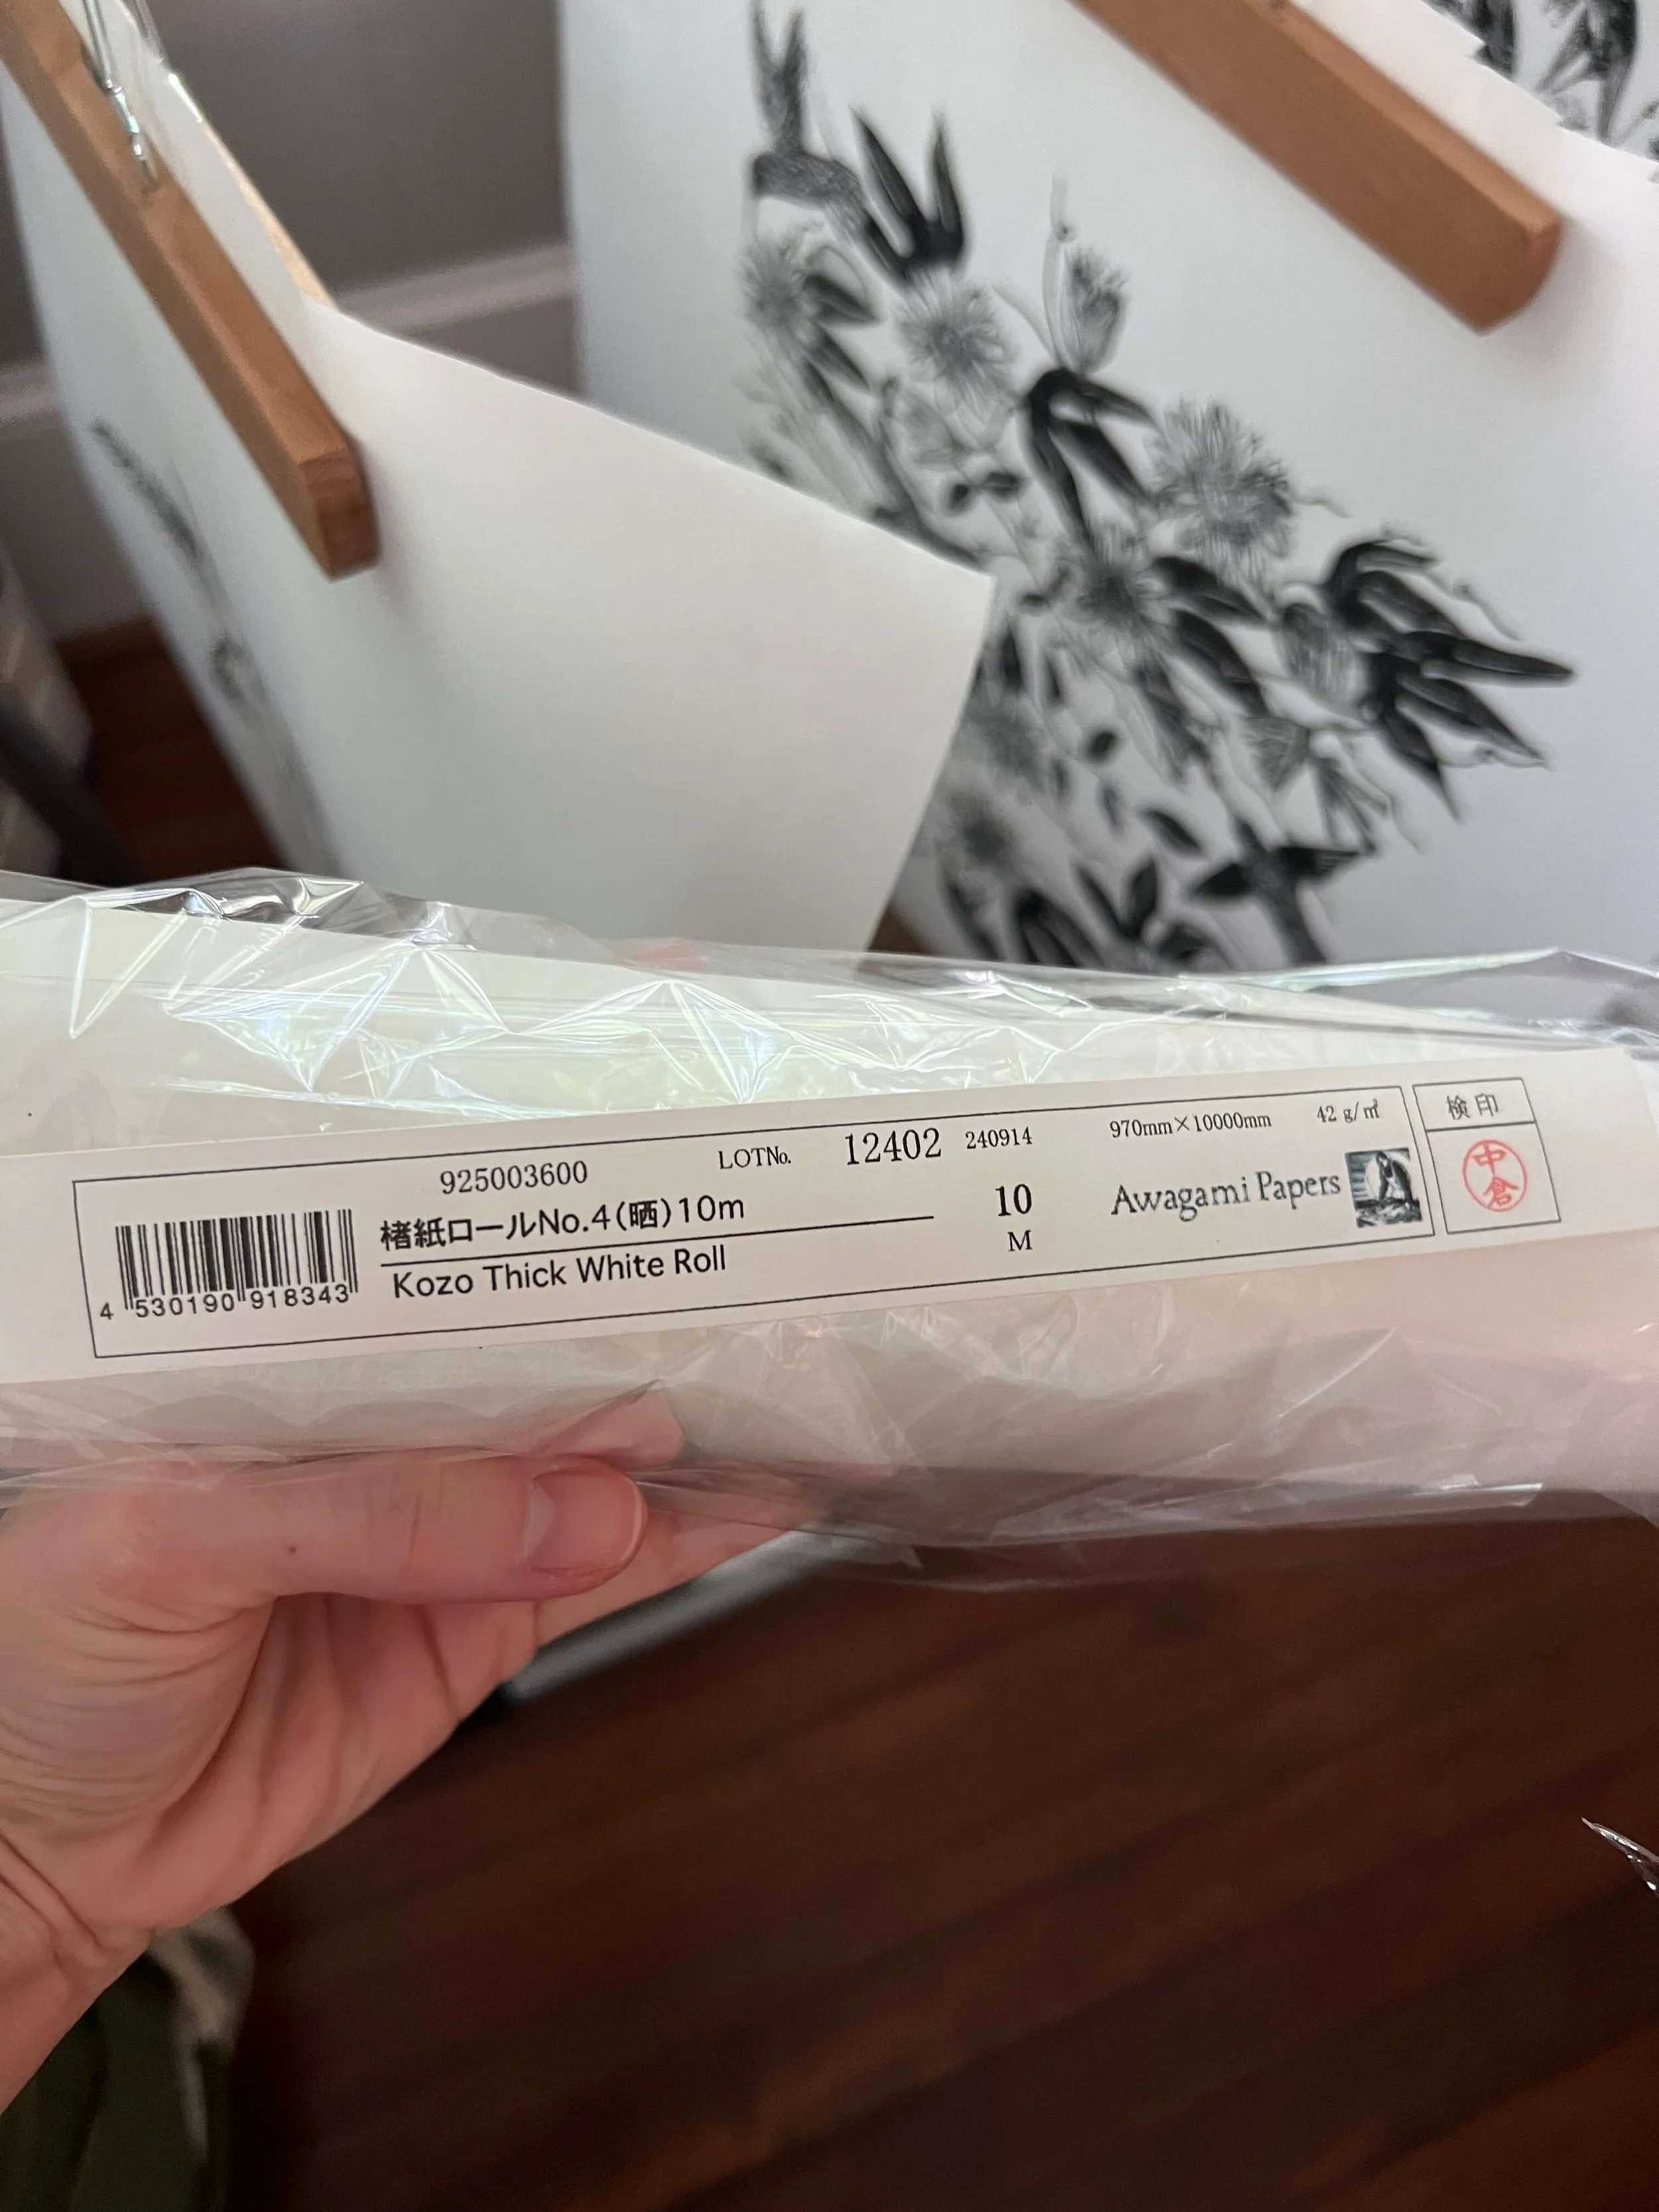
I only use Japanese Awagami Kozo paper — this paper is amazing.. delicate, yet strong and made by hand in Japan using techniques passed down generation after generation. This paper is also sustainable; I highly encourage you to read about this amazing company and all of the wonderful products they offer. I keep my paper clipped to wooden hangers on a drying line — this keeps each sheet flat and away from anything that could damage them. I sometimes keep my Awagami rolls behind my desk but that can be a pain to uncurl the paper when printing; this method prevents the curl and endless paper weights. I also use this method when drying my prints but will talk more about that below. I also like this paper because of how lightweight it is, (46 gsm), which is perfect for hand-burnishing. Anything with a heavier weight will be rather difficult to produce a clean print (take it from me). Thats the con about not having a printing press - you are sort of limited with the paper you can use. Even though this paper is thin and light, its incredibly sturdy and tear-resistant. I highly encourage you to give this a try!
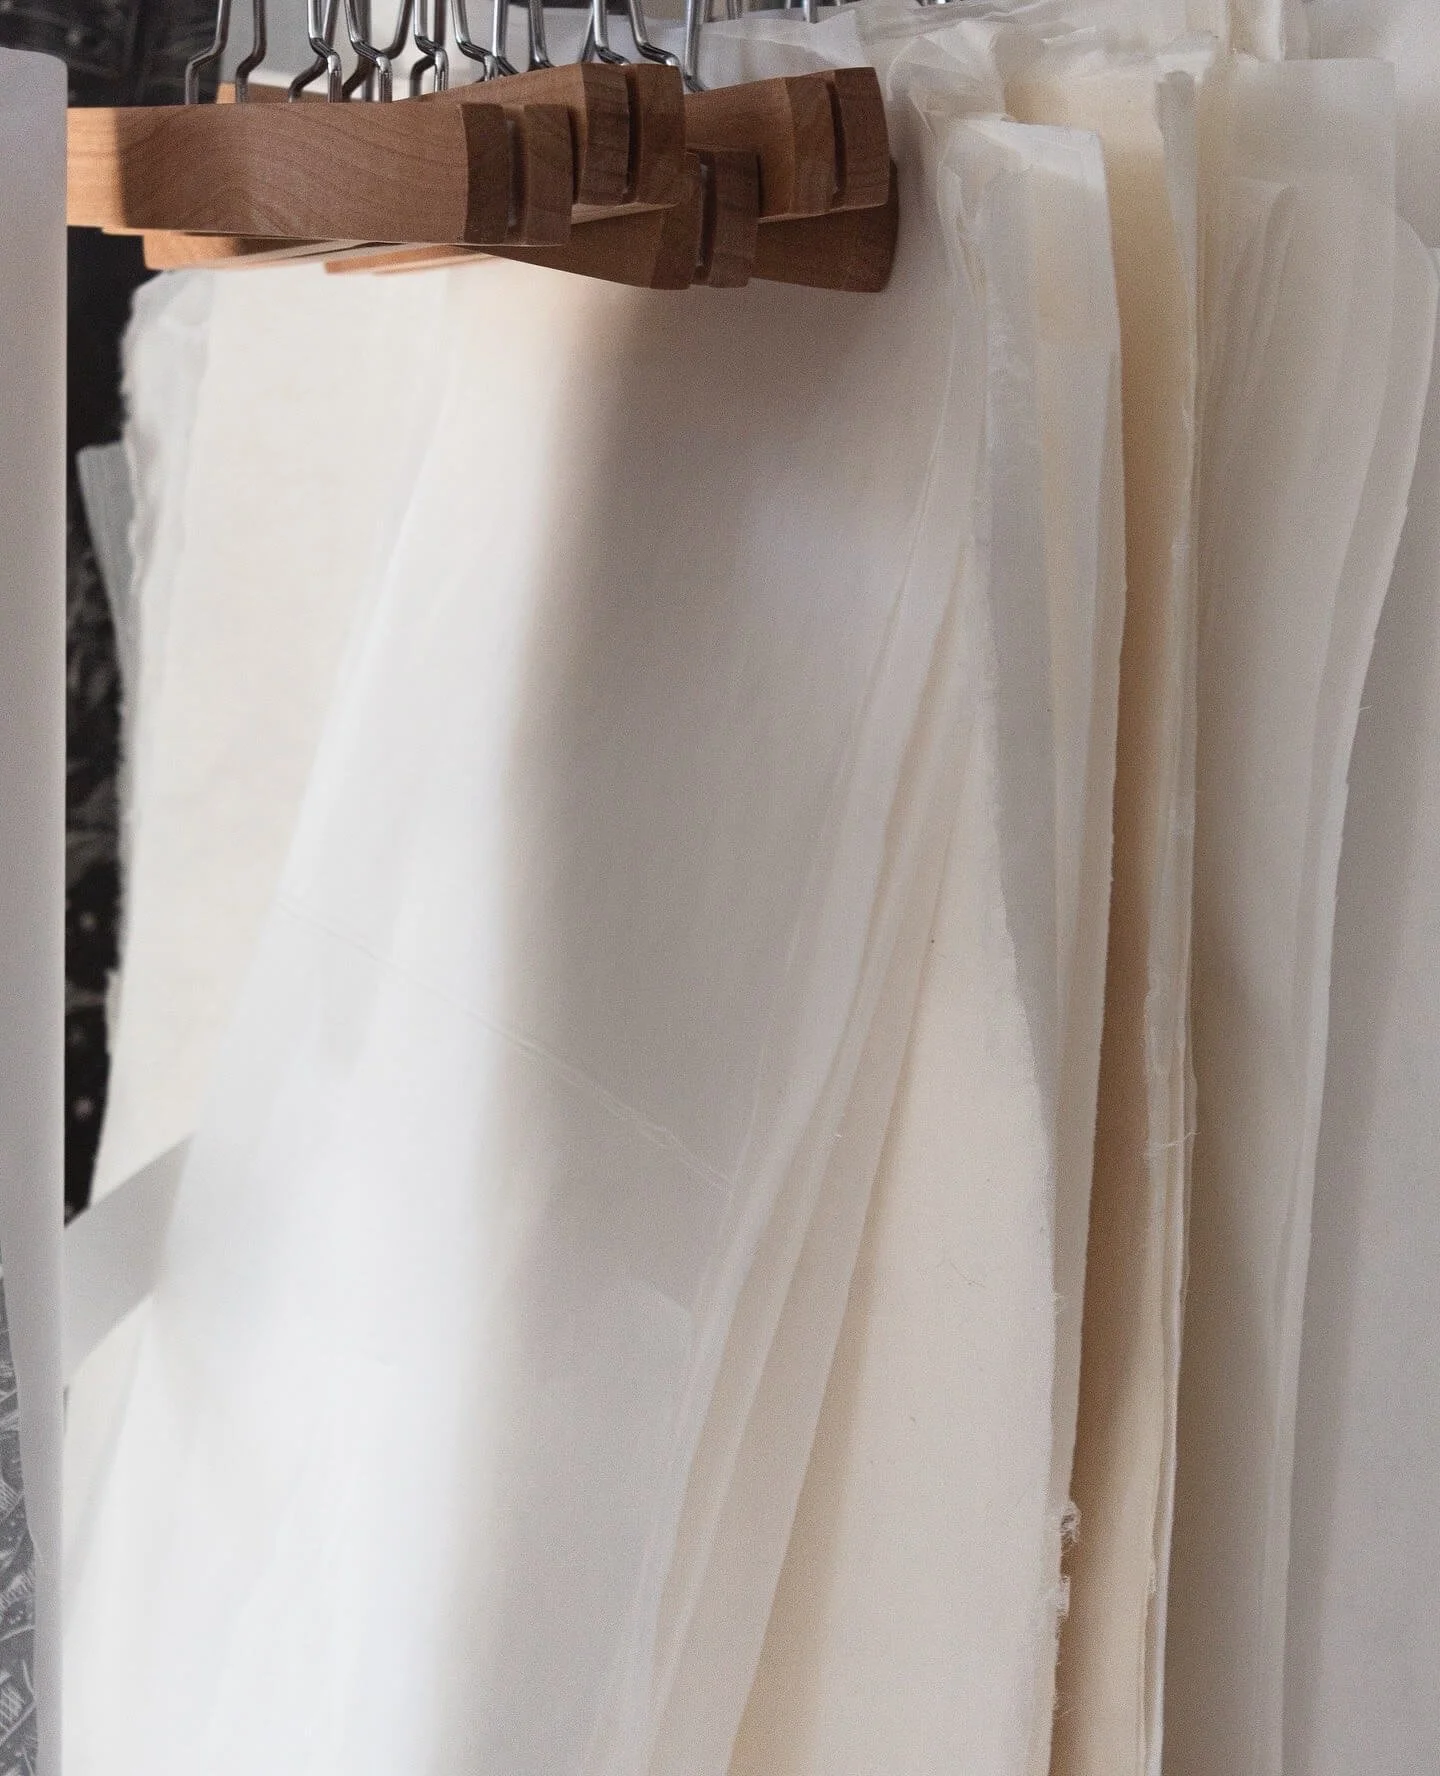
My favorite way to store Awagami Kozo paper
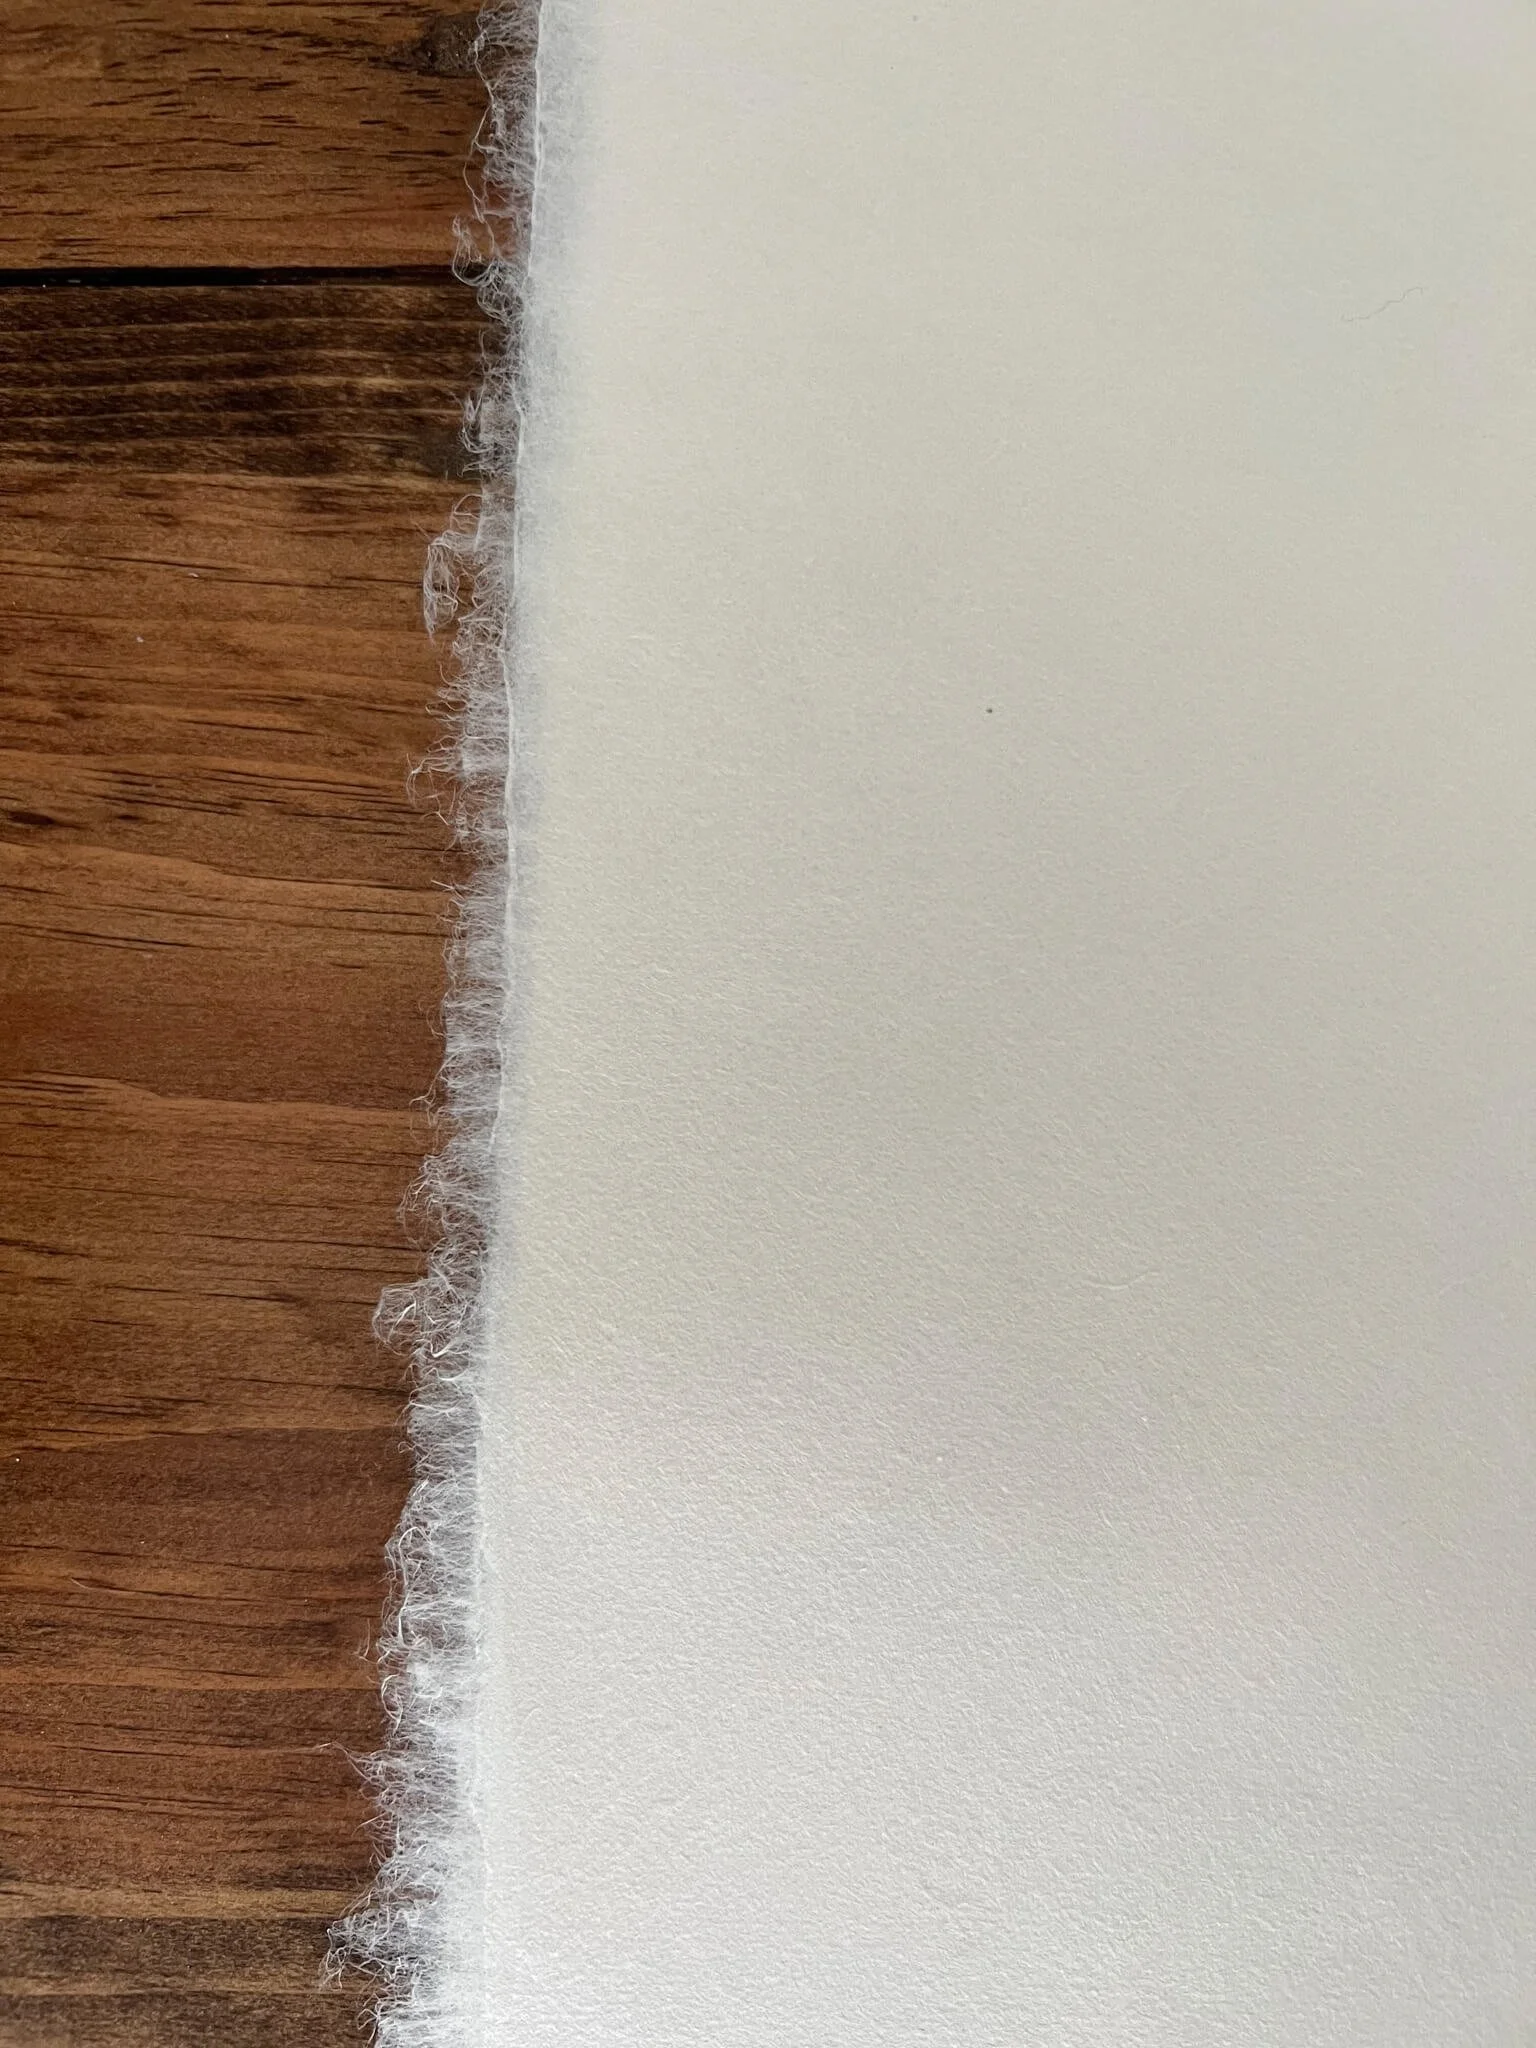
The fibers and textures of Awagami Kozo paper
This paper is swoon-worthy; look at those textures!
Japanese Awagami Kozo paper is top-tier for hand printing
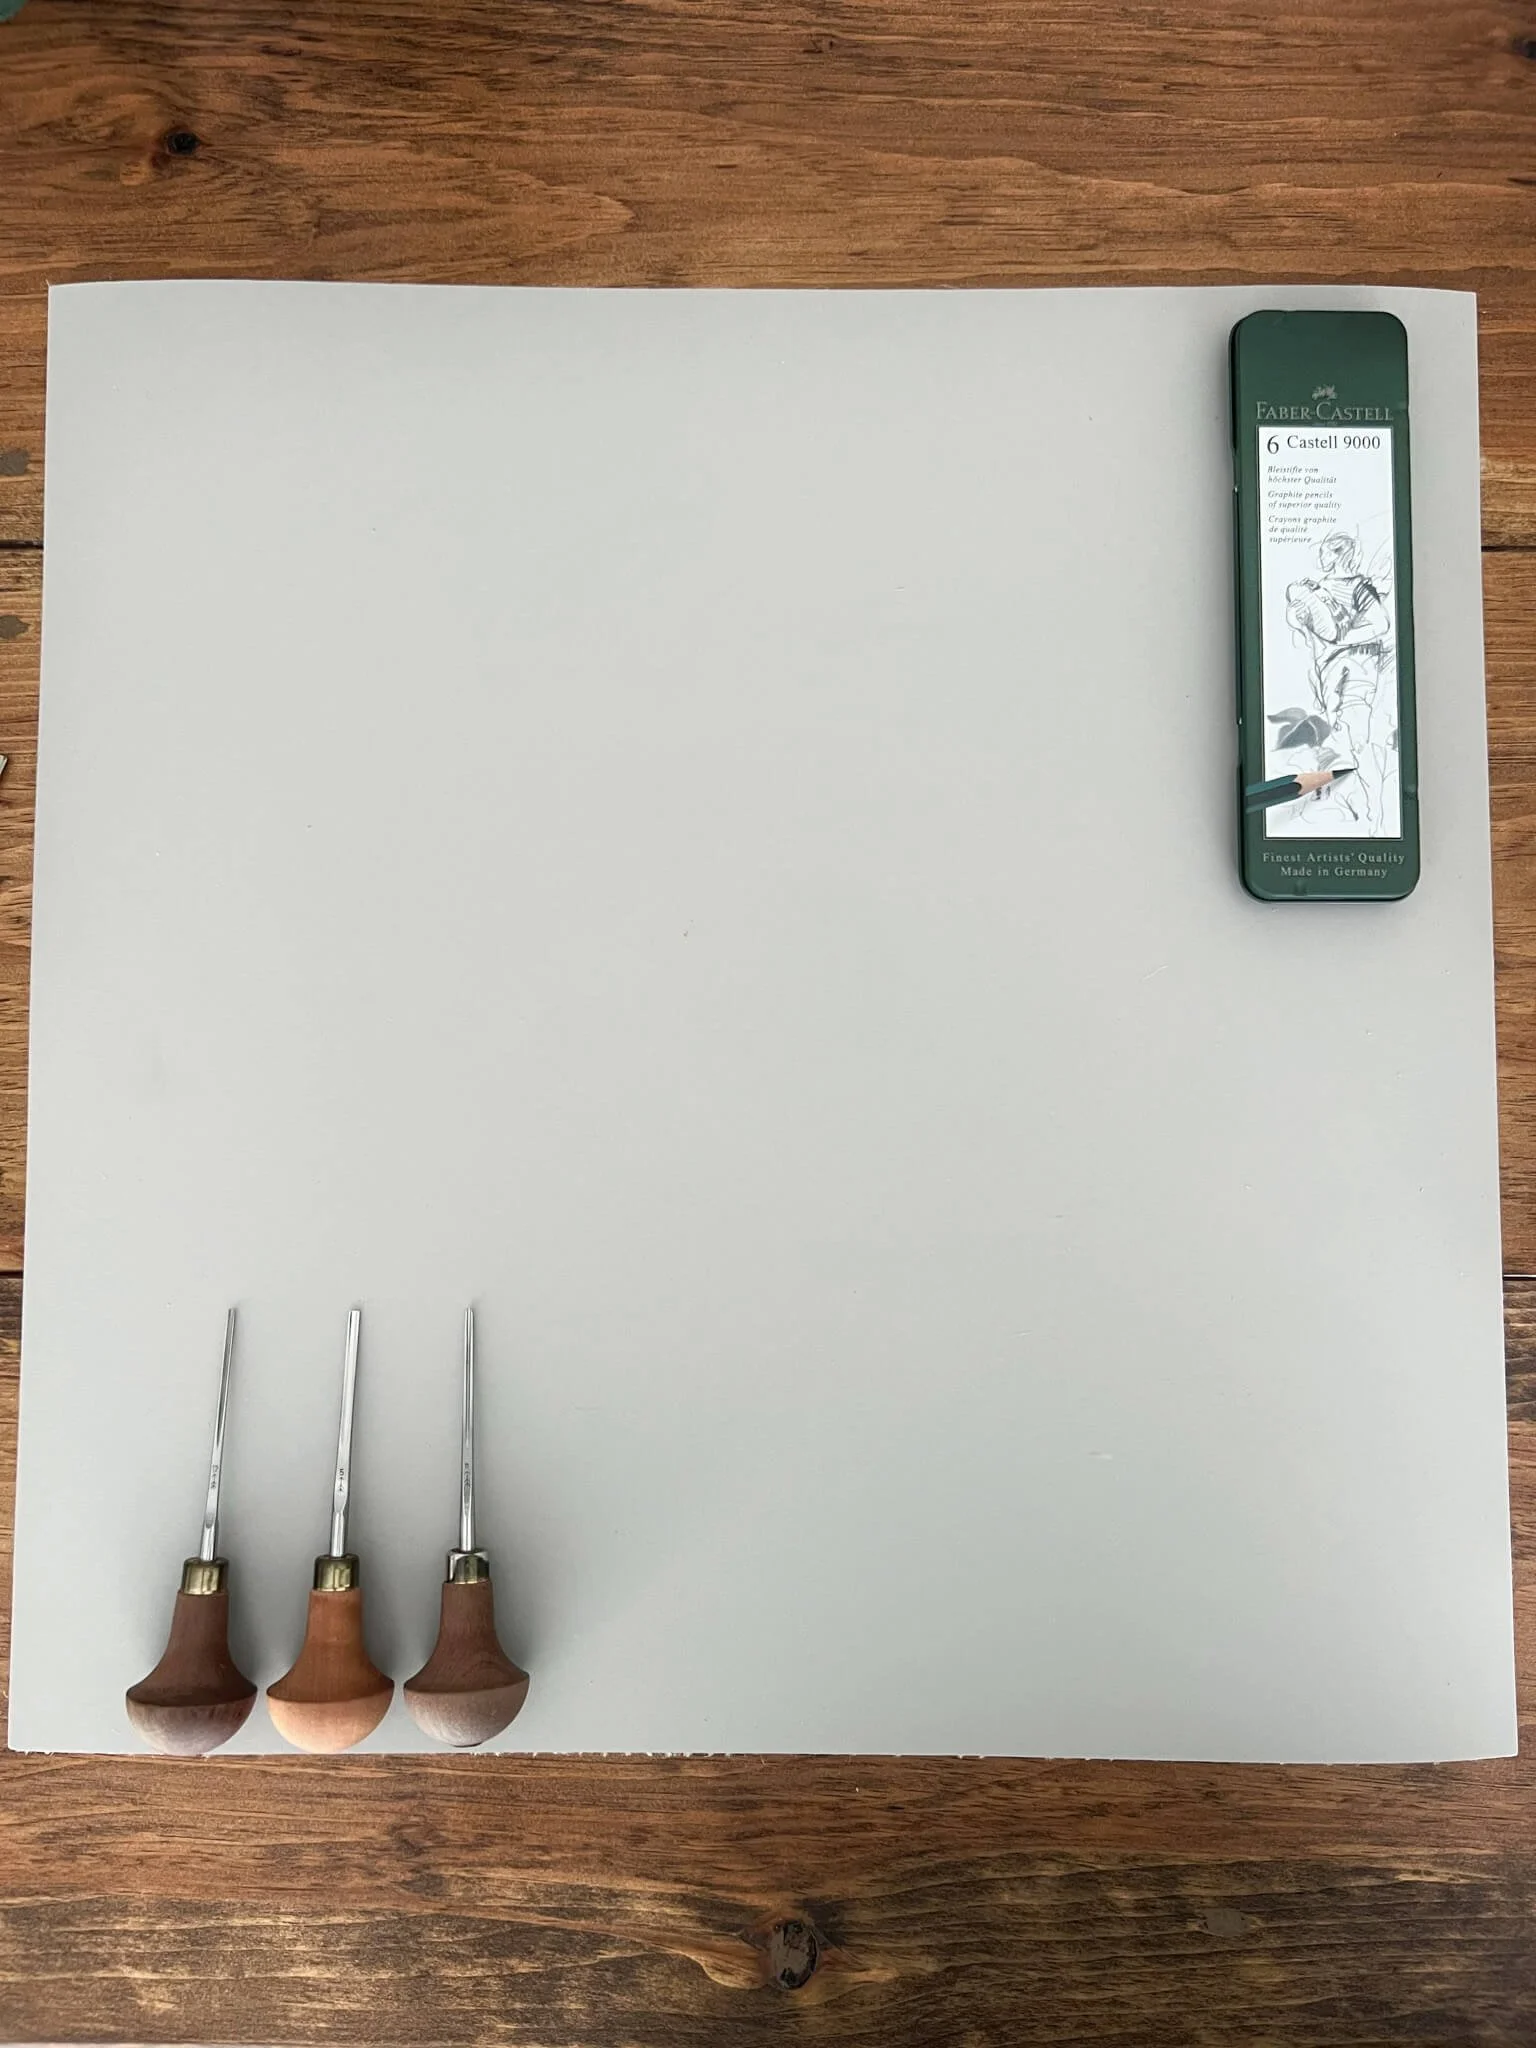
There are a variety of carving tools available out there for printmakers—this brand is my go-to
When it comes to carving, there is only ONE brand that I love, have used, and will continue to use in my work: Pfeil carving tools. This company is a swiss-made company that really packs a punch with each of their products. I did not link the website because there are various companies that carry and sell their products. You can purchase singular tools or get them in a pack, which is what I did. They do need to be sharpened from time to time; make sure you know how to use a slip strop — or you can send your tools to this printmaking supply company by checking out this website: McClains Printmaking Supplies. I will need to ship my beloved tools off here soon to make sure I’m ready for another busy season :) There are other brands worth checking out, too! You don’t have to stop where I did — I might venture and try other brands as the seasons pass. These were my first set of carving tools and I’ve grown very attached to them.
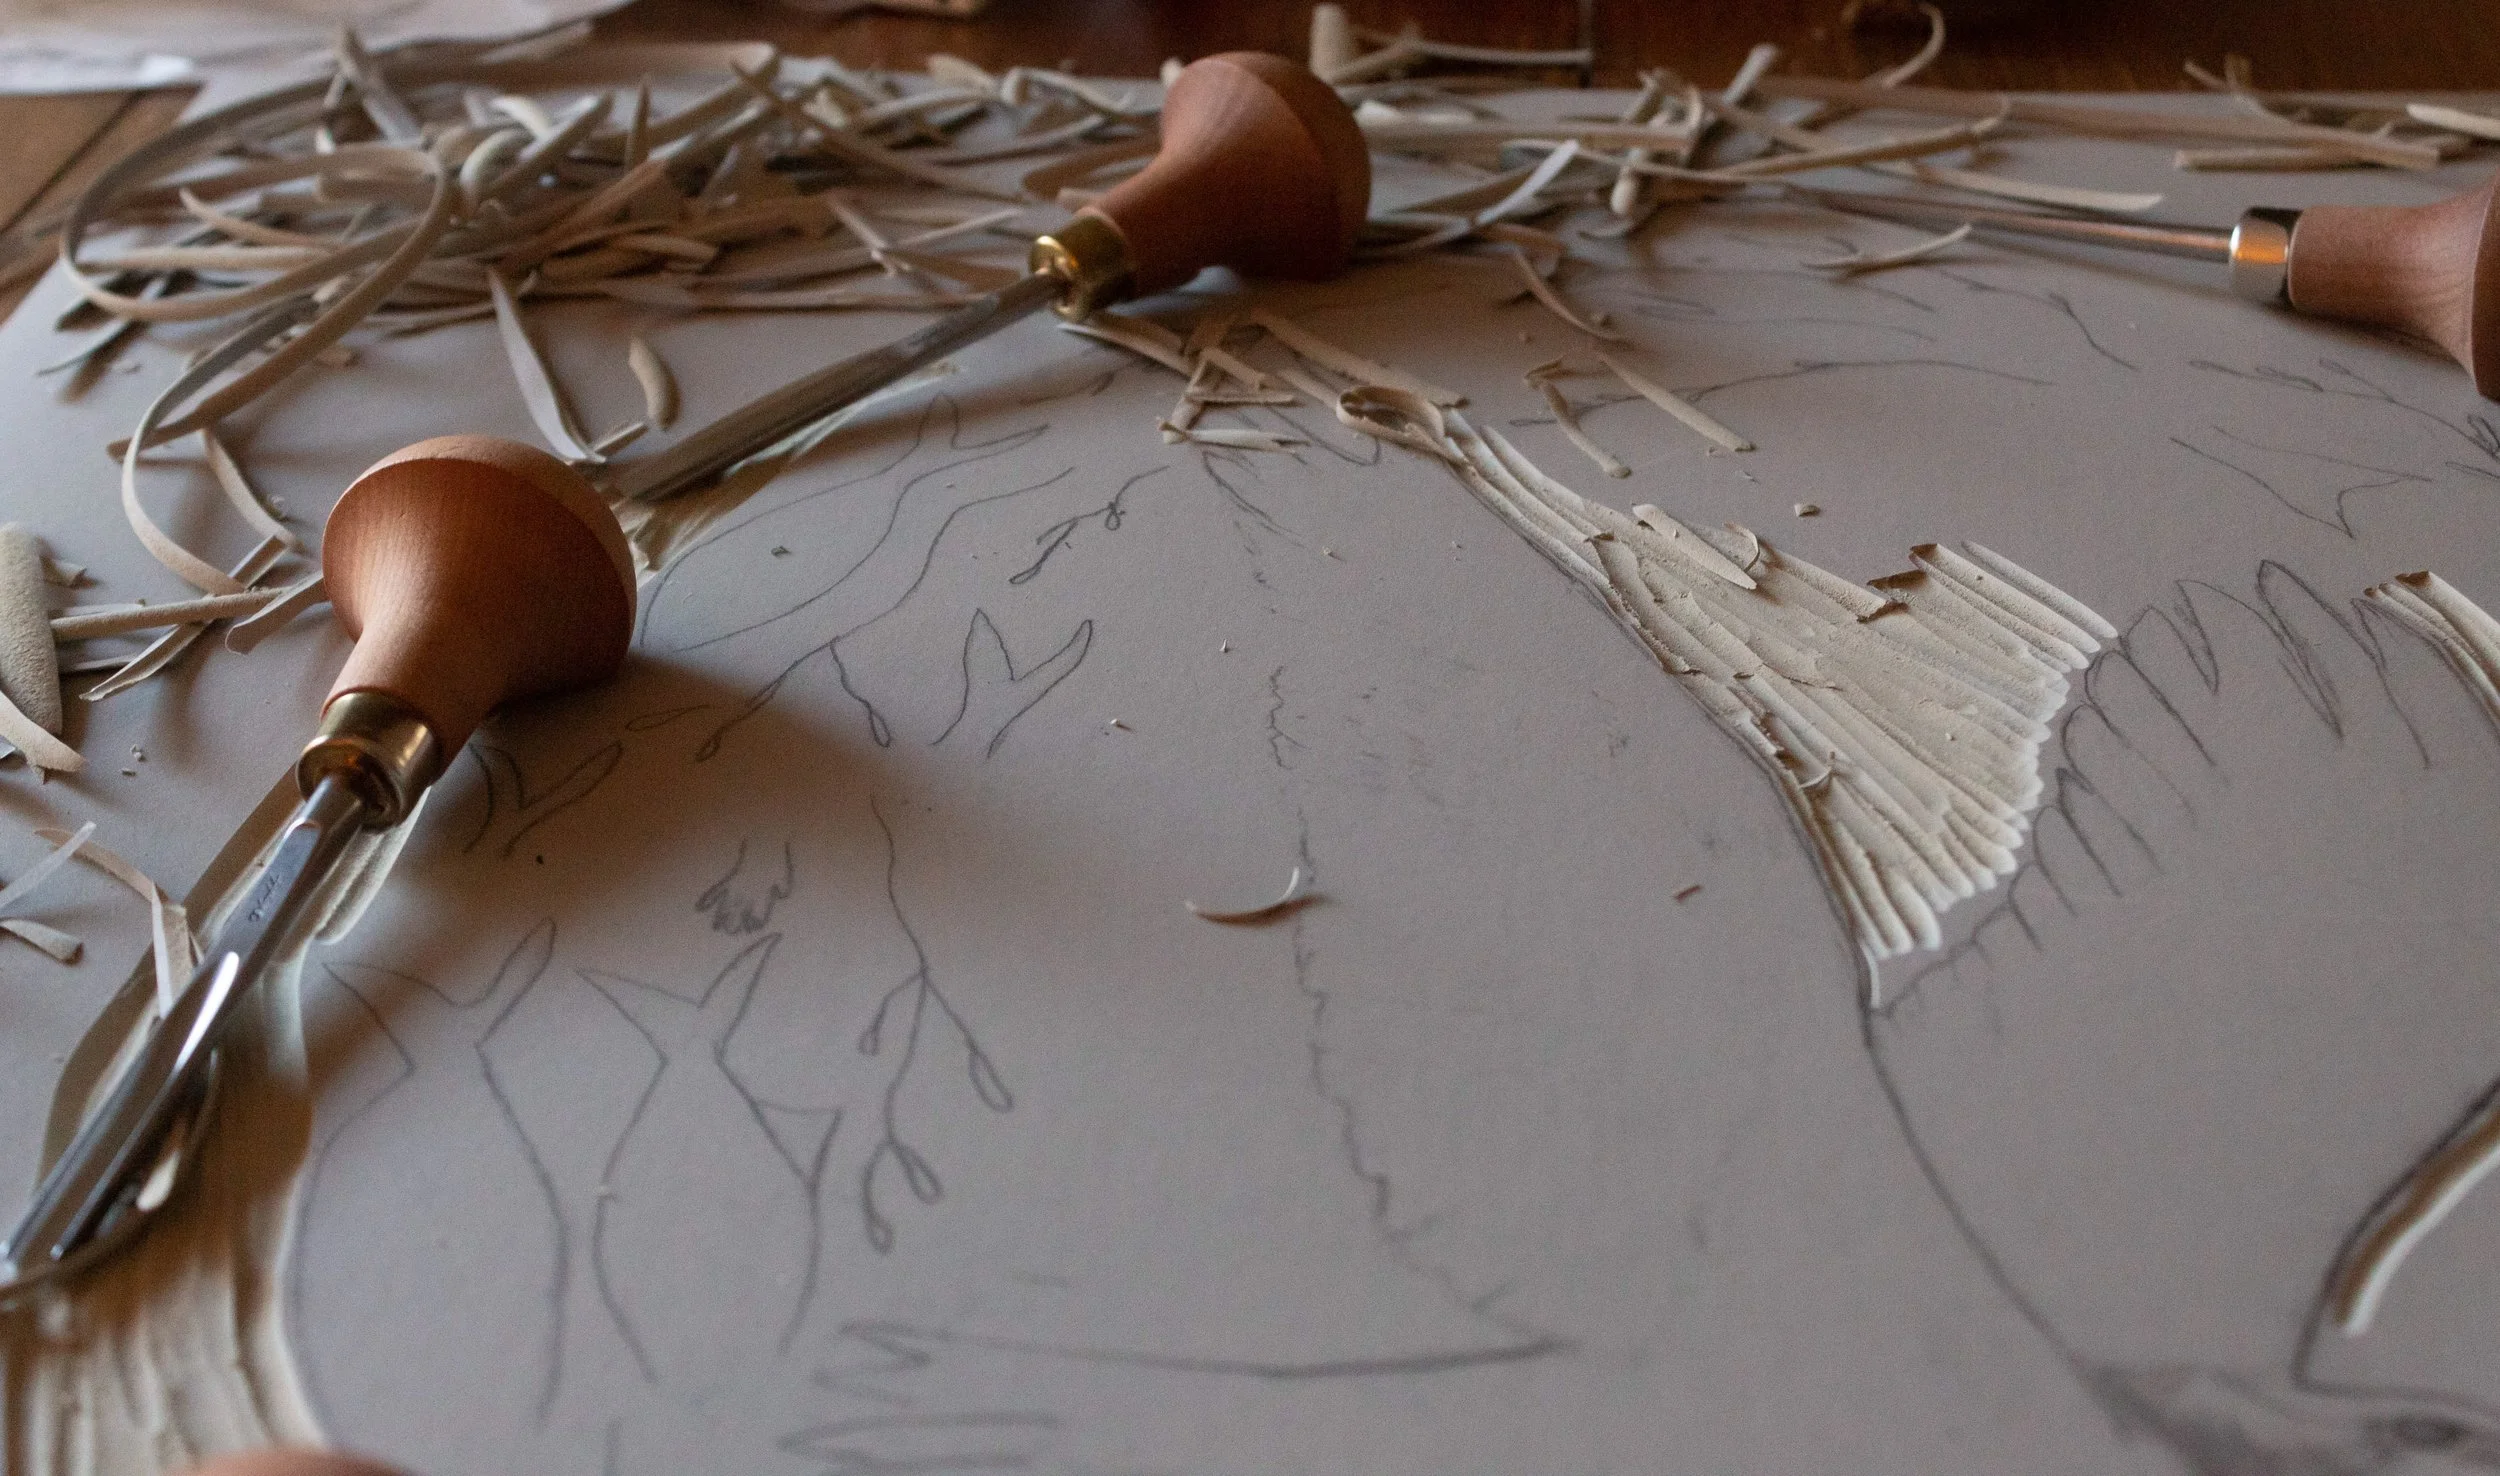
My Pfeil carving tools in action
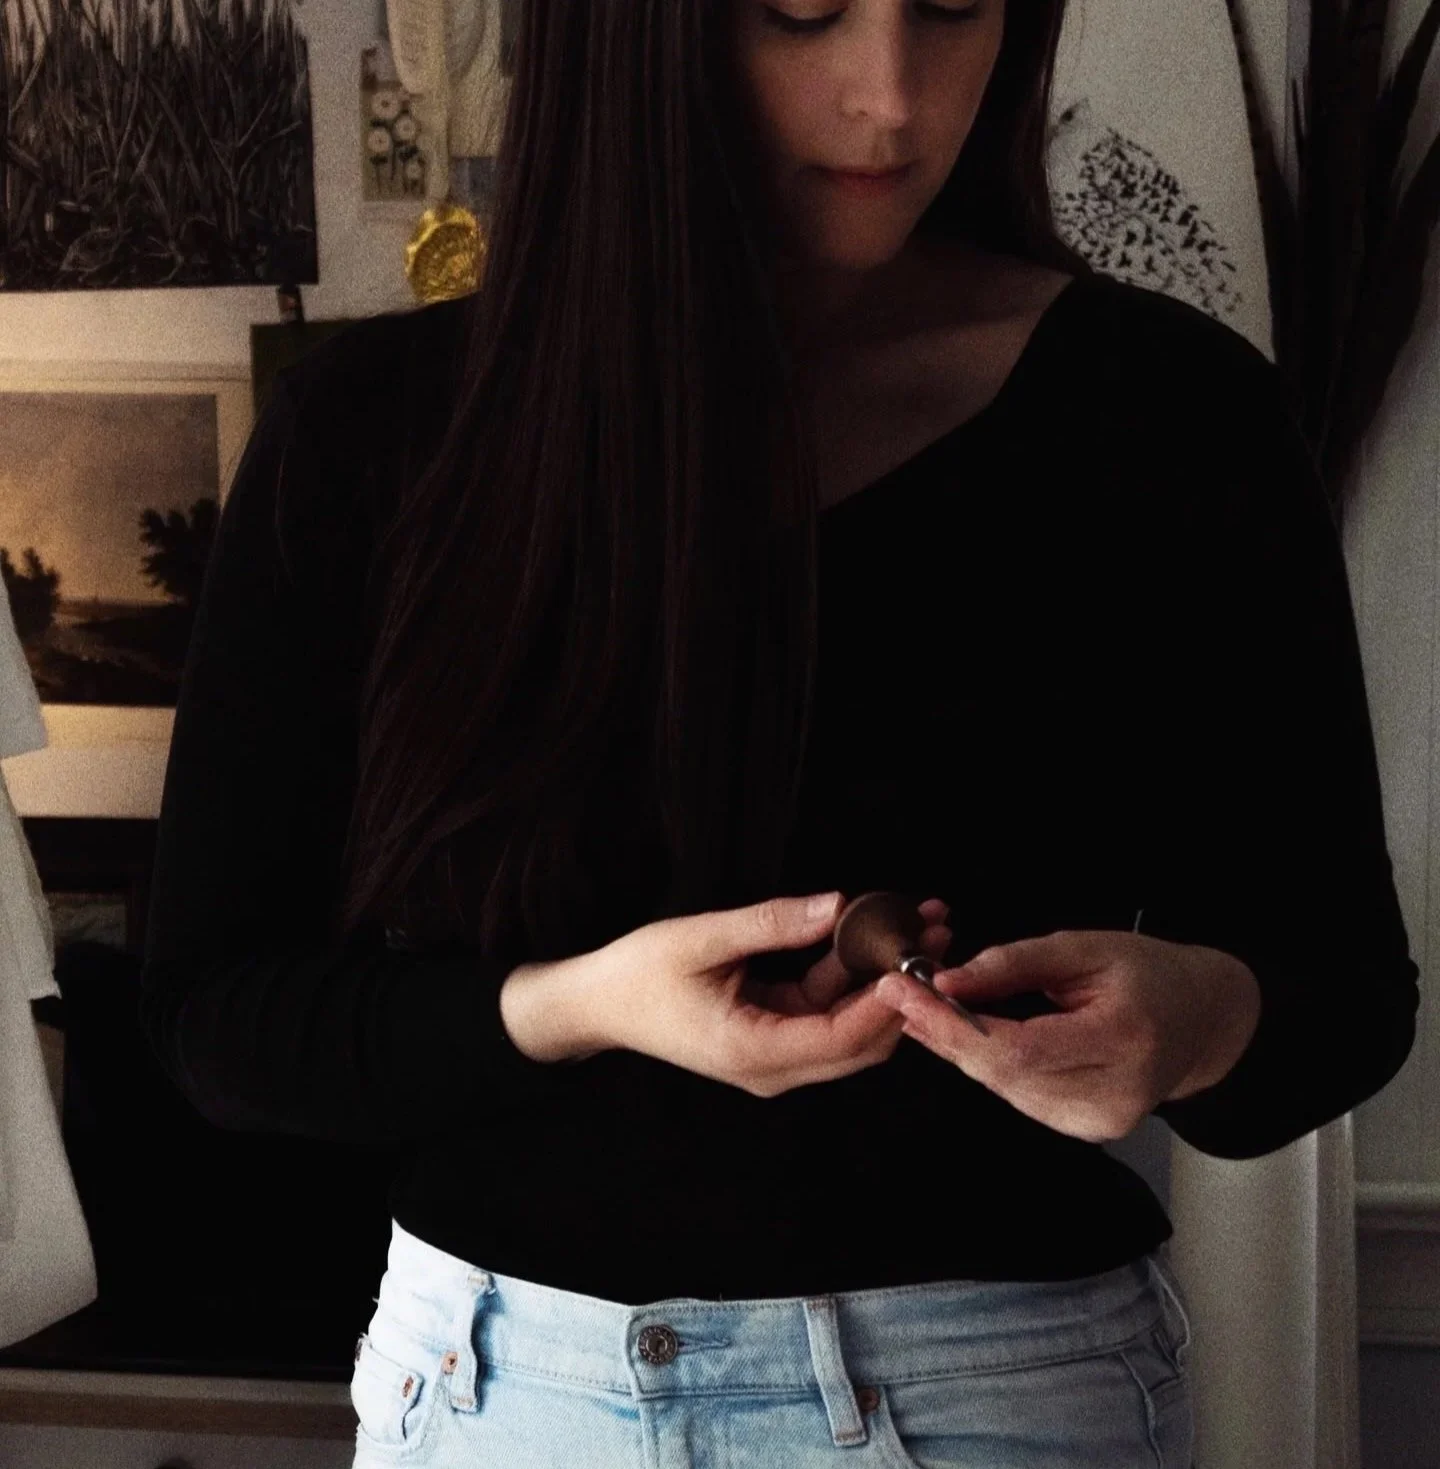
This is me holding my favorite tool made by Pfeil
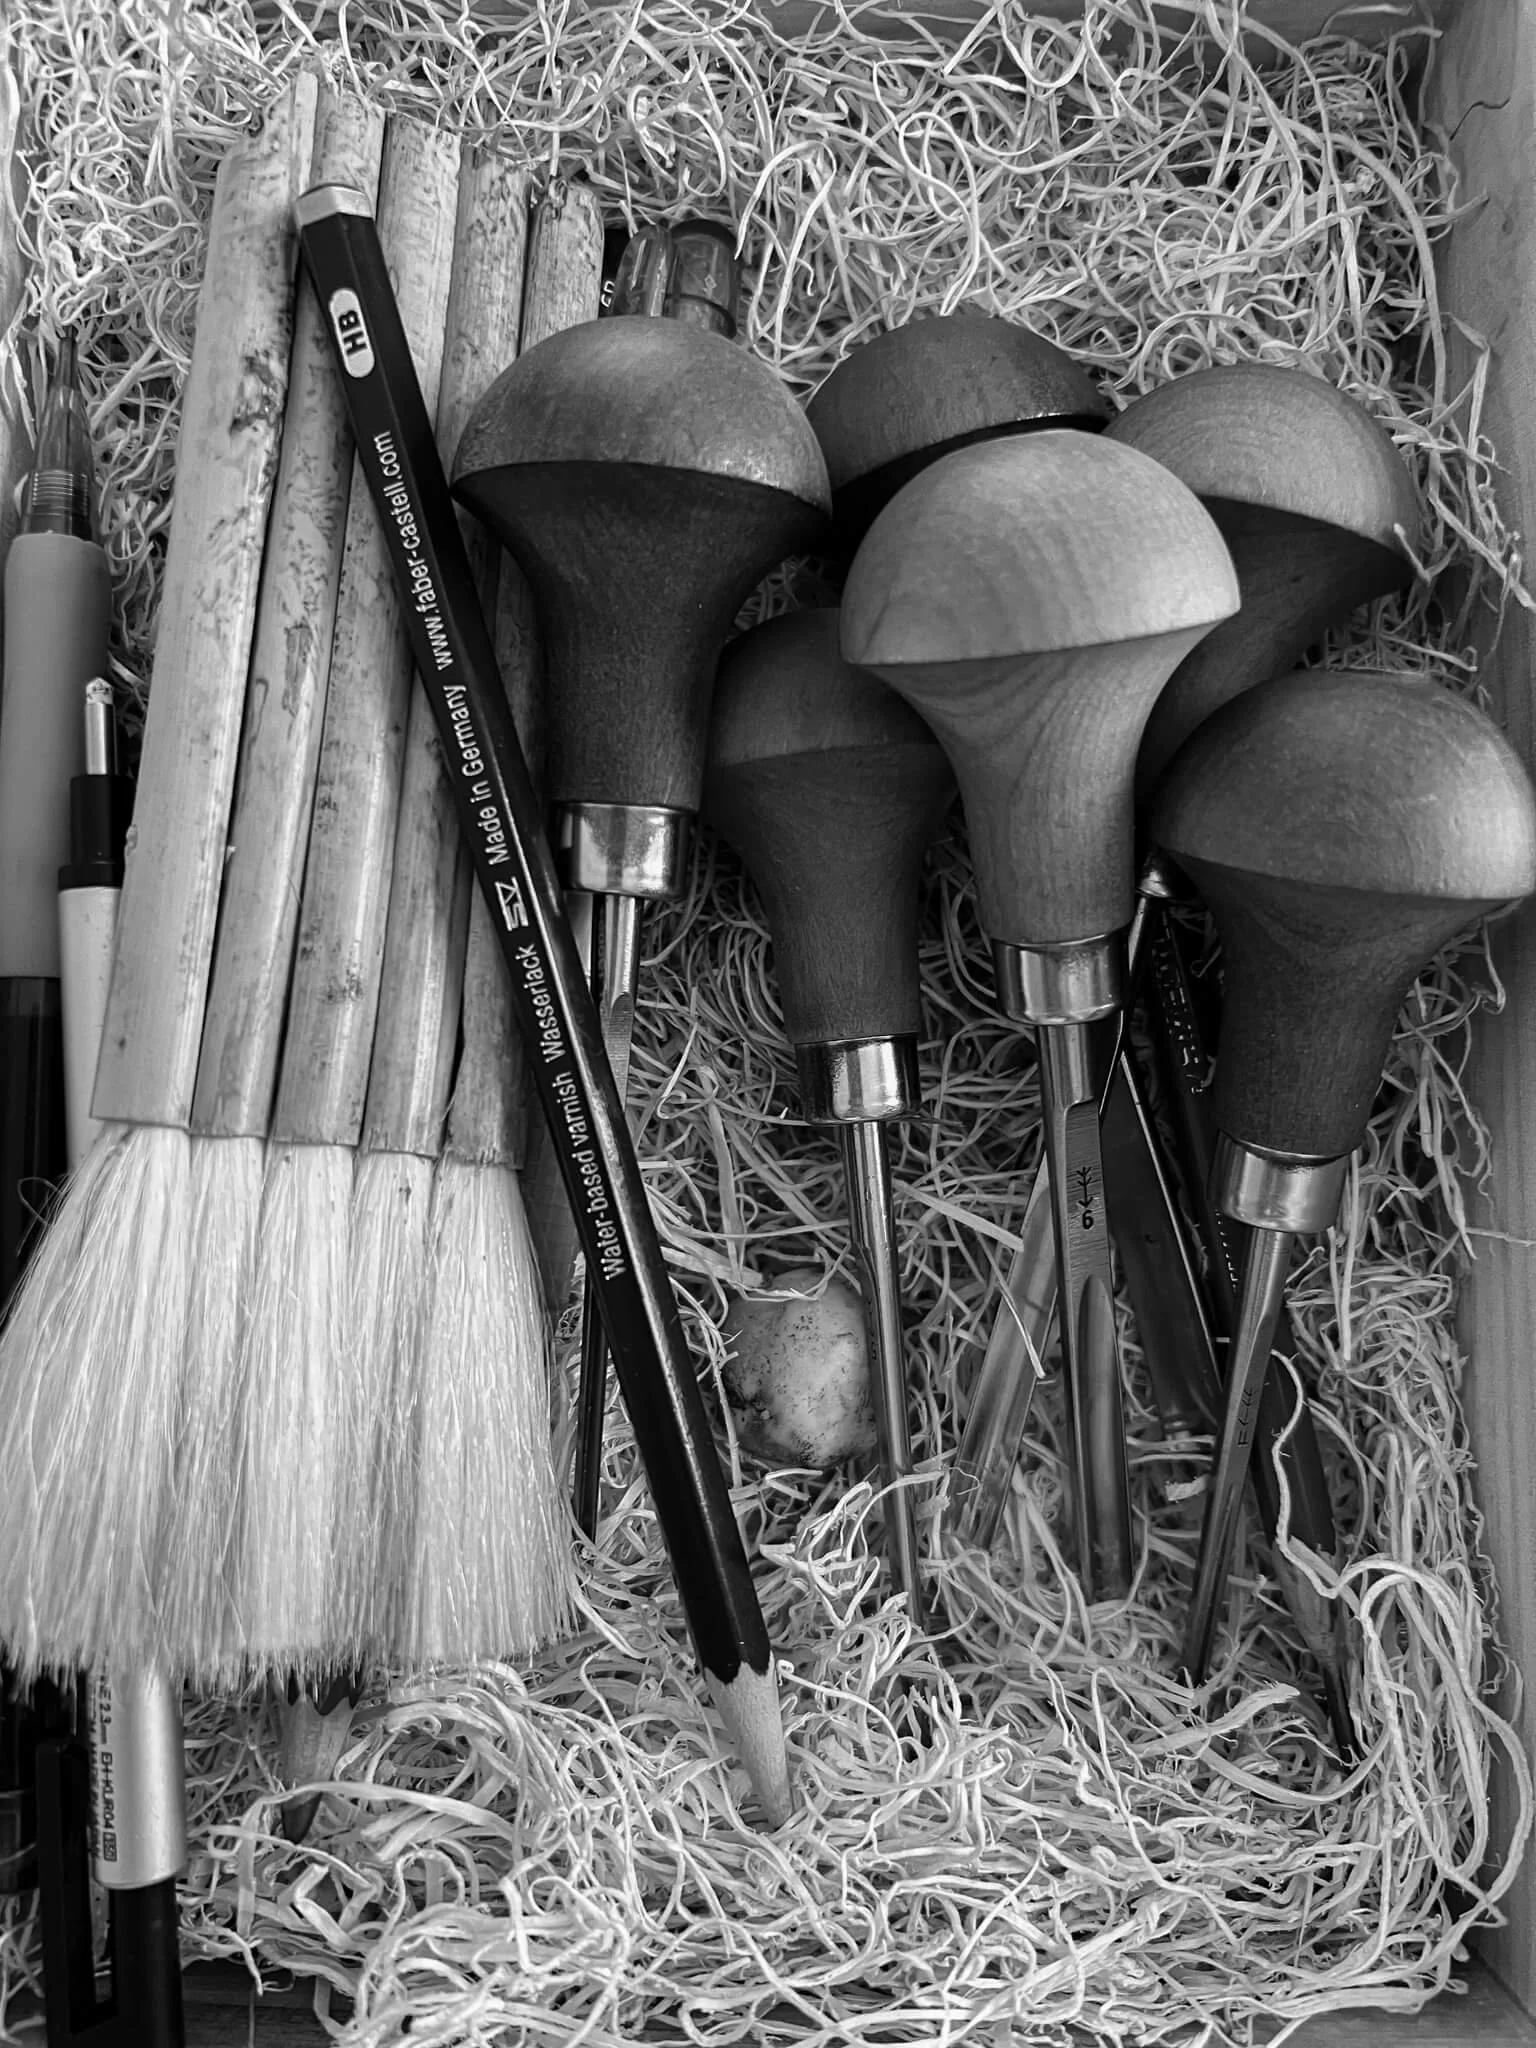
My tiny box of Pfeil carving tools
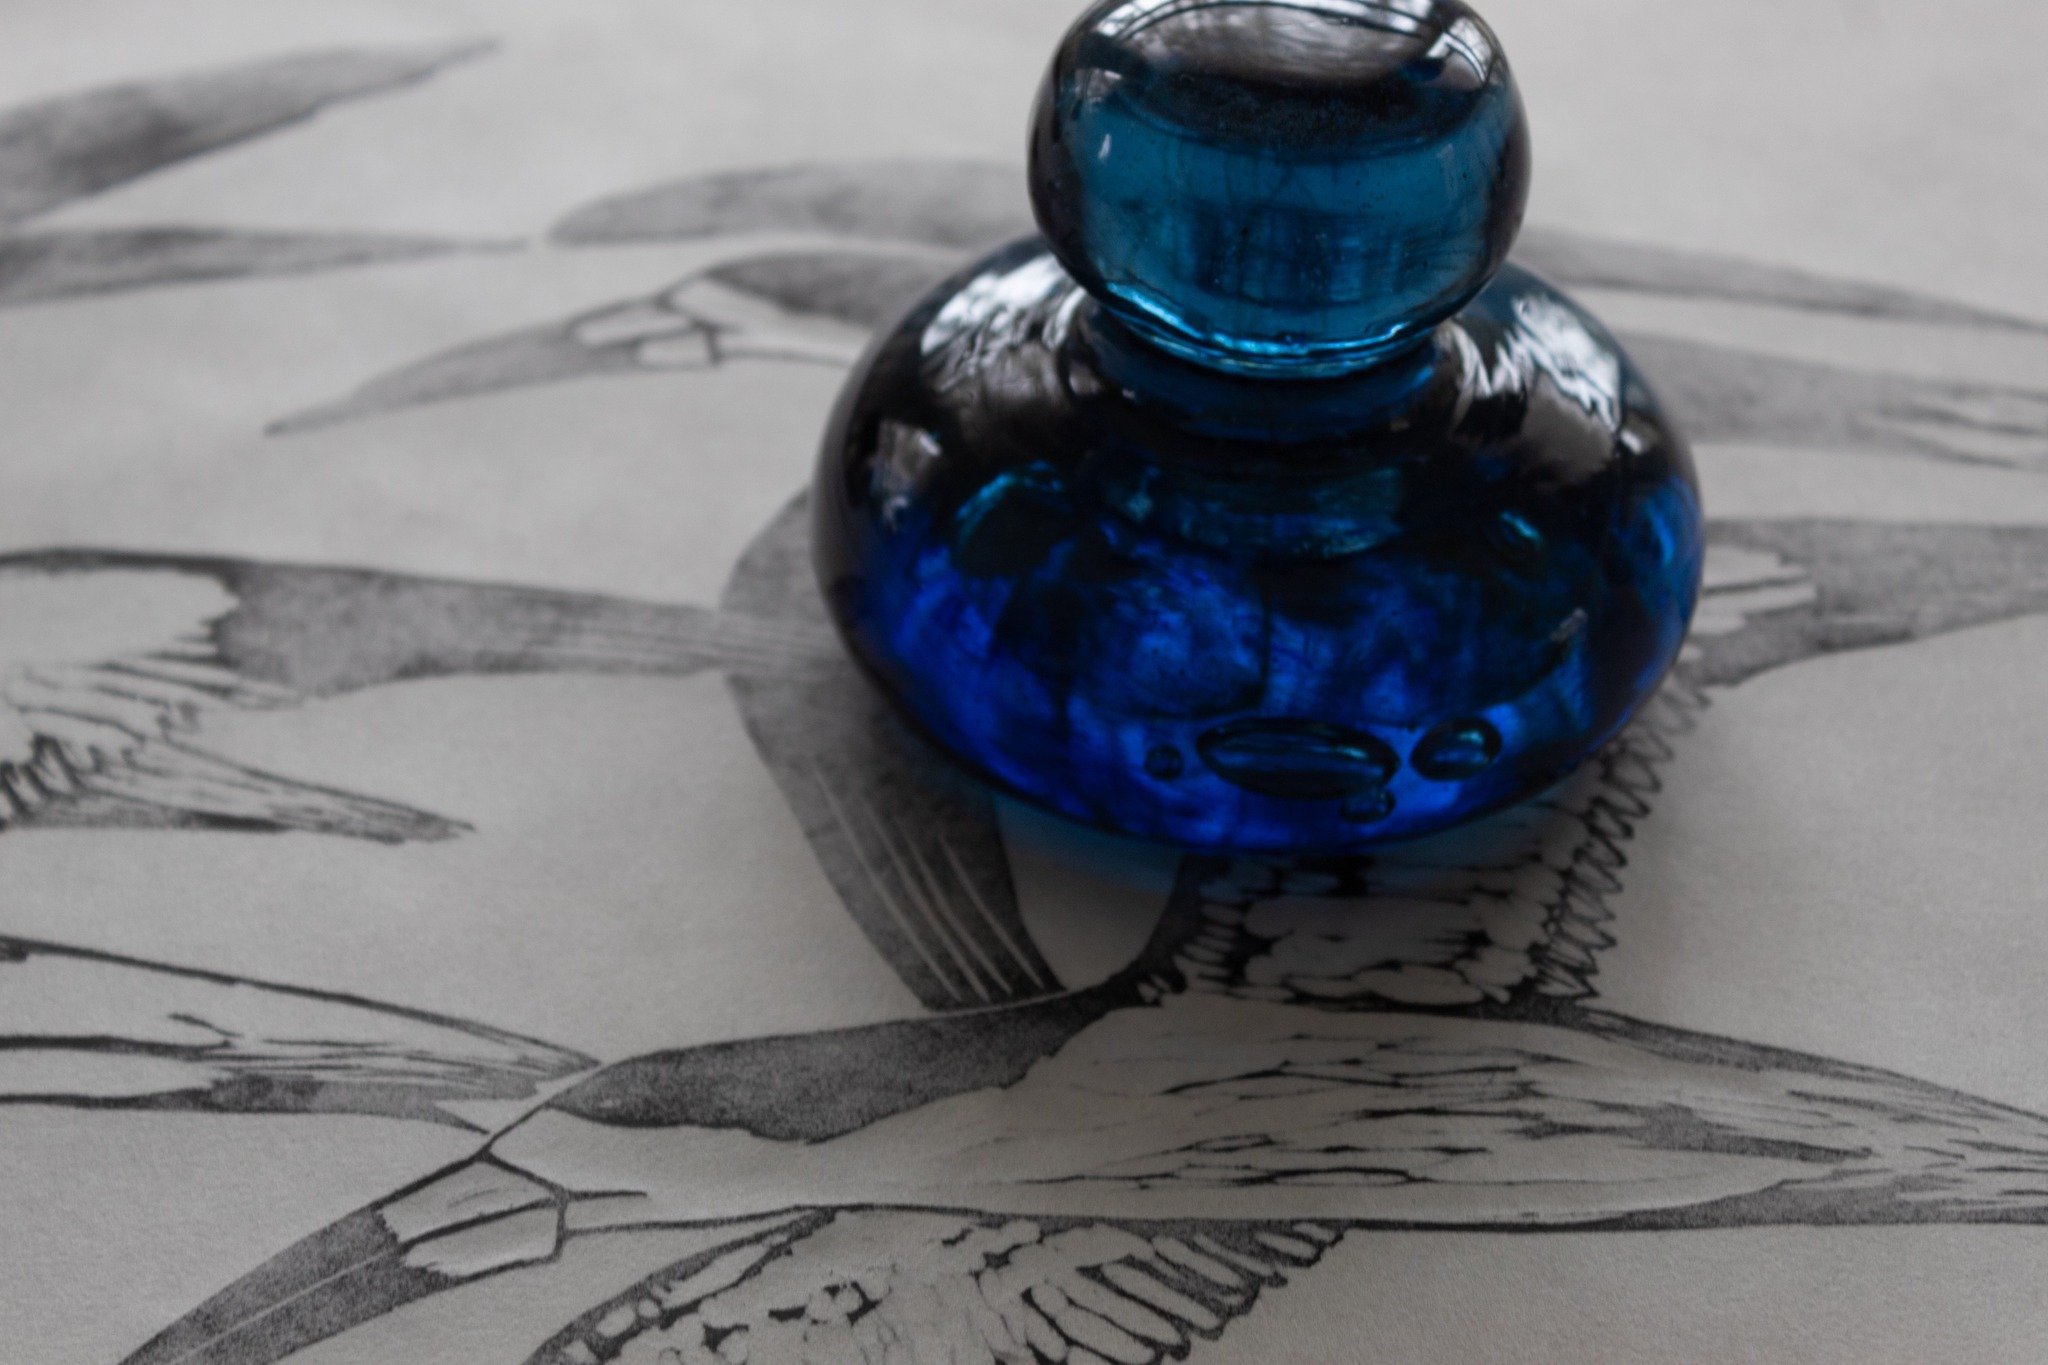
I use a small, grey glass tabletop for mixing my ink along with my ink spatula. You can find these at various printmaking/art supply stores. I use grey because I want to see the full range of shades if I use another color and need to add white — this really helps. My trusted ink spatula has been with me for what feels like forever. This little tool is wonderful at mixing the ink before I roll a brayer through it. I primarily use Cranfield safe-wash inks instead of traditional inks. I like these inks more because the clean up is easy and theres little hassle. Just use soap and cold water and you’re done! No messy solvents needed if you have a sensitive nose like myself.
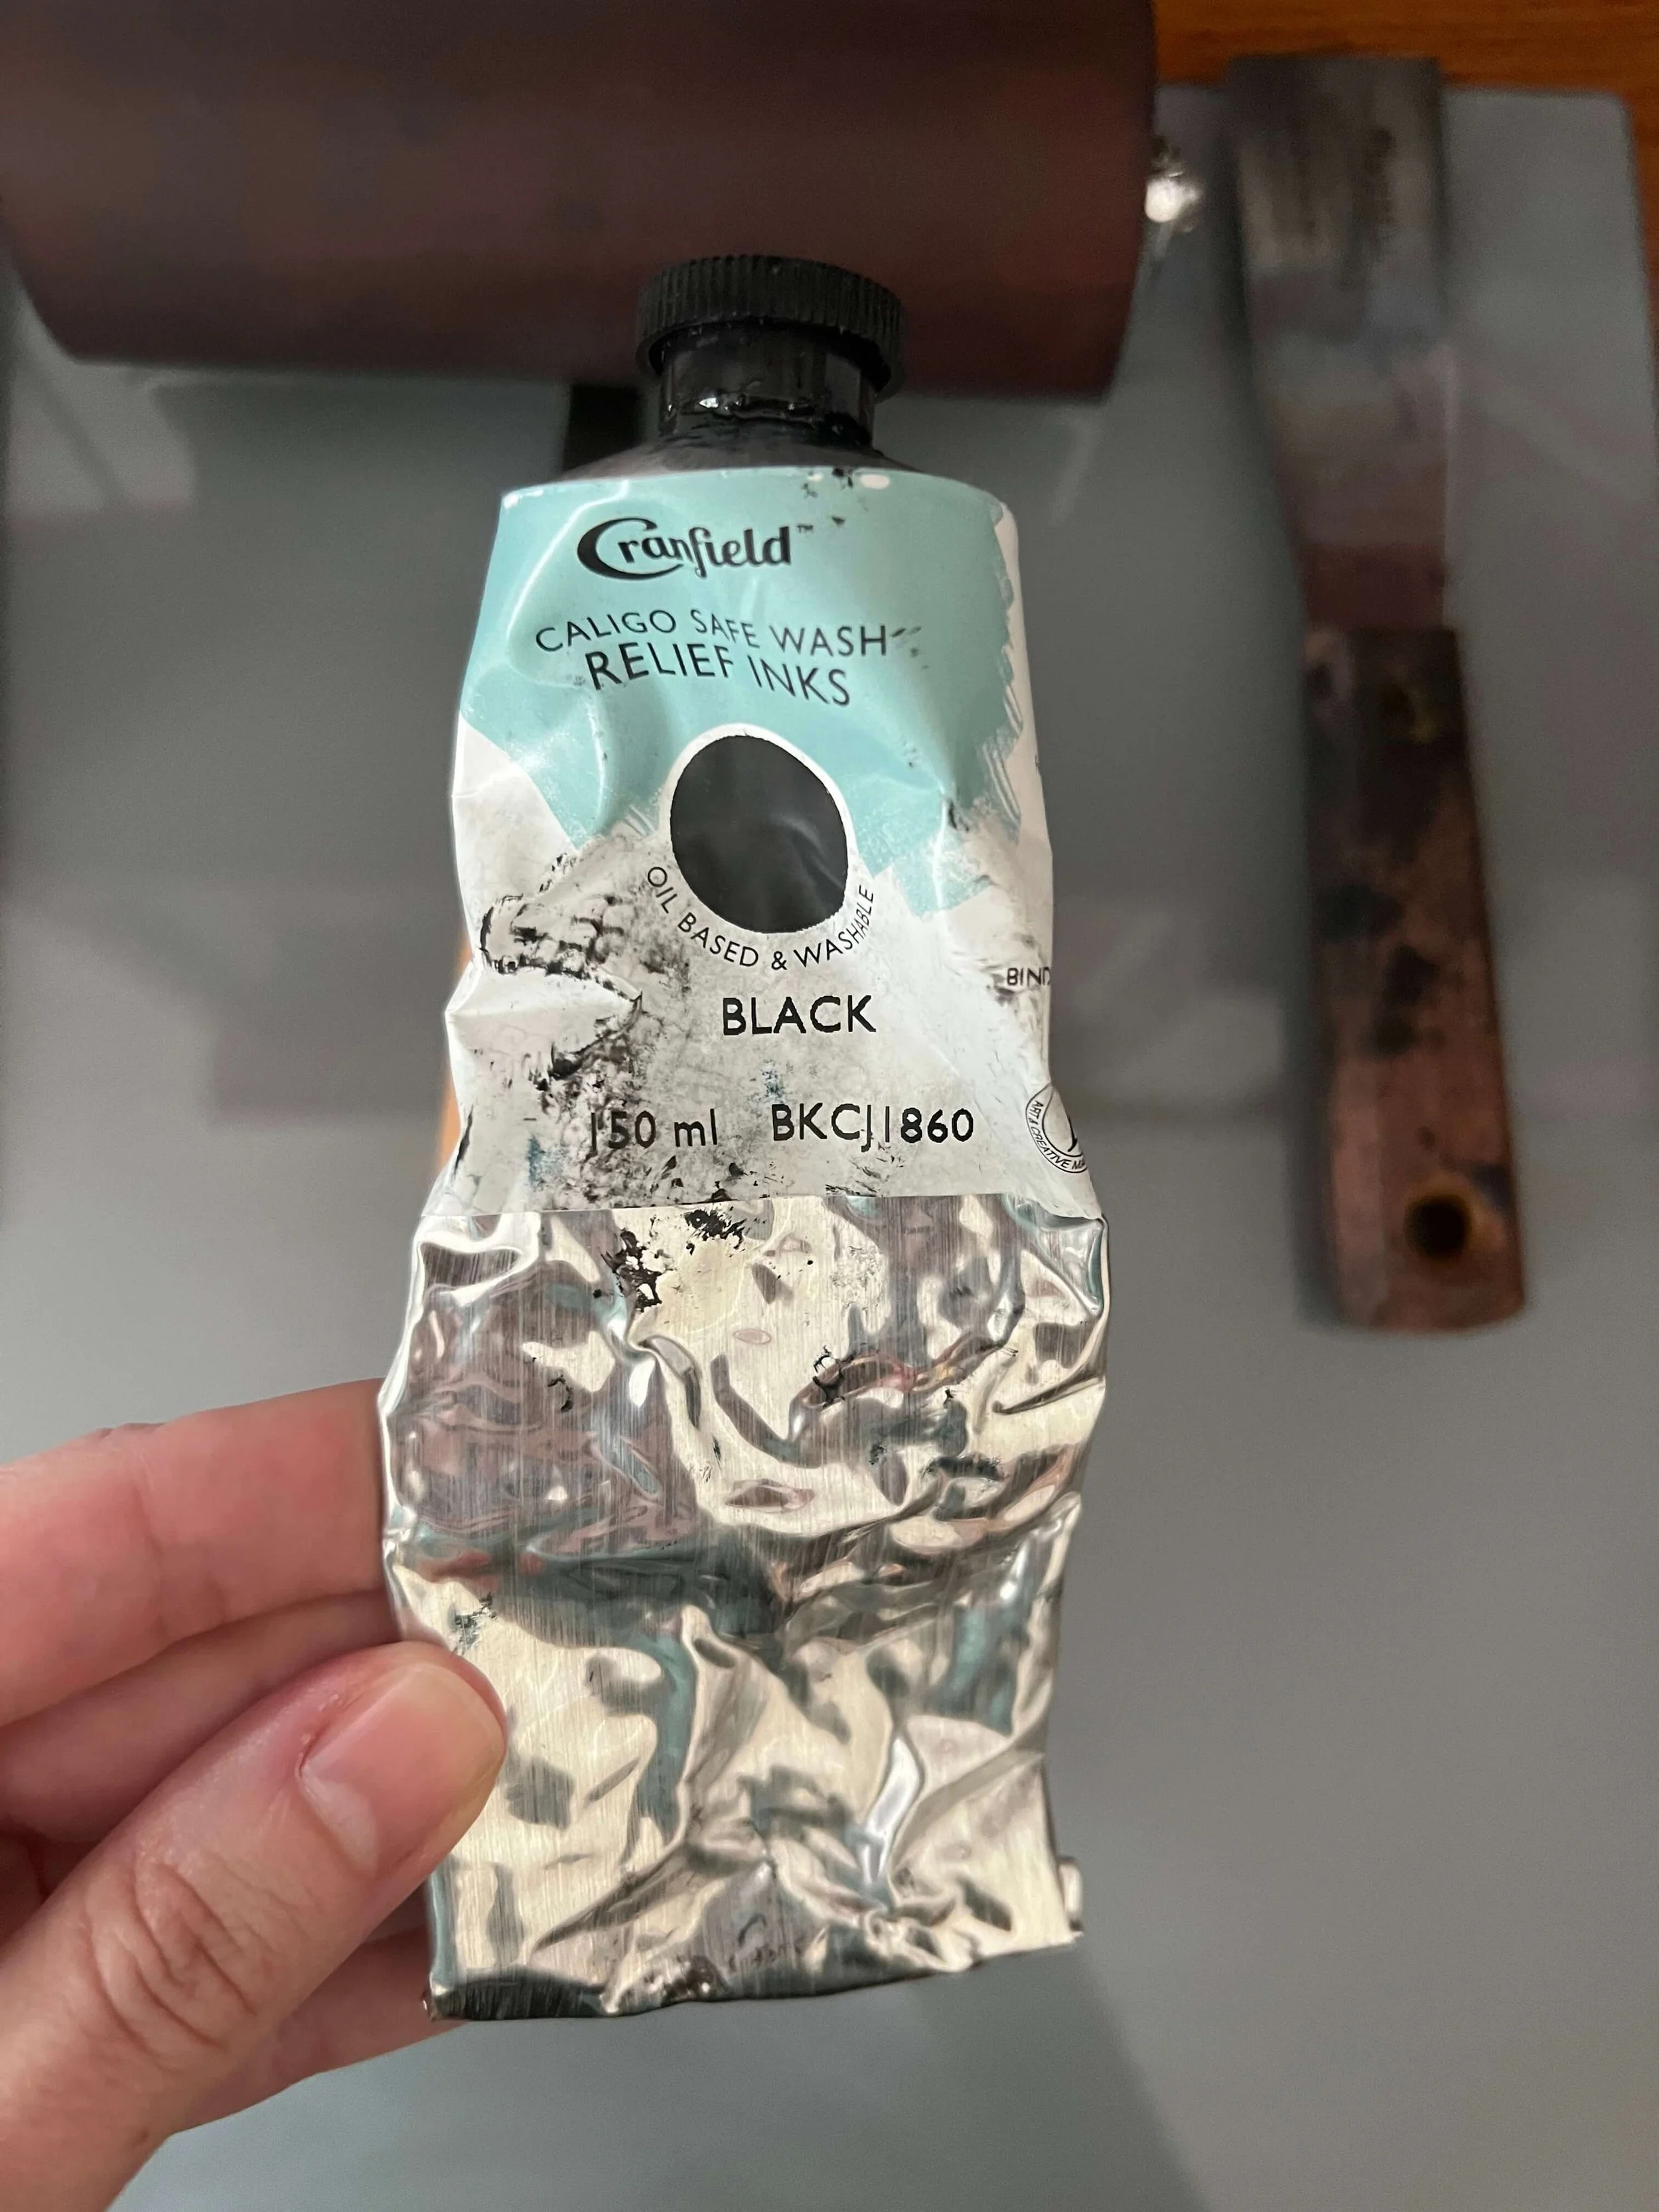
My favorite ink
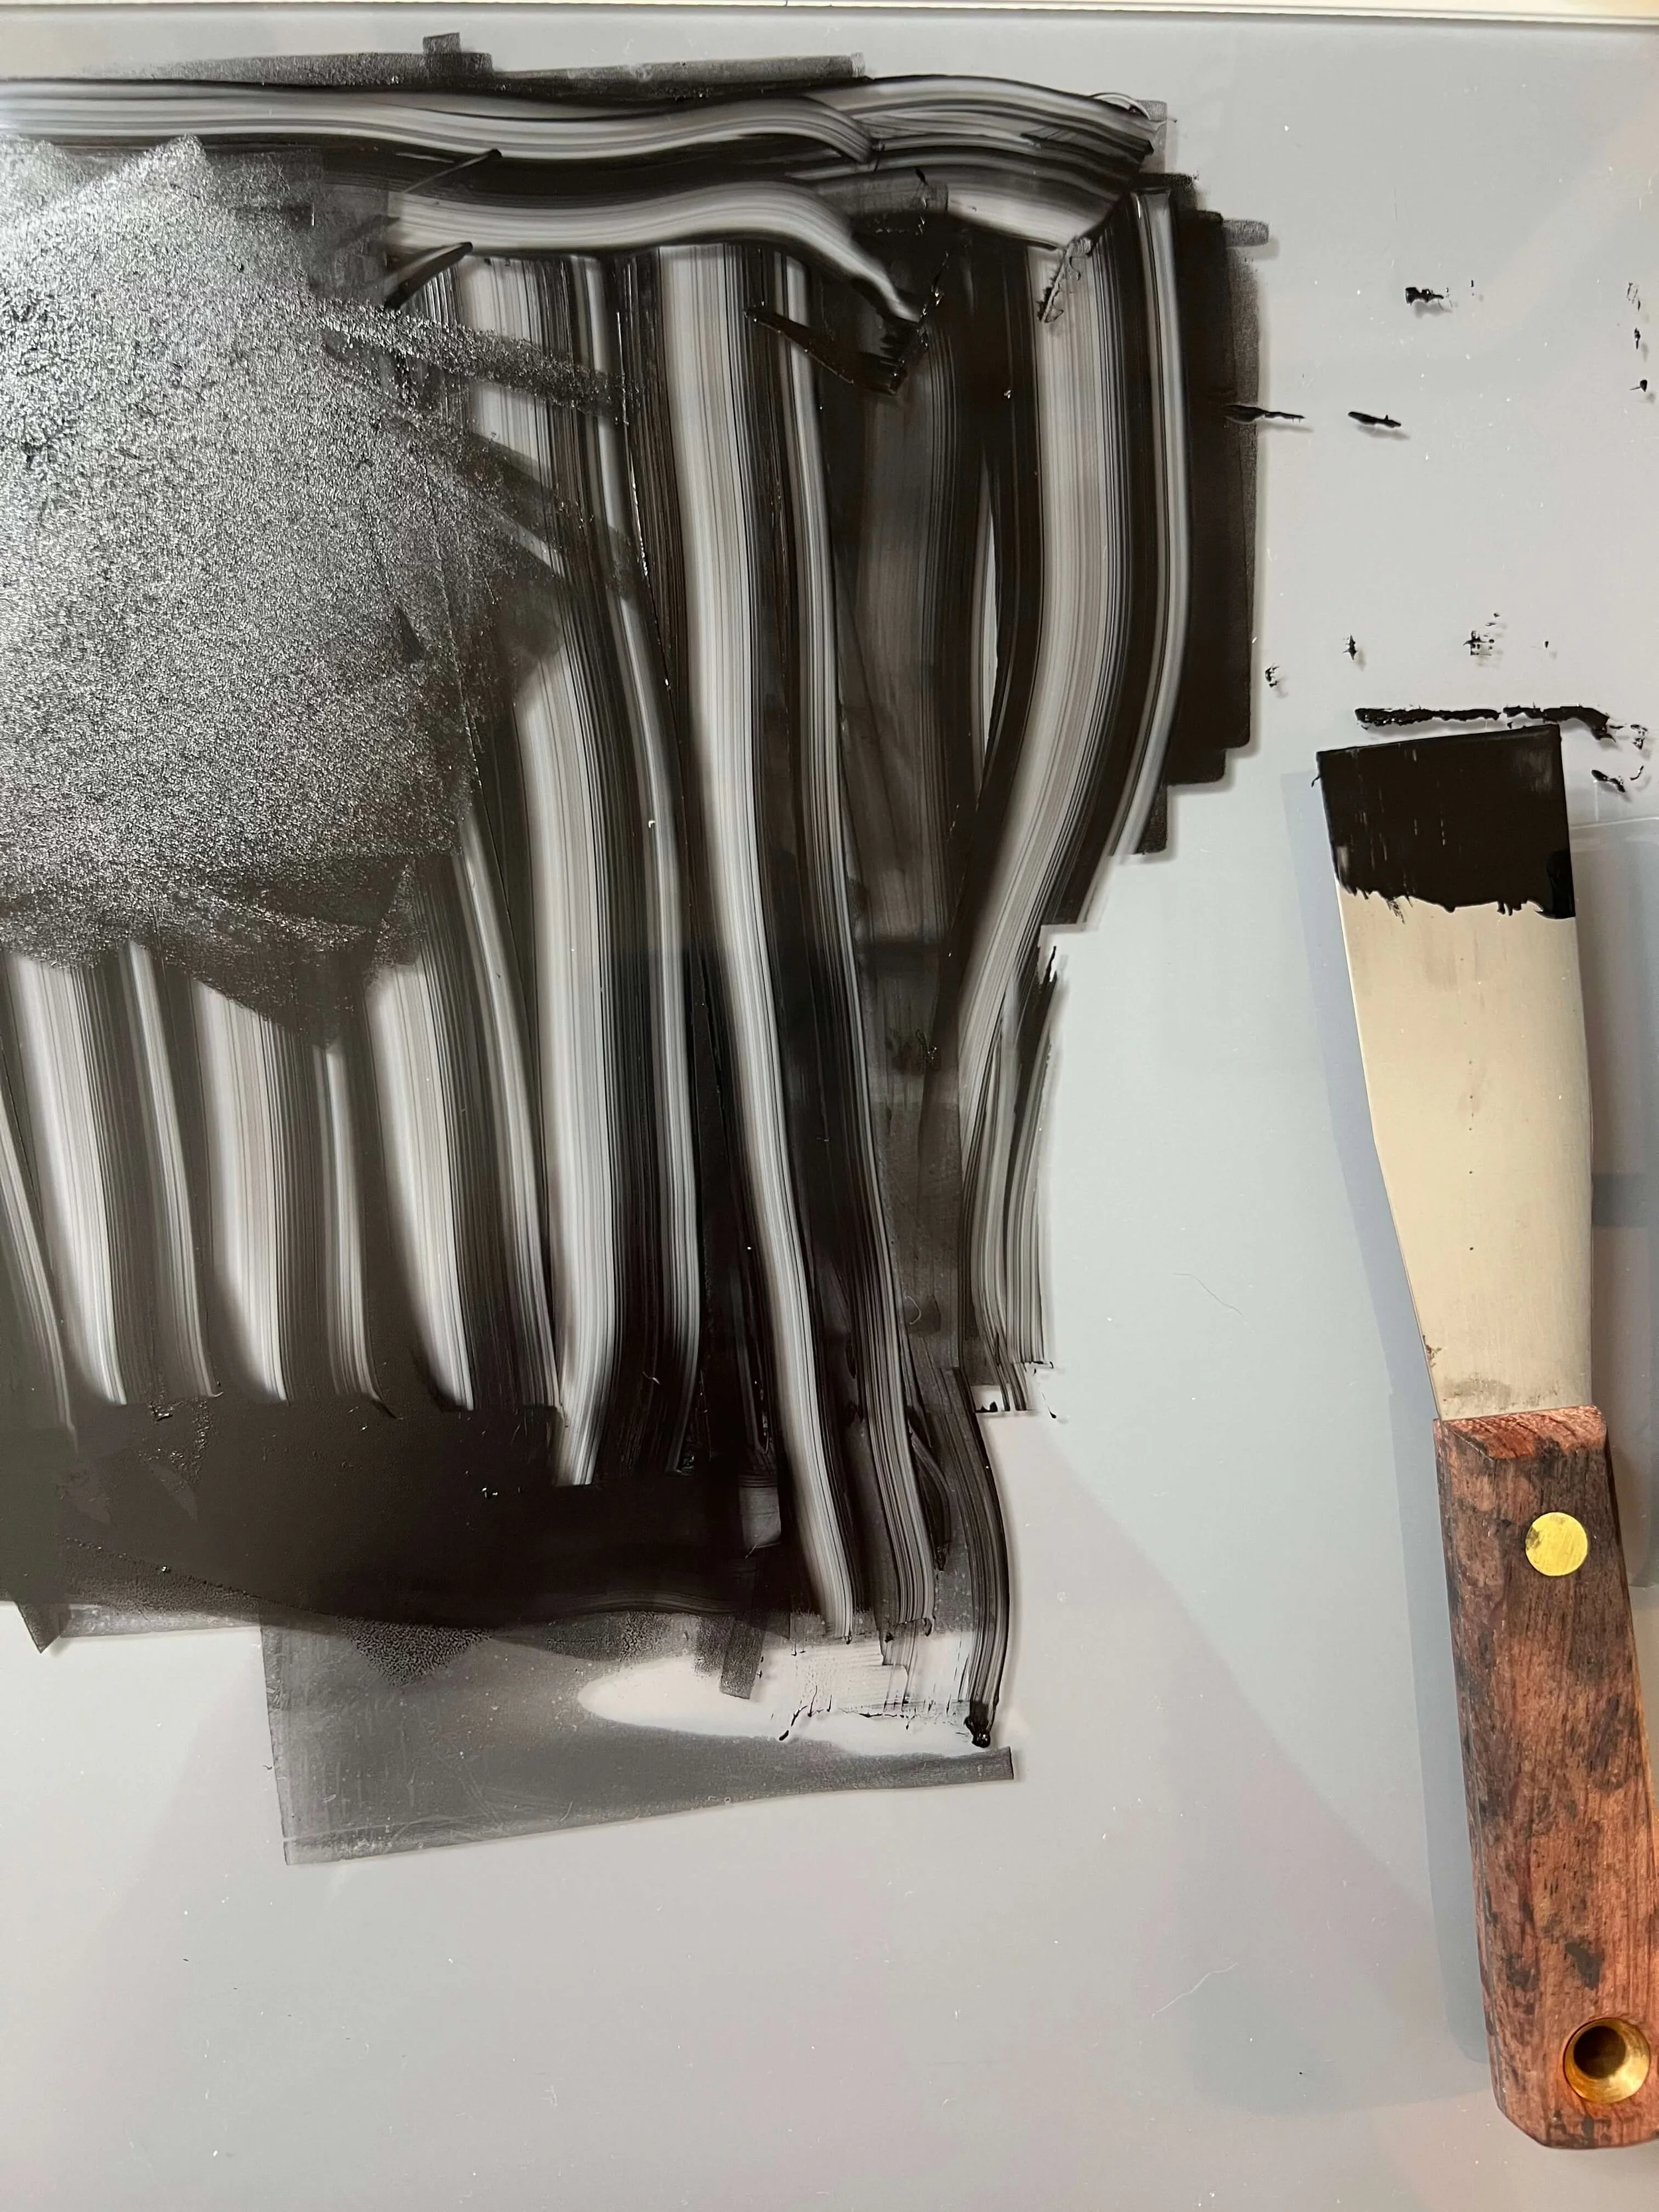
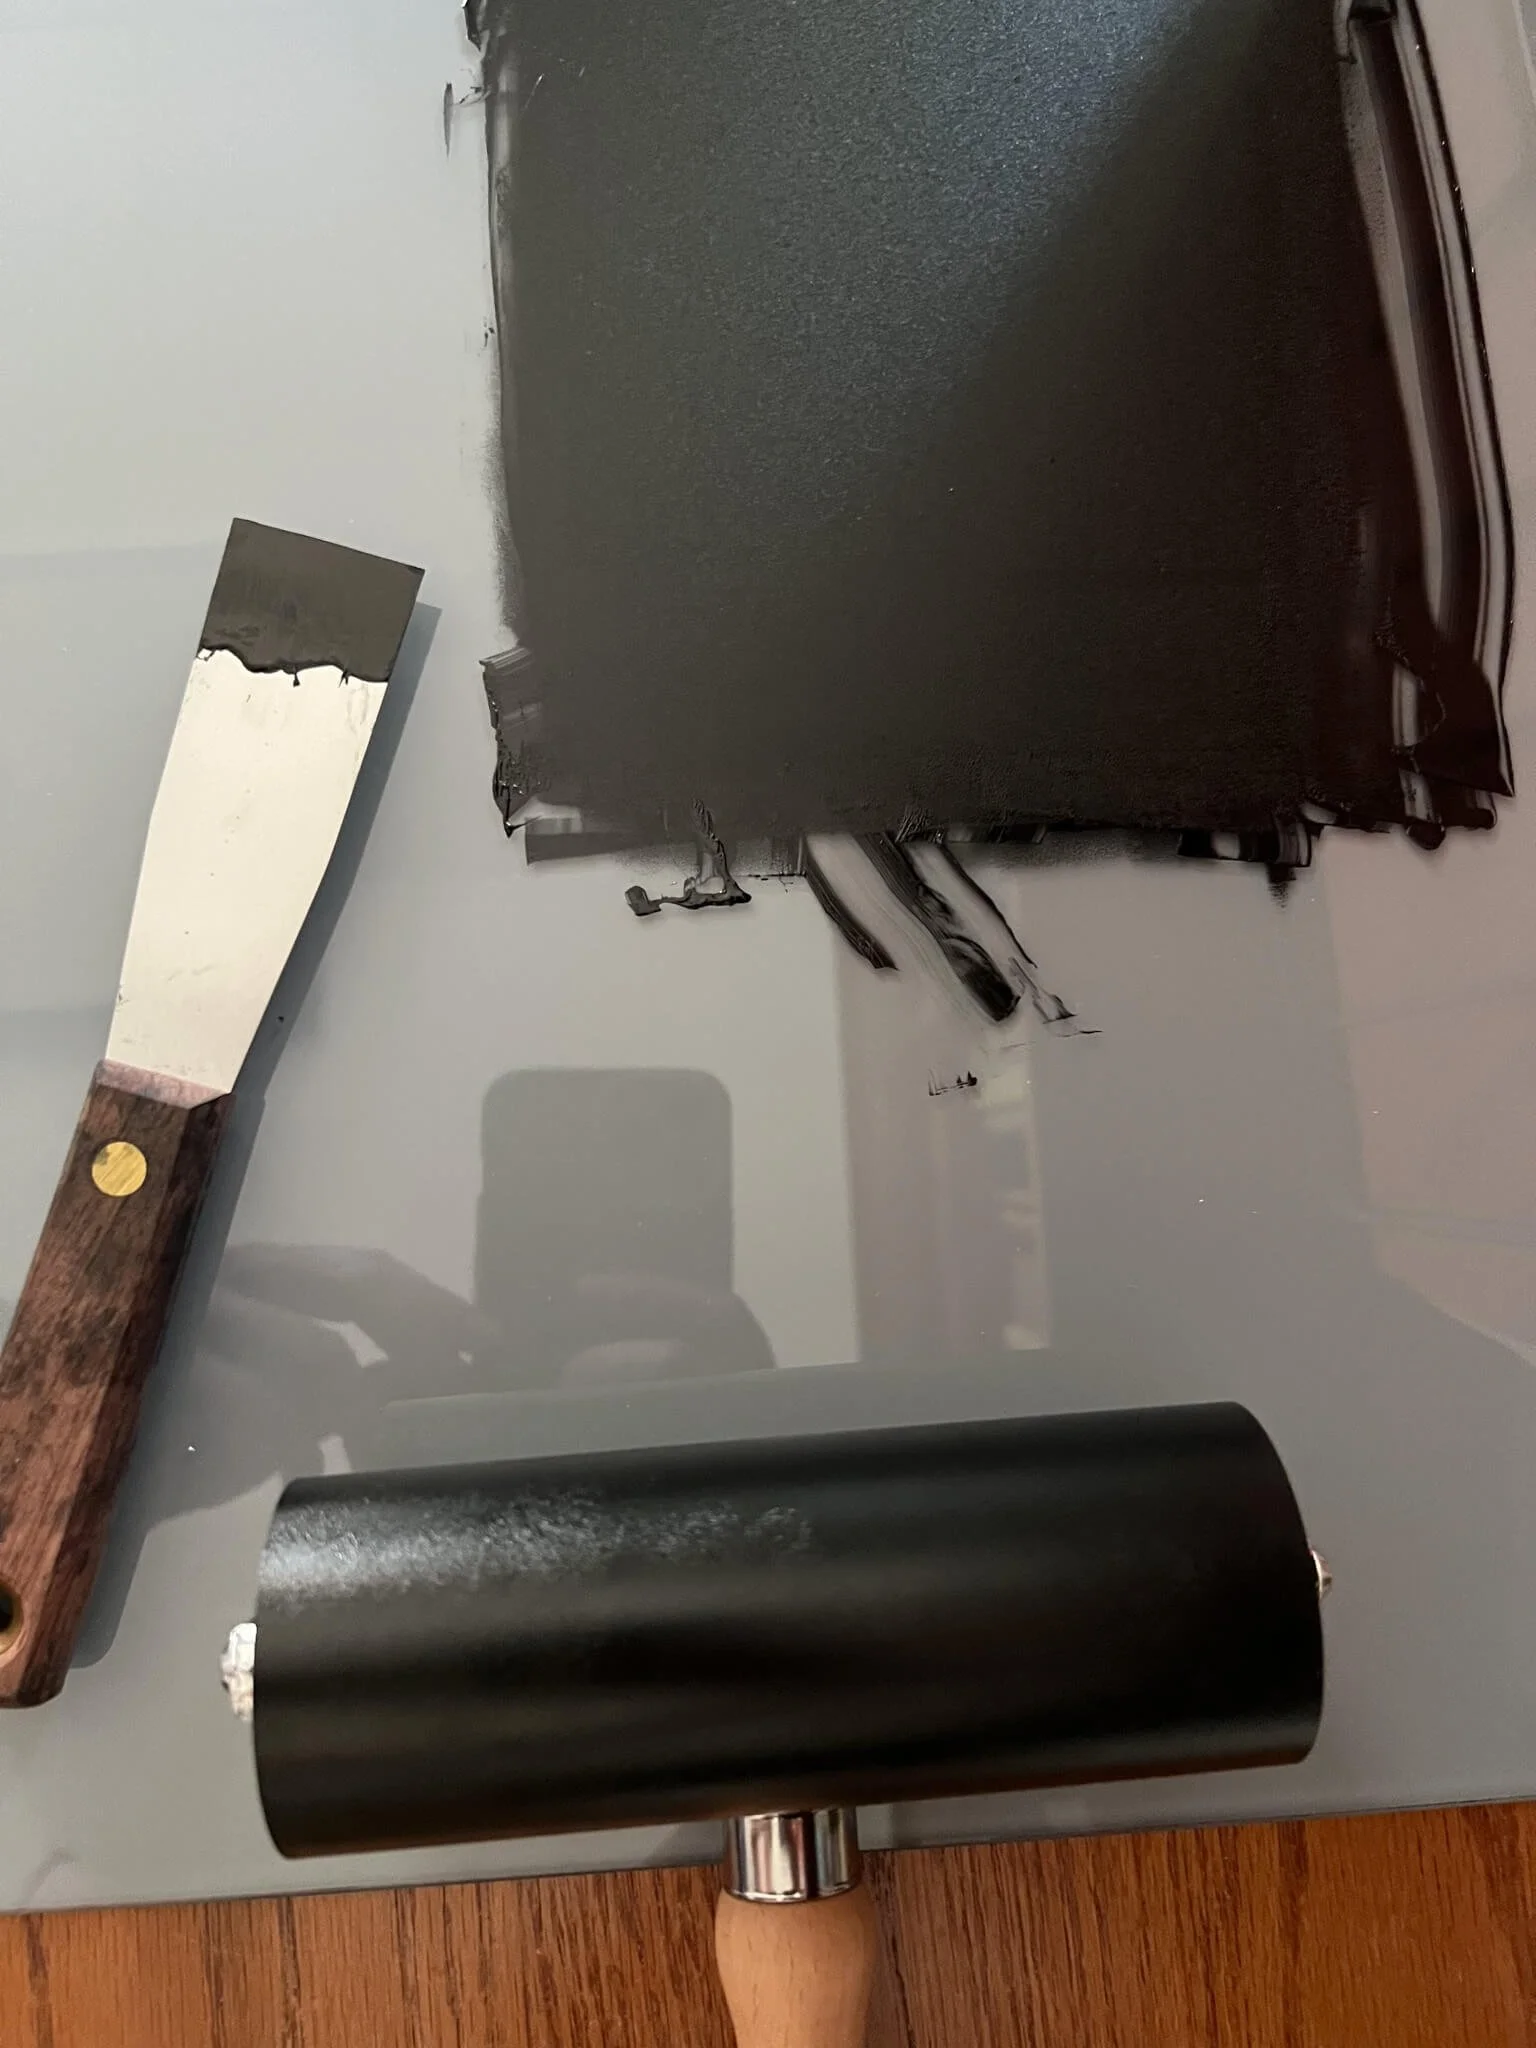
My glass tabletop for ink mixing with my ink spatula
My ink set up
I use Japanese brayers to roll and work out the ink — do not sleep on these rubber brayers; they are excellent and can be purchased at a variety of art stores. There are different types of brayers: hard/soft, and ones made with different materials. Make sure you experiment to see which one you prefer.
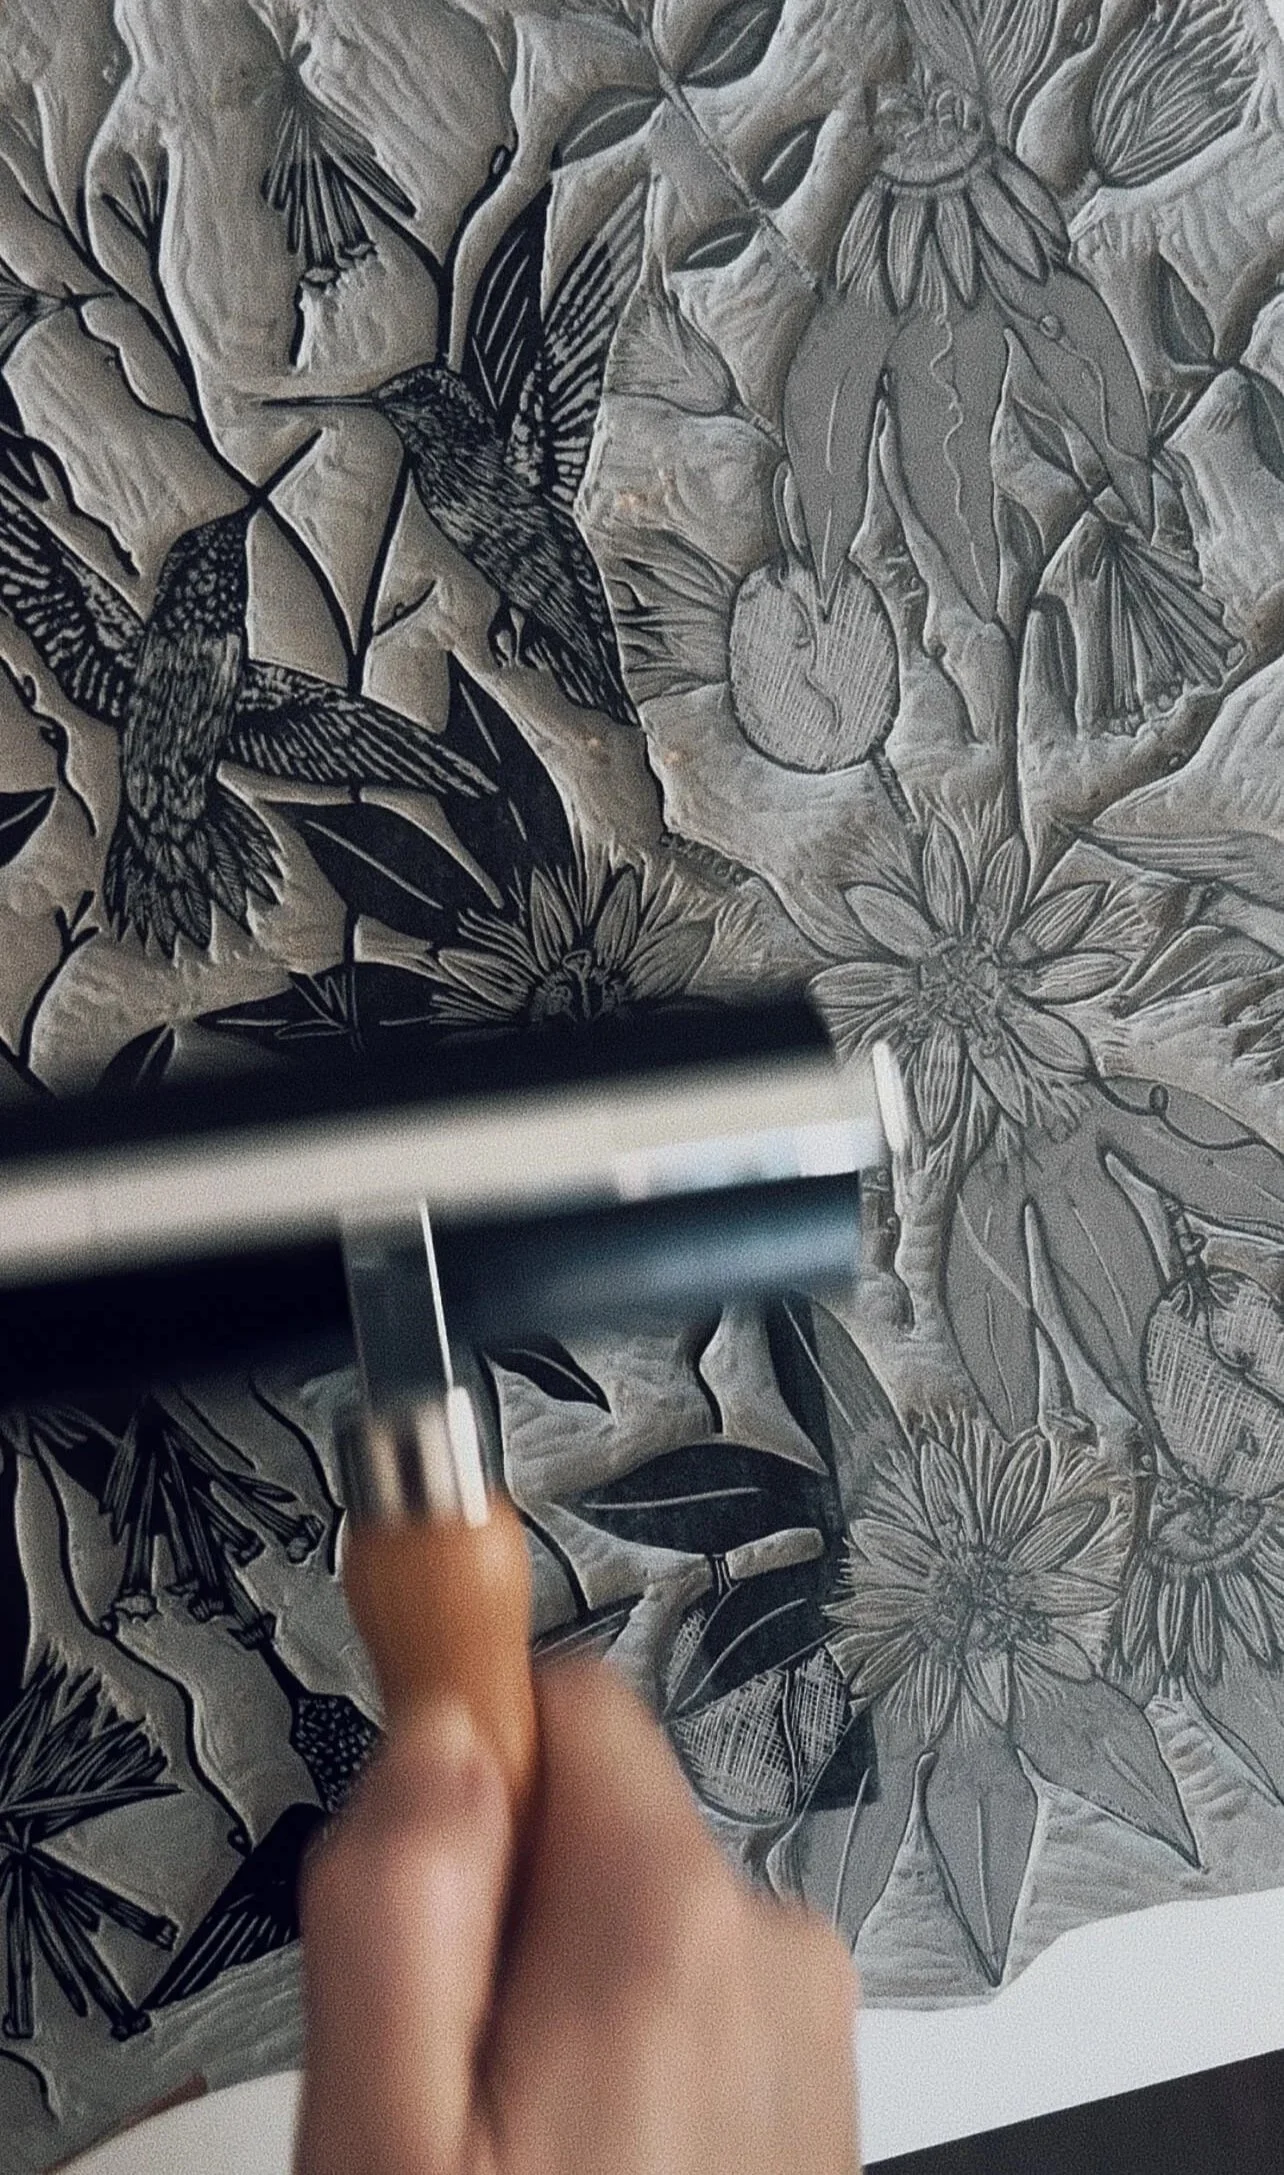
I use Japanese brayers to roll out the ink evenly onto the lino
This is how I dry my prints when there are multiple ones at a time. I use a portable/foldable wardrobe rack with wooden clothes-clips to keep them in place — I can safely store my prints up and away from hands, pets, etc and move the wardrobe rack in whatever location I need if the humidity changes or I need a little more sunlight in a certain area.
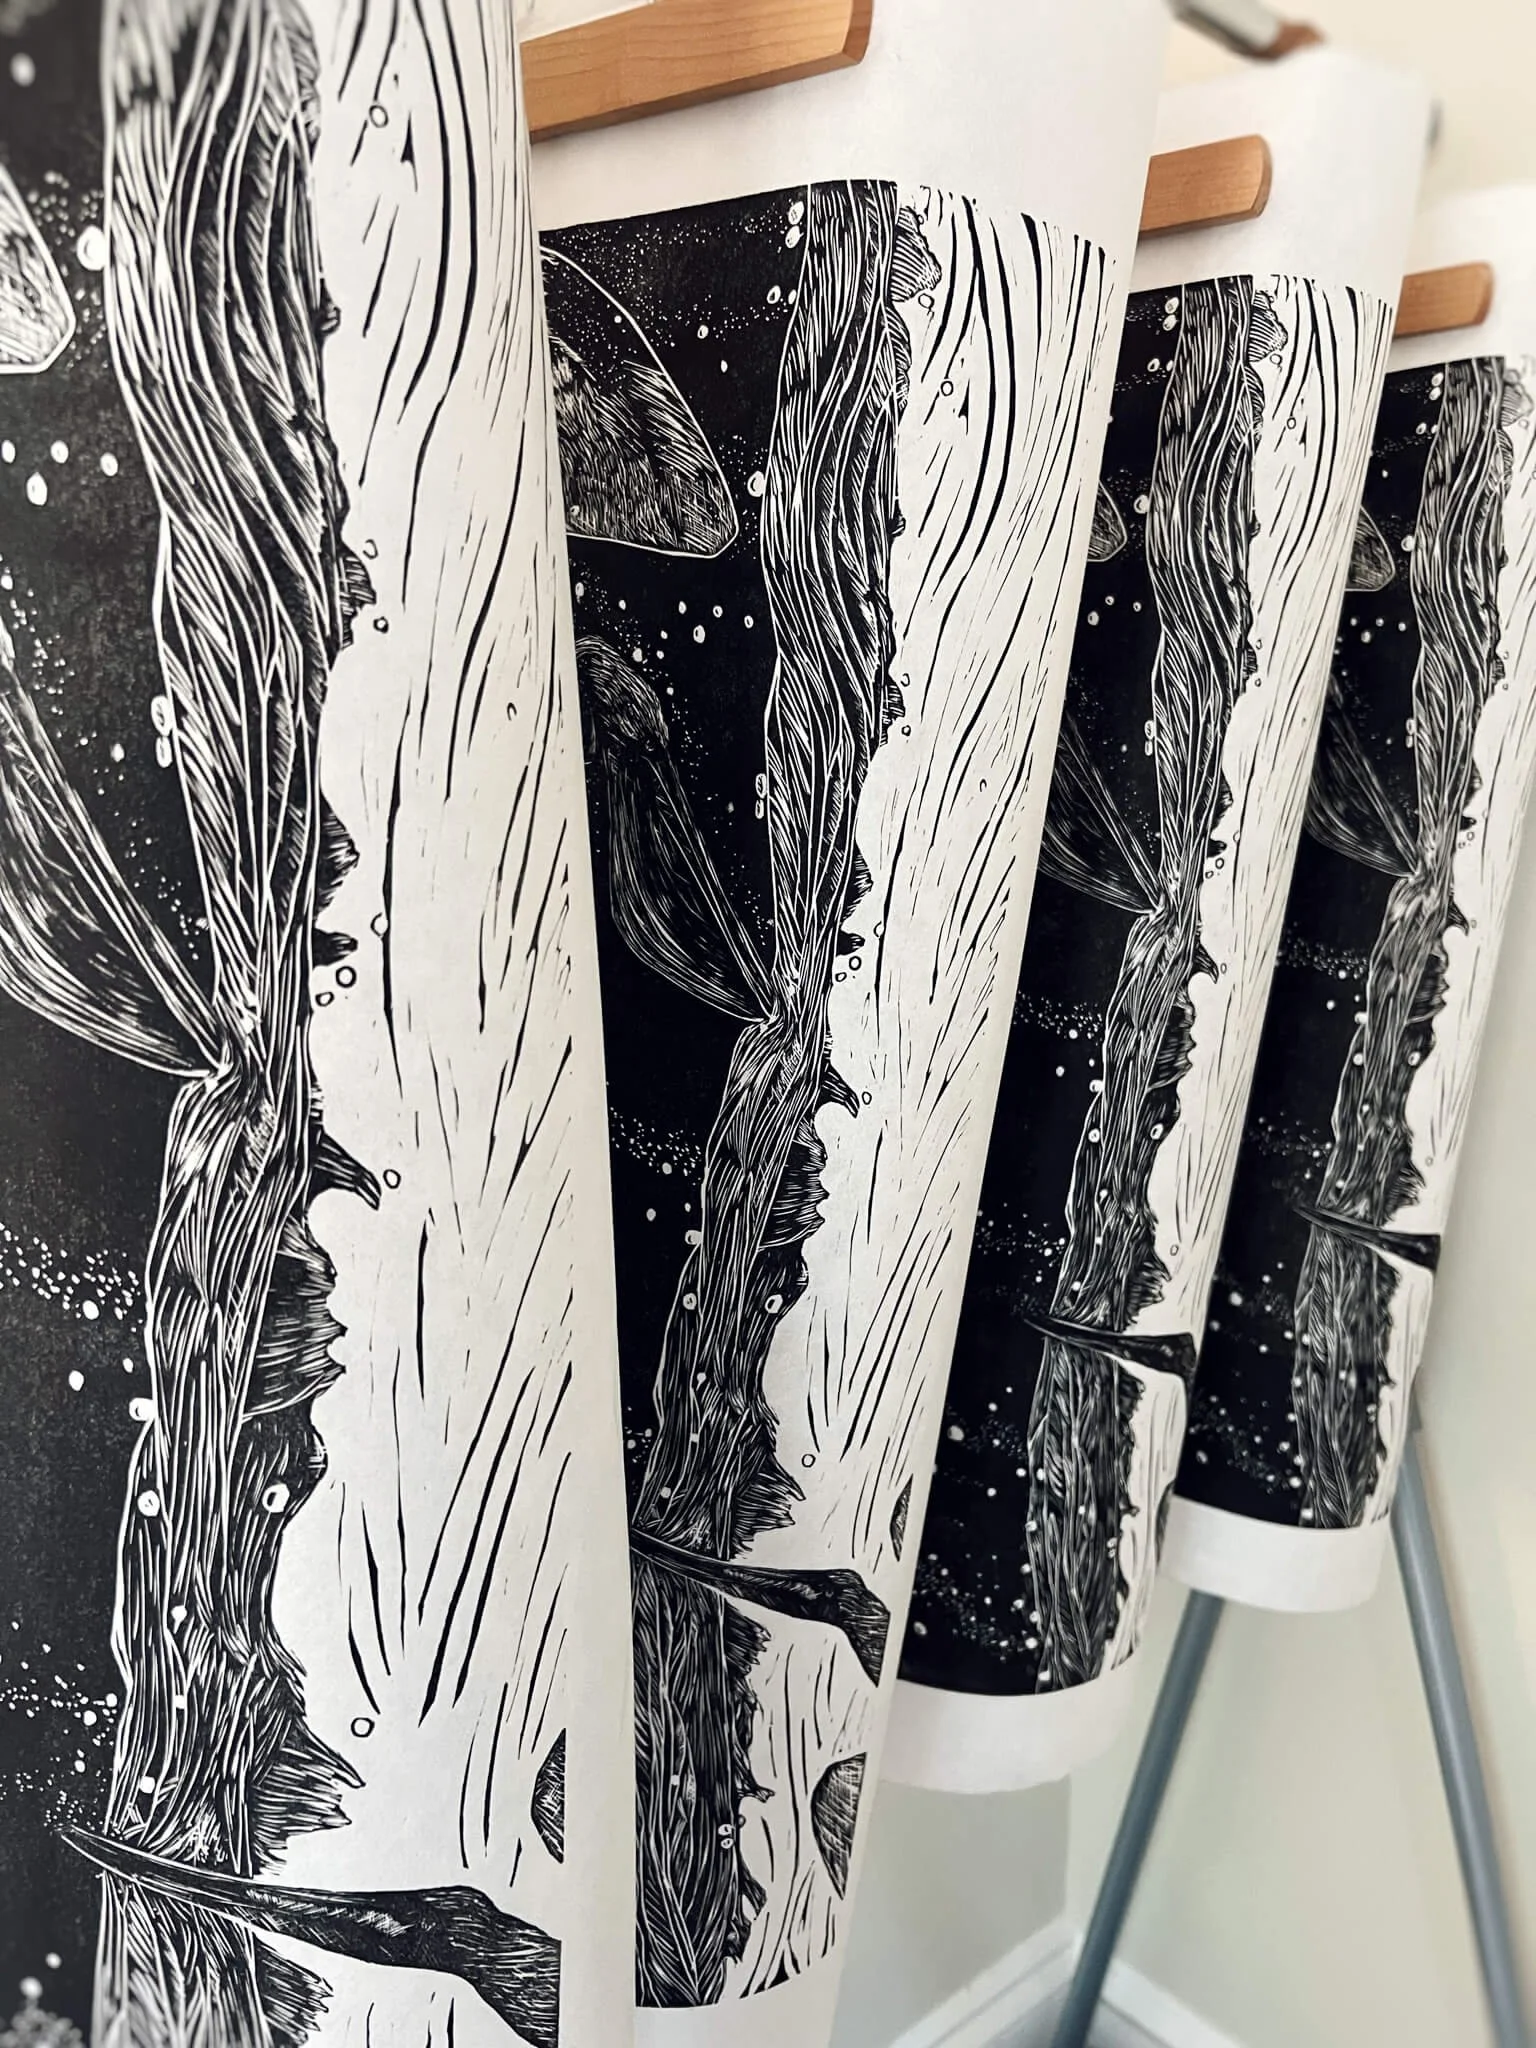
Frenzy prints drying!
This is a great way to dry very large prints without the hassle of a flat rack
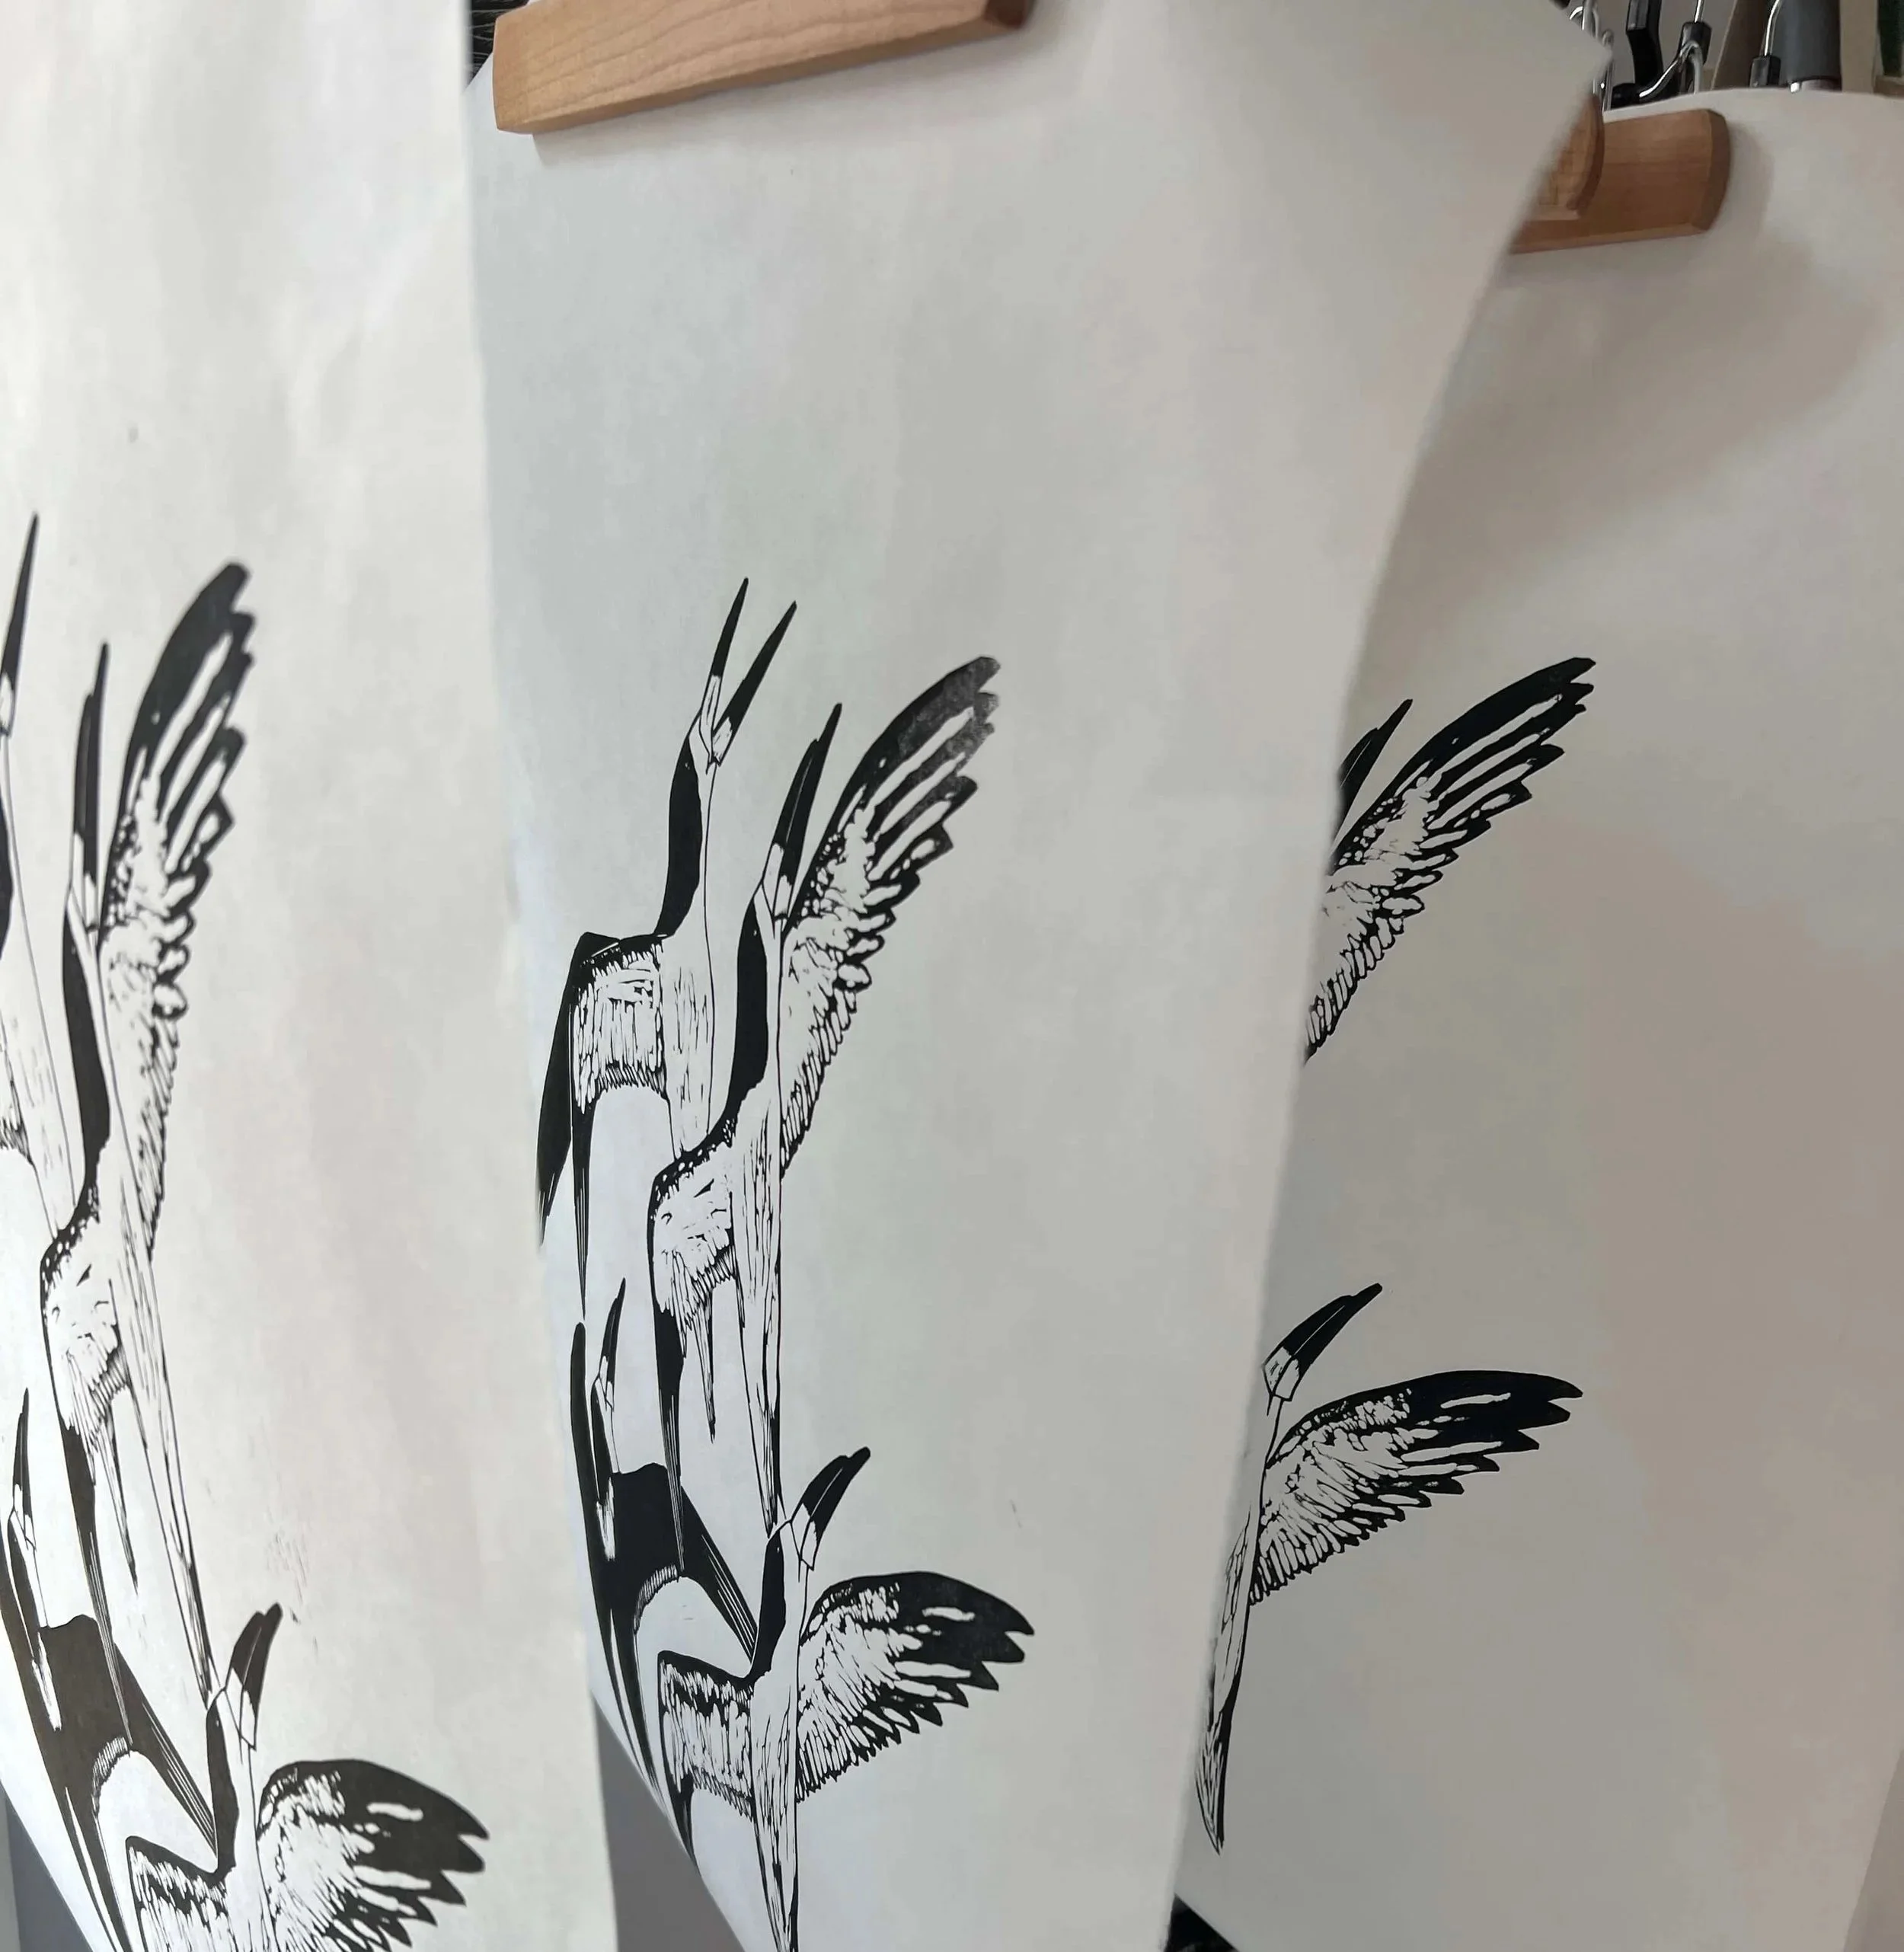
Black Skimmer prints drying
I use a steel paper tear bar. This is perfect for a fluffy + crisp deckled edge (if you prefer that look) I put tape along the edge to keep some grip on my table — this thing is heavy and sharp, so caution is needed when using one. This can be ordered from various art shops/printmaking supply stores that are online or in-person. I really like the look of having a deckled edge on each of my prints vs the standard clean-edge print. This method is very time consuming, but once done the results are fabulous.
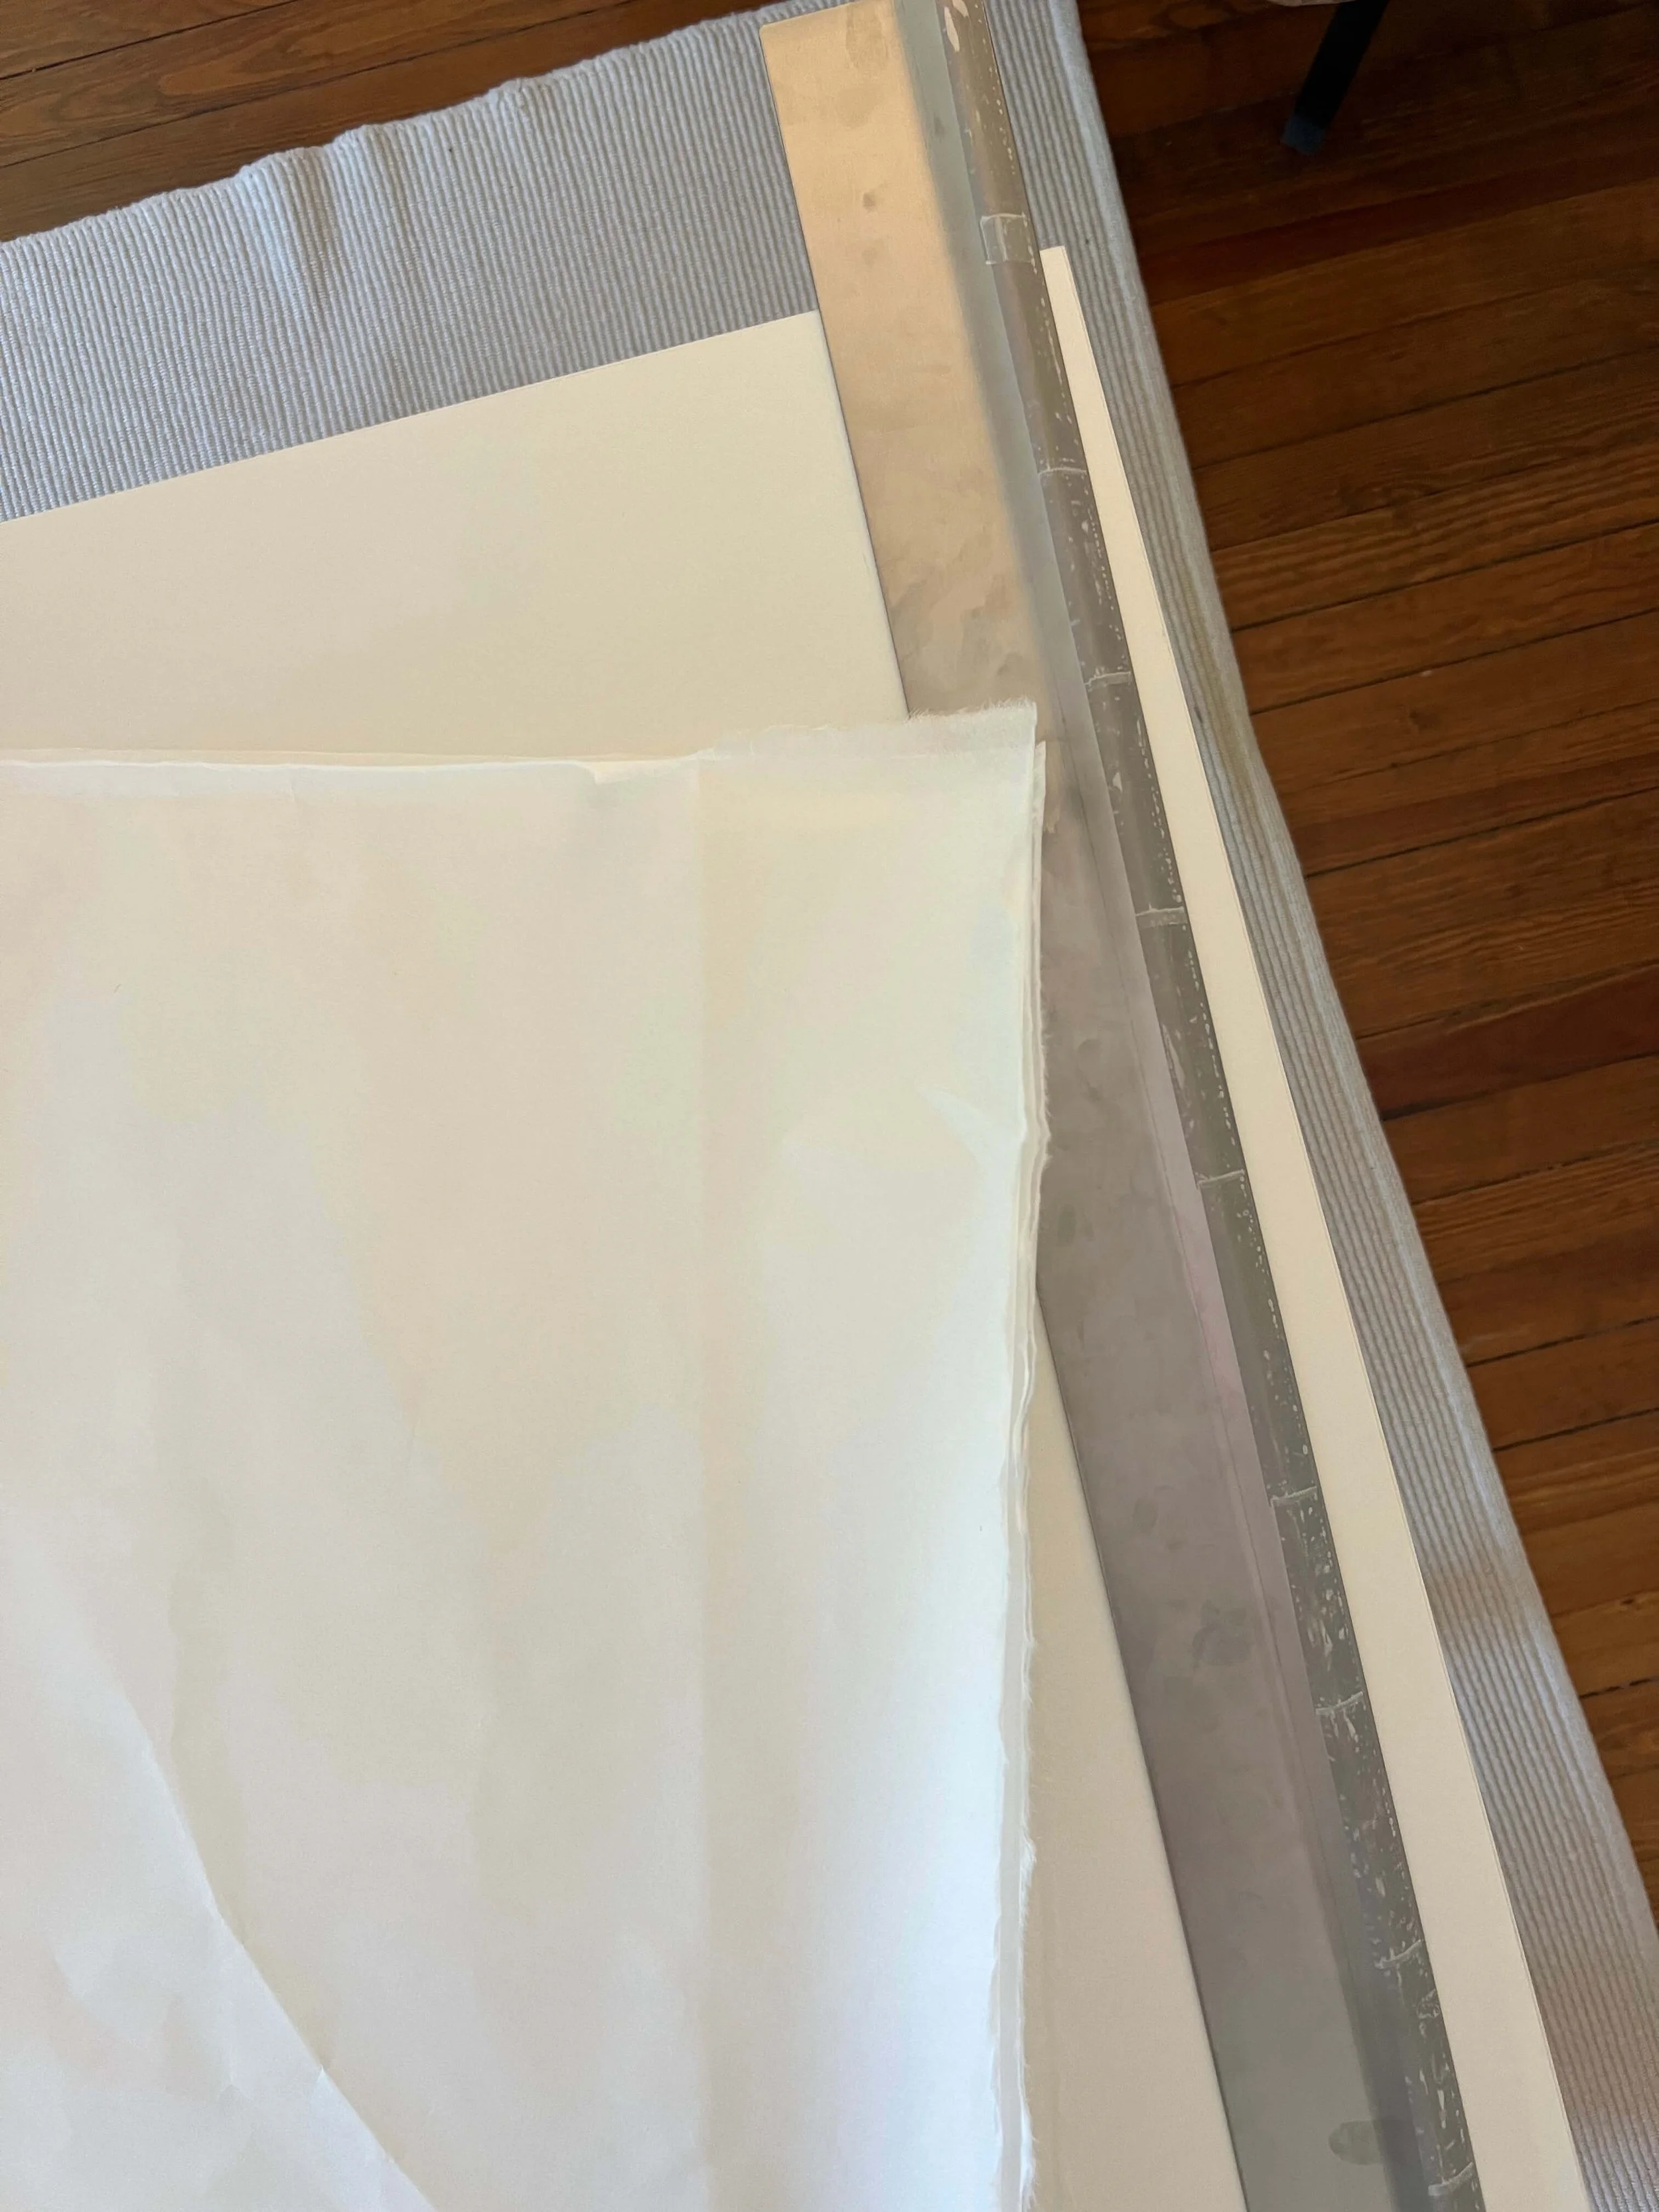
An easy way to deckle multiple sheets of paper at once
I personally think this is a great way to present a print: a fluffy deckled edge
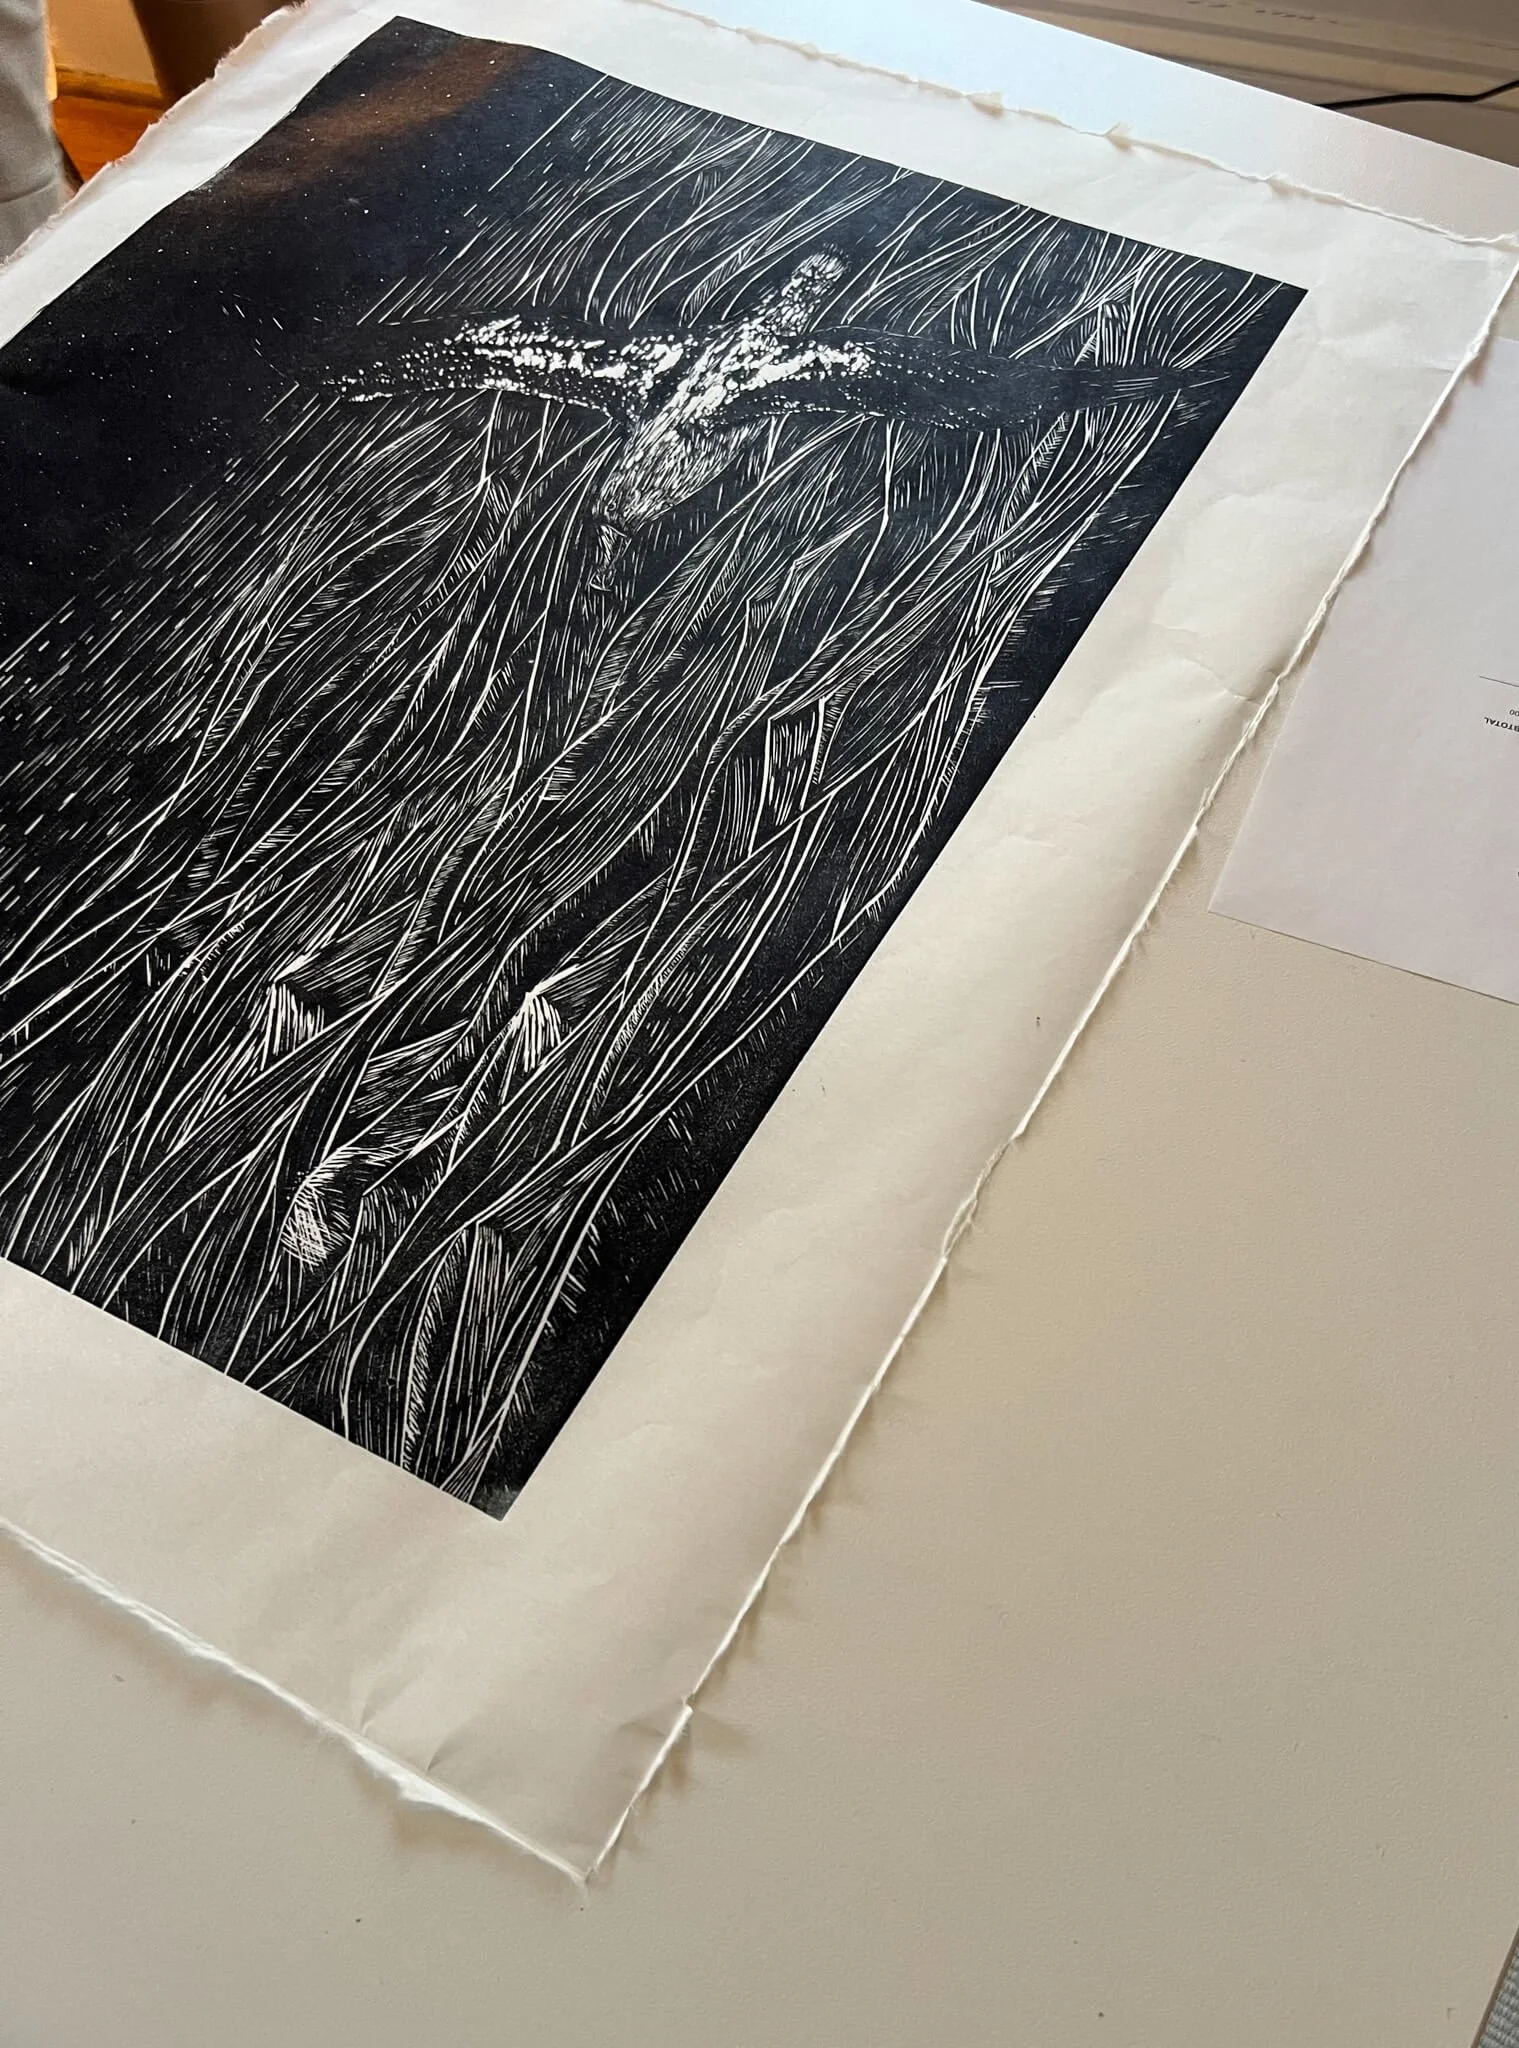
The result from using the paper tear bar
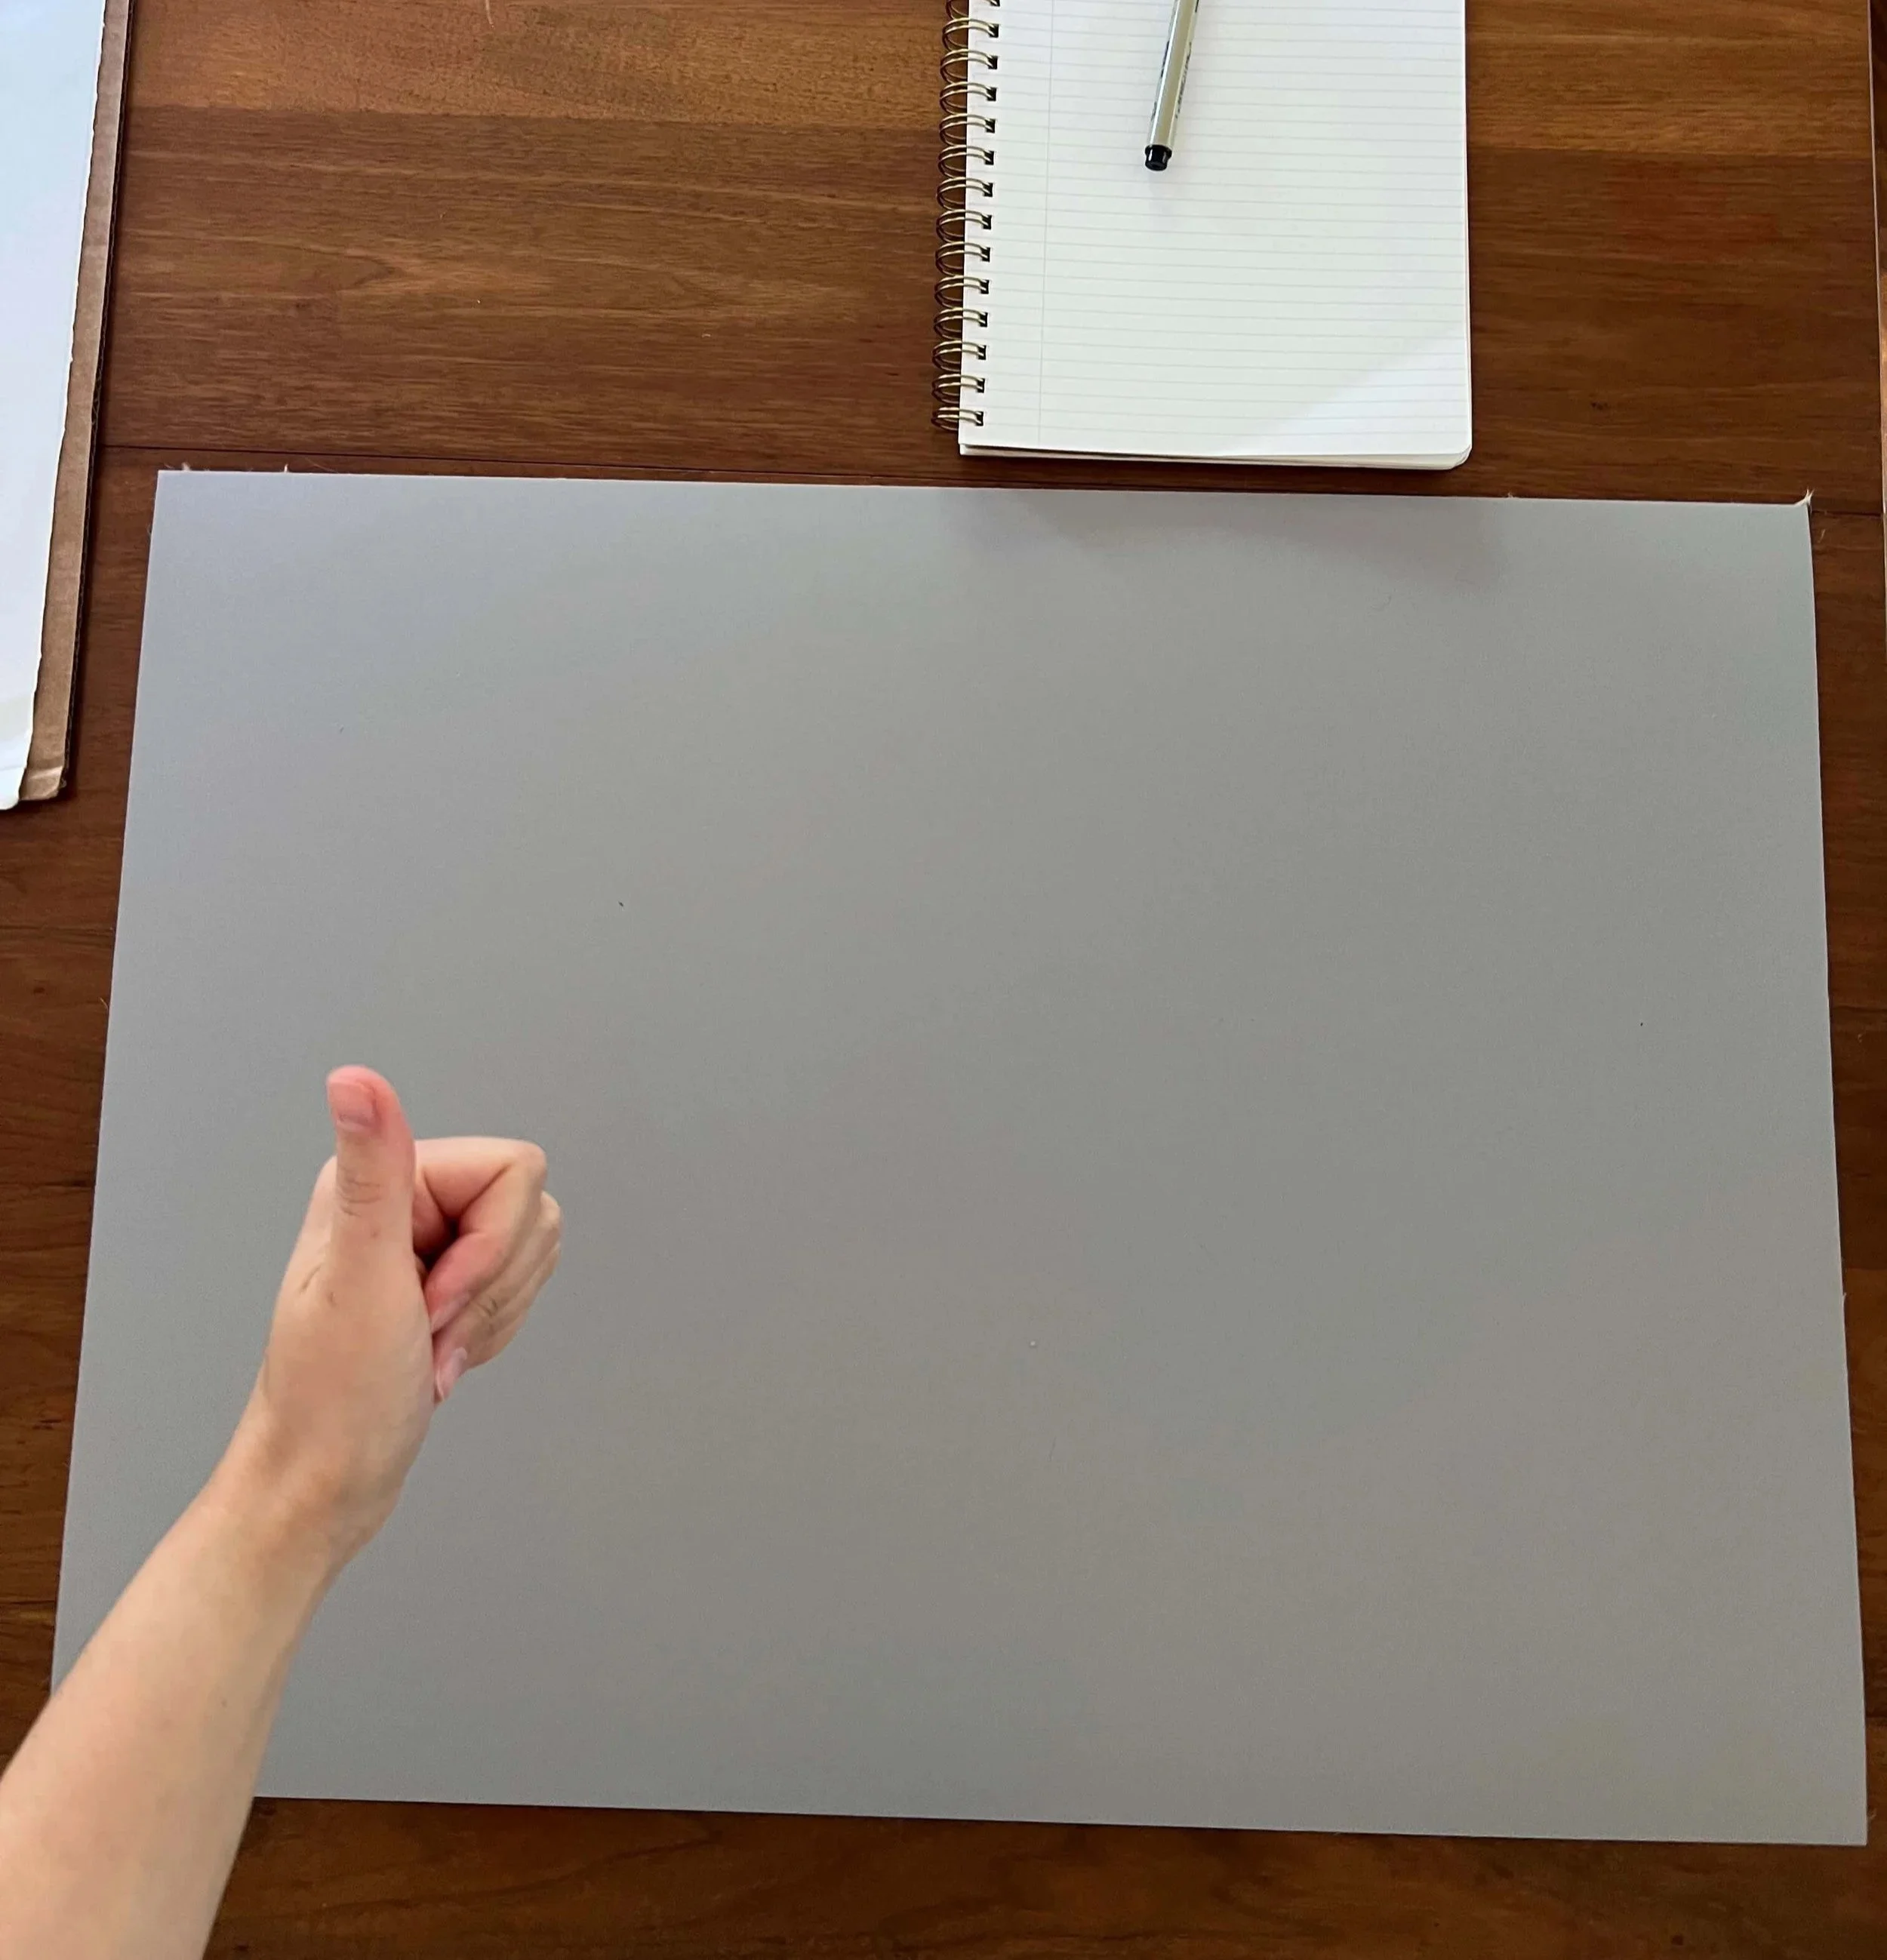
This is probably the most important thing I have — the actual lino! I use battleship gray because it is all natural, eco-friendly, and carves like butter! These sheets of lino are made of lindseed oil, pine resin, and wood dust compressed onto a jute backing. This is the most popular amongst printmakers. The various sizes are also a plus. This can be a bit difficult to cut with scissors, so be careful if you need to do that. Pro tip: put your lino in a sunny window before you begin to carve…it really helps (and make sure your tools are sharp, too!) While I carve, I use tiny brooms to sweep away the bits of lino that get in the way—this keeps your carving space clean (things get messy, fast!).
Battleship gray linocut — a fan favorite
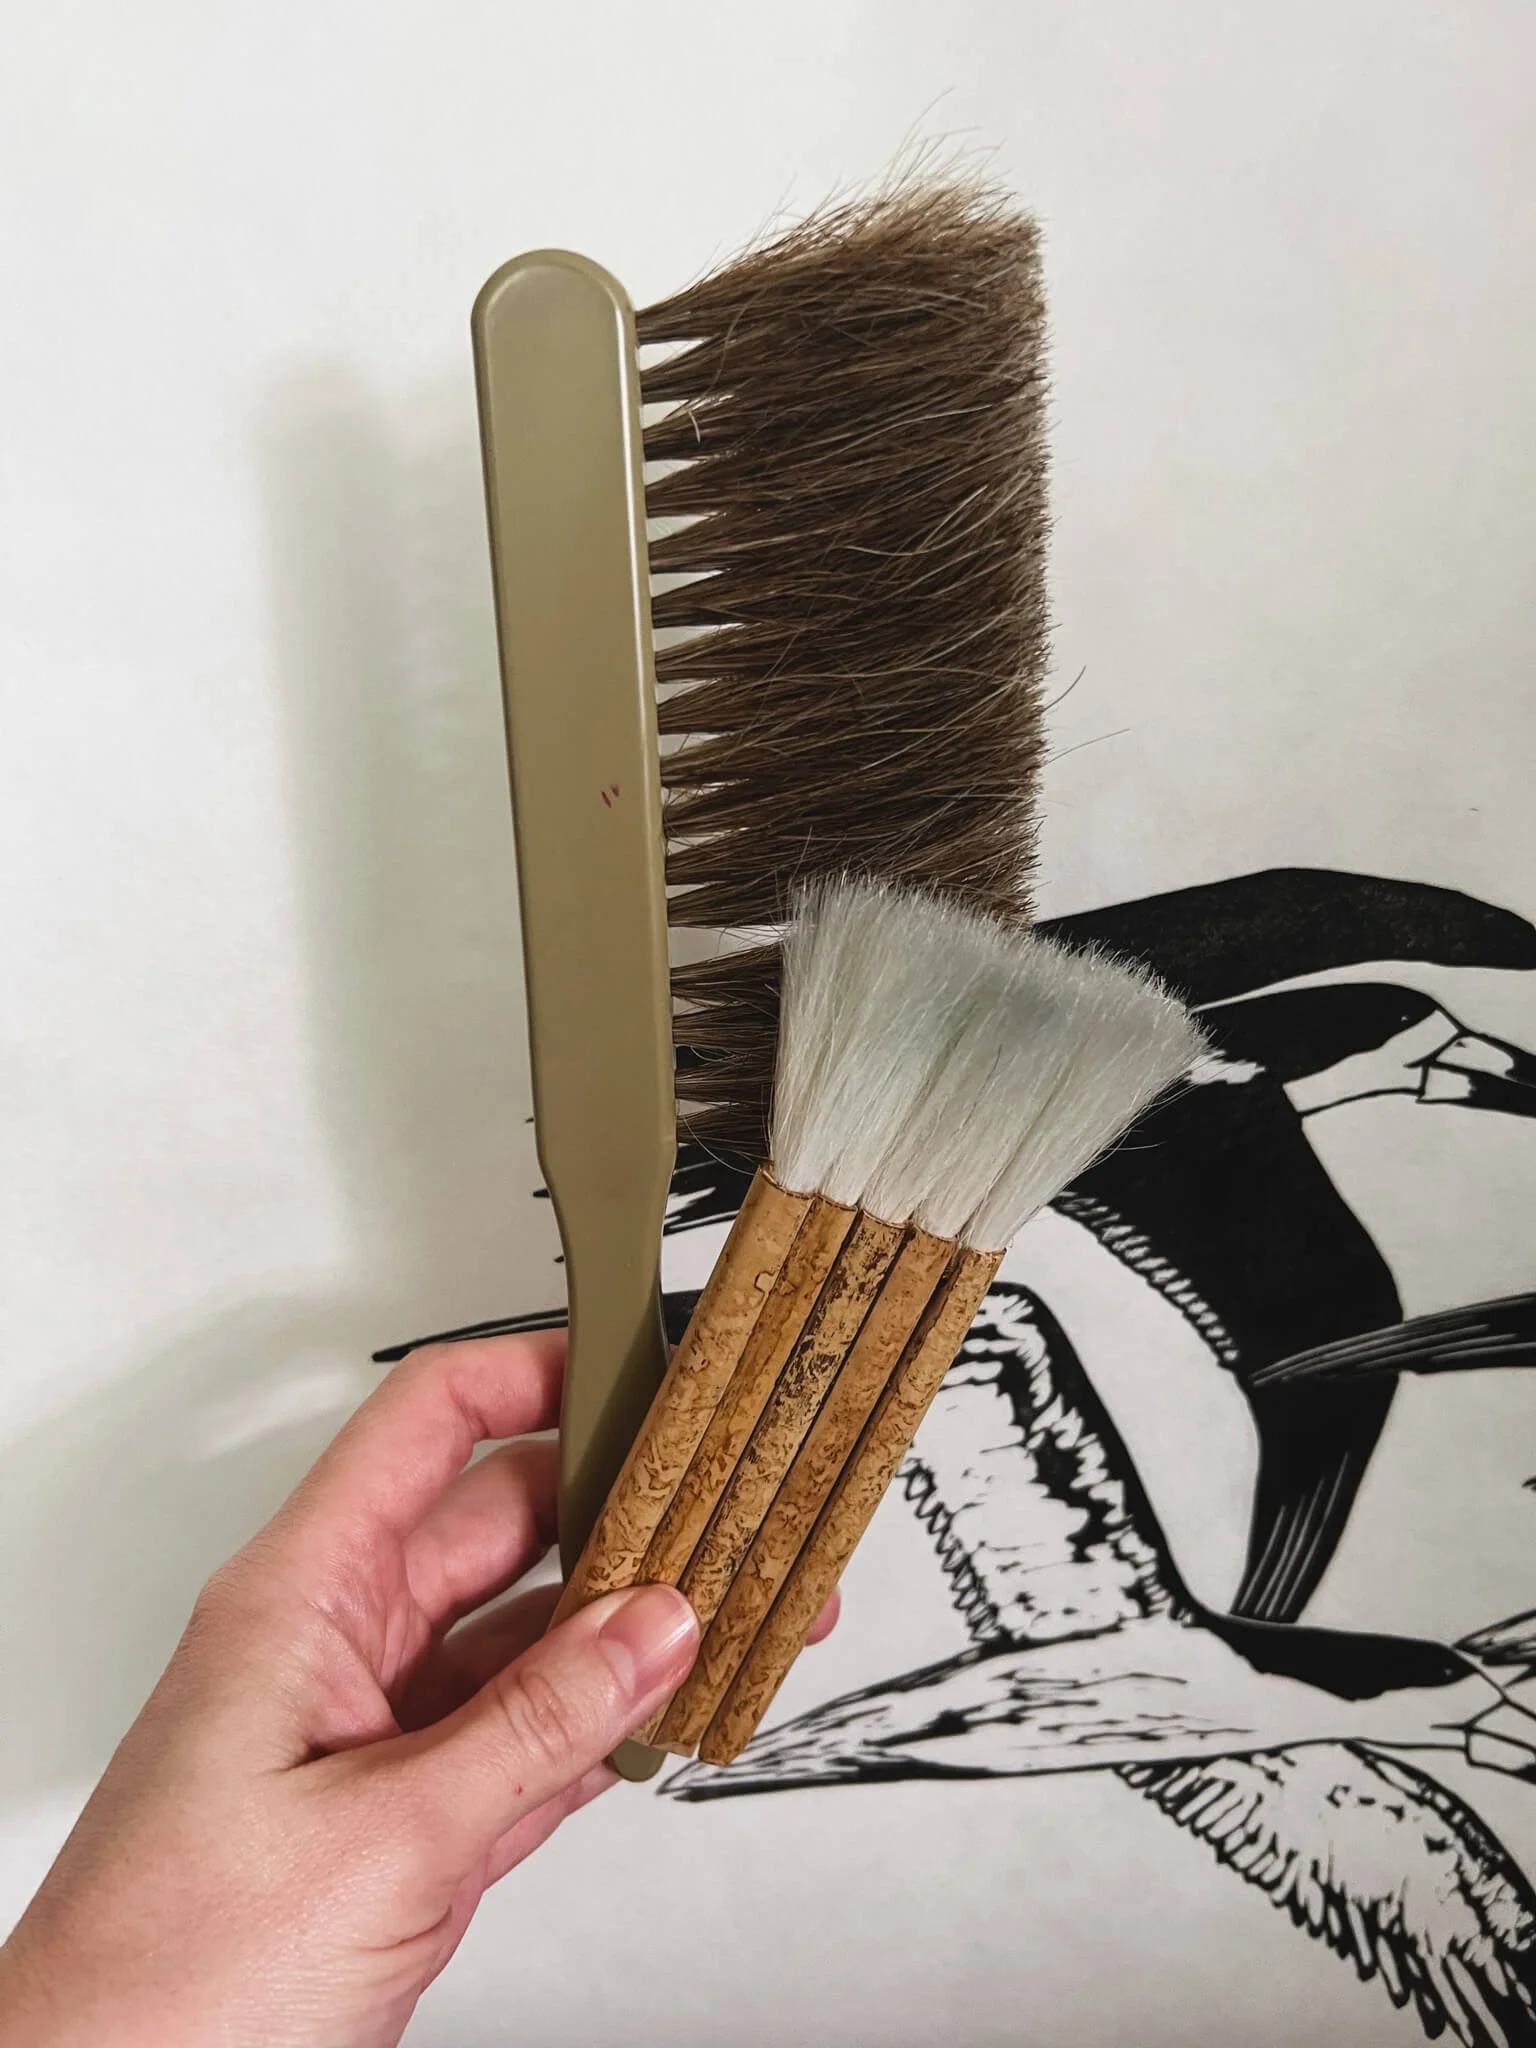
Mini broom and bamboo hake brush — this helps get the small bits out of the lino after carving
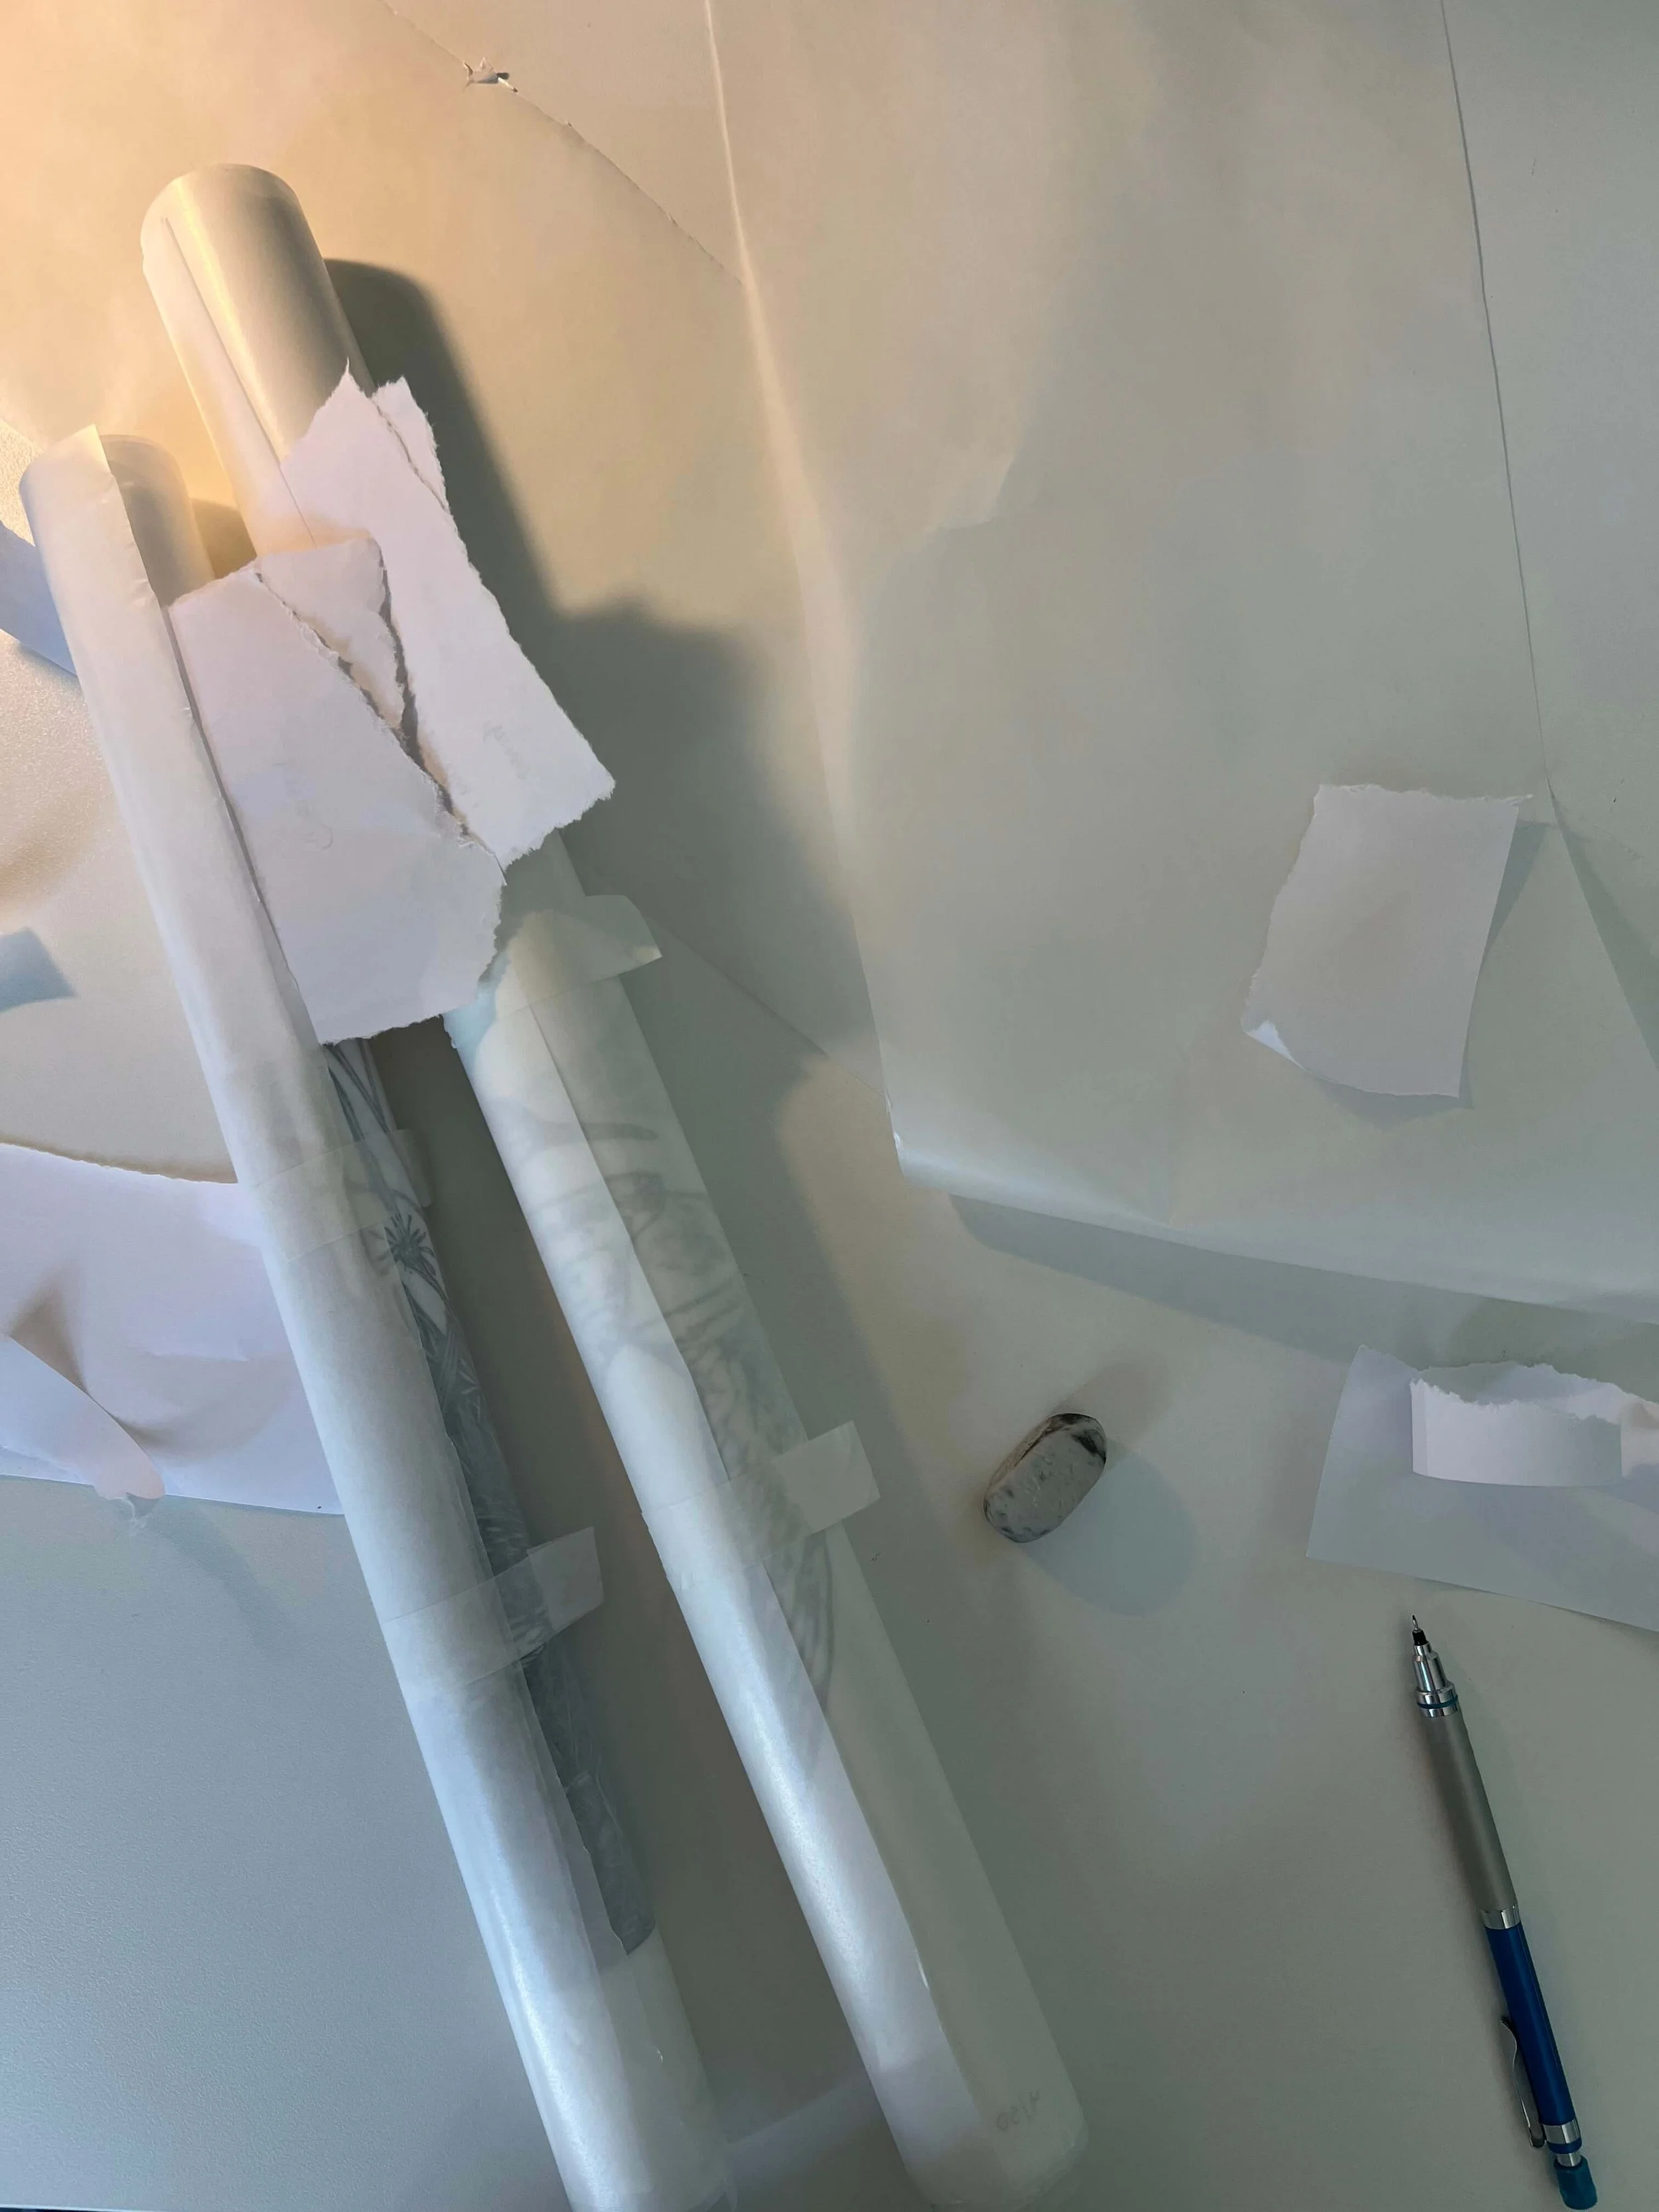
Glassine paper will be your best friend during the entire duration of being a printmaker. You will need something acid-free to shield your prints when shipping, storing, etc. I roll my prints and ship in cardboard tubes, so using this is vital to ensure nothing leeches into the archival paper. I also highly recommend glassine paper for sketches! I often plan out my composition on a piece of glassine paper to see if “it works” before drawing and committing to the actual project. The feeling of thinking a drawing will work vs making sure the composition is balanced out is a tough thing to work through — starting over is the worst! Sketch over and over until that composition is right. Your work will thank you for it!
Glassine paper to keep my prints safe and acid-free!

Planning a very complicated print! You can use glassine for sketches you want to transfer
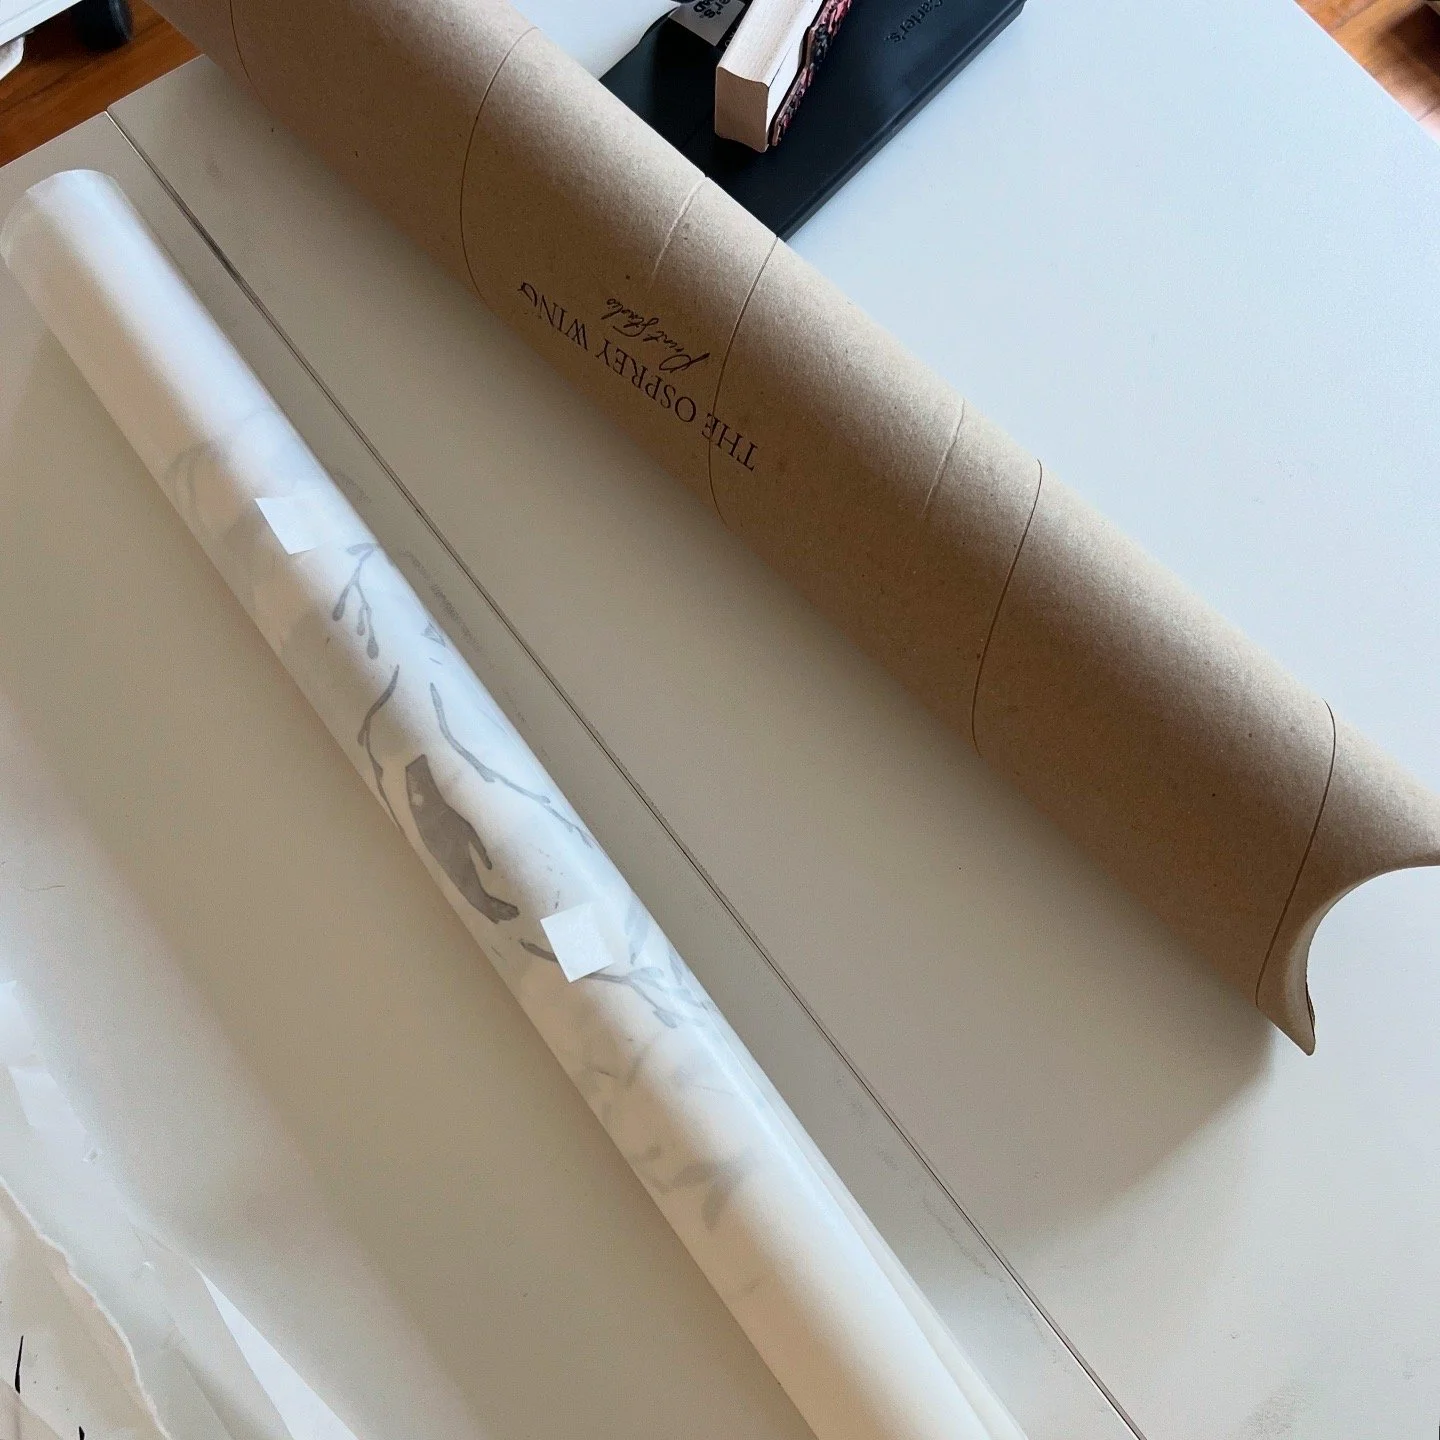
Prepping a print to be shipped!
I do not use plastic in my shipping materials — just paper + cardboard
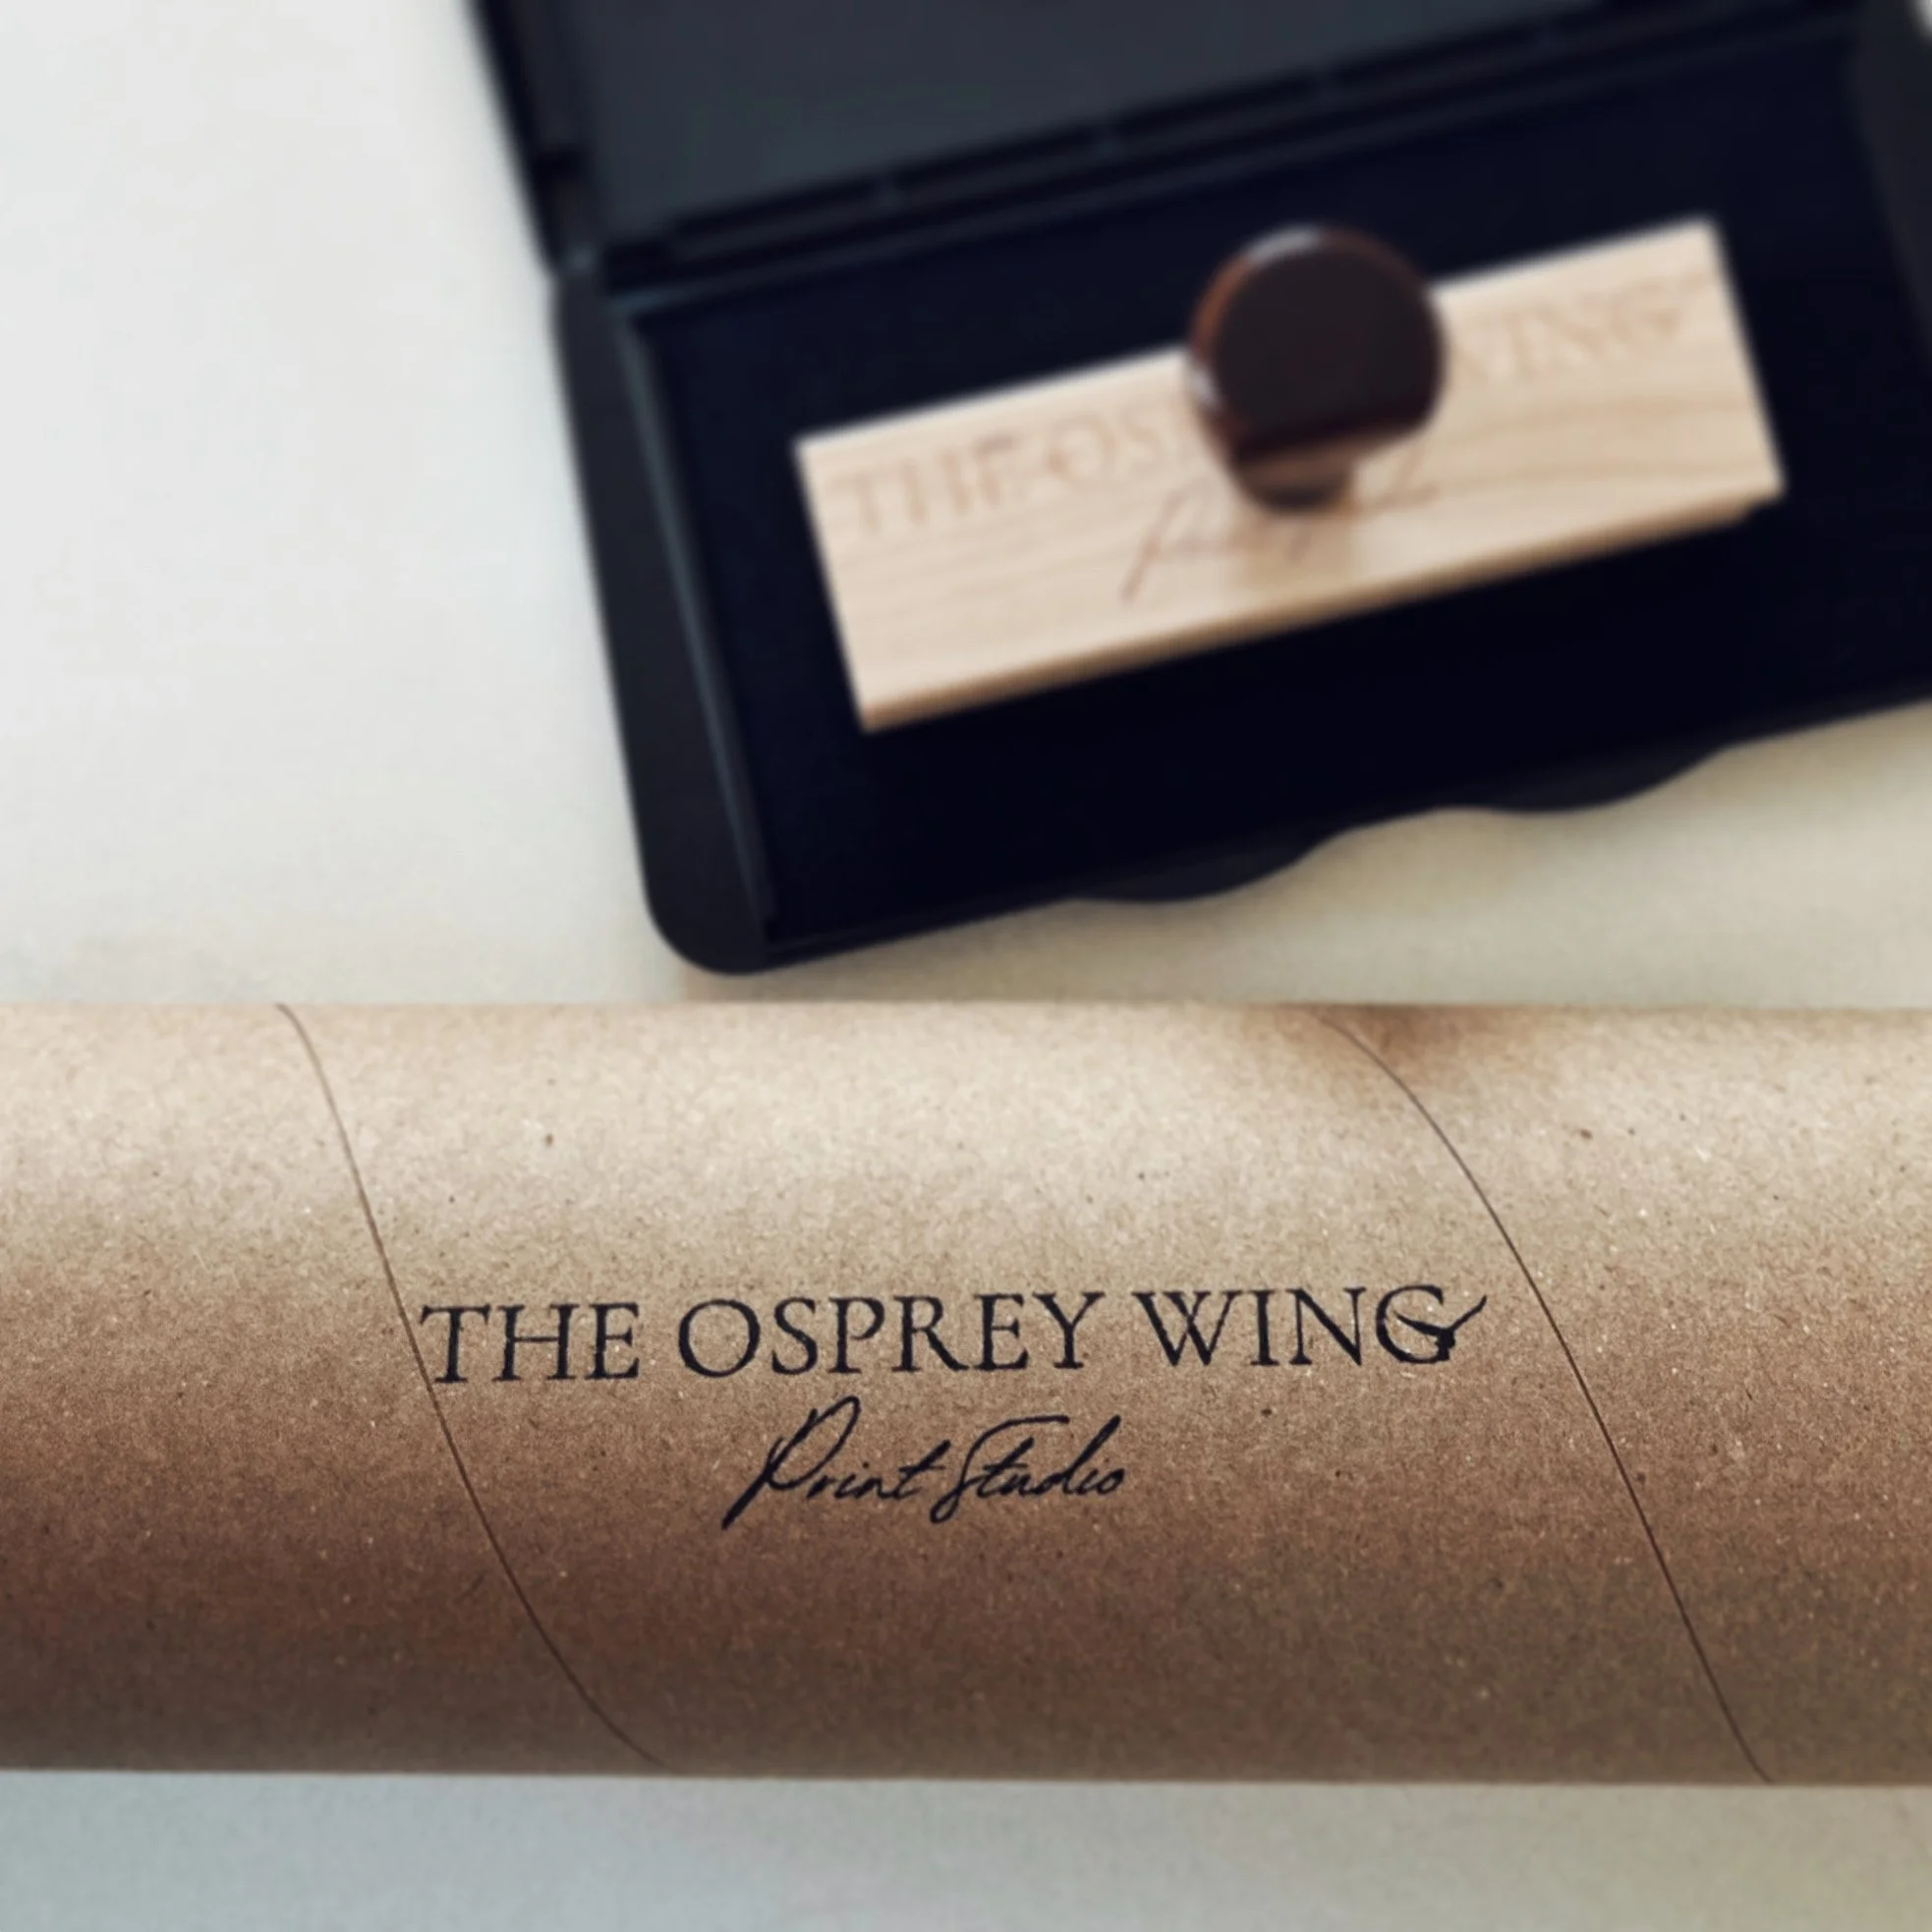
I stamp each shipping tube before sending them out into the world
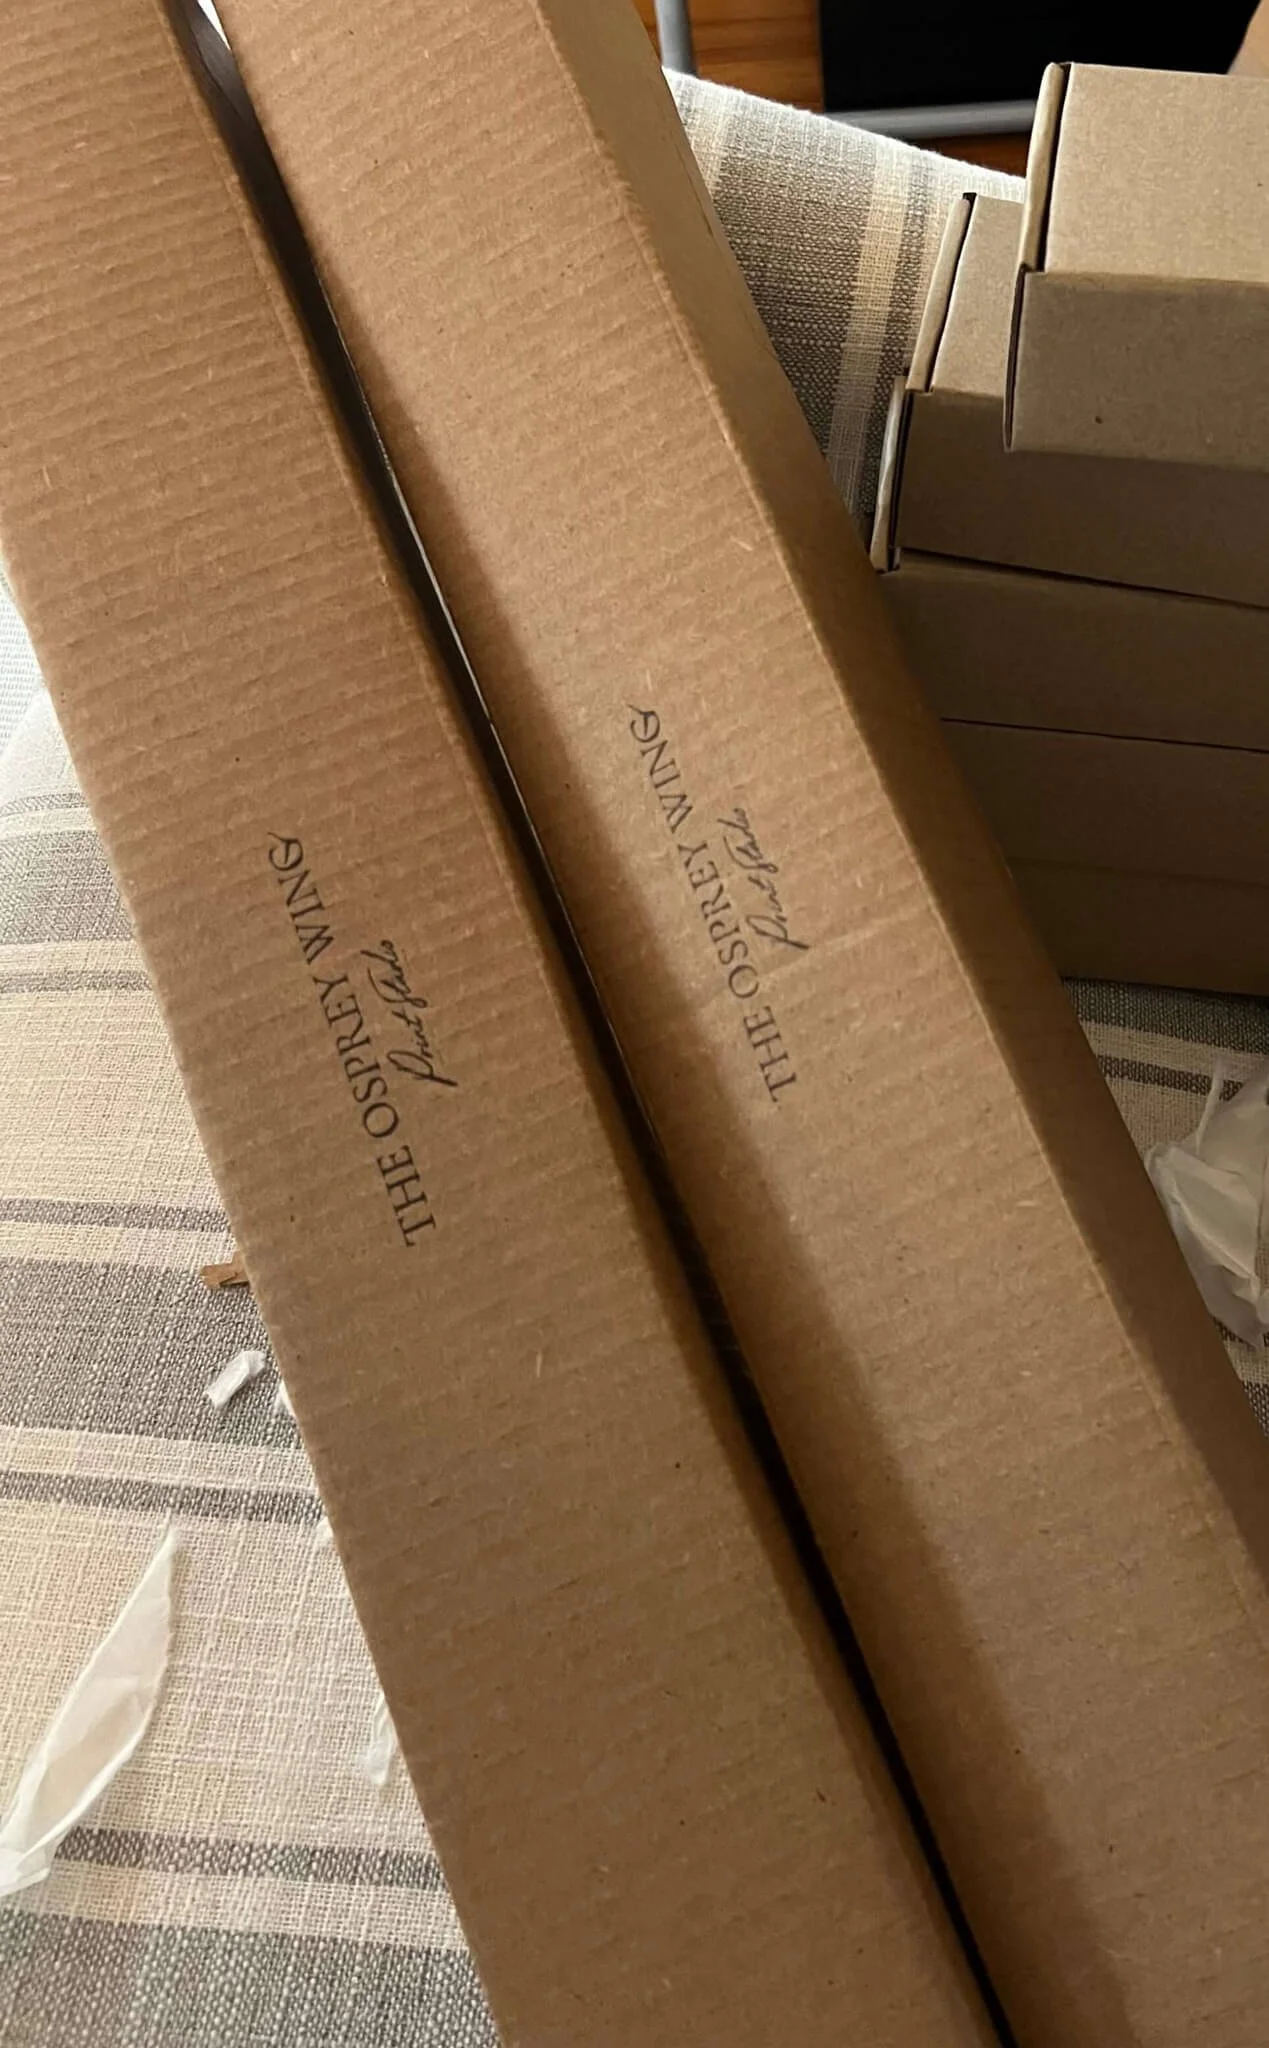
An extra box for protection and thats it!
Do you still have questions? Send me an email and I would be more than happy to answer any questions you may have. Thank you for reading!
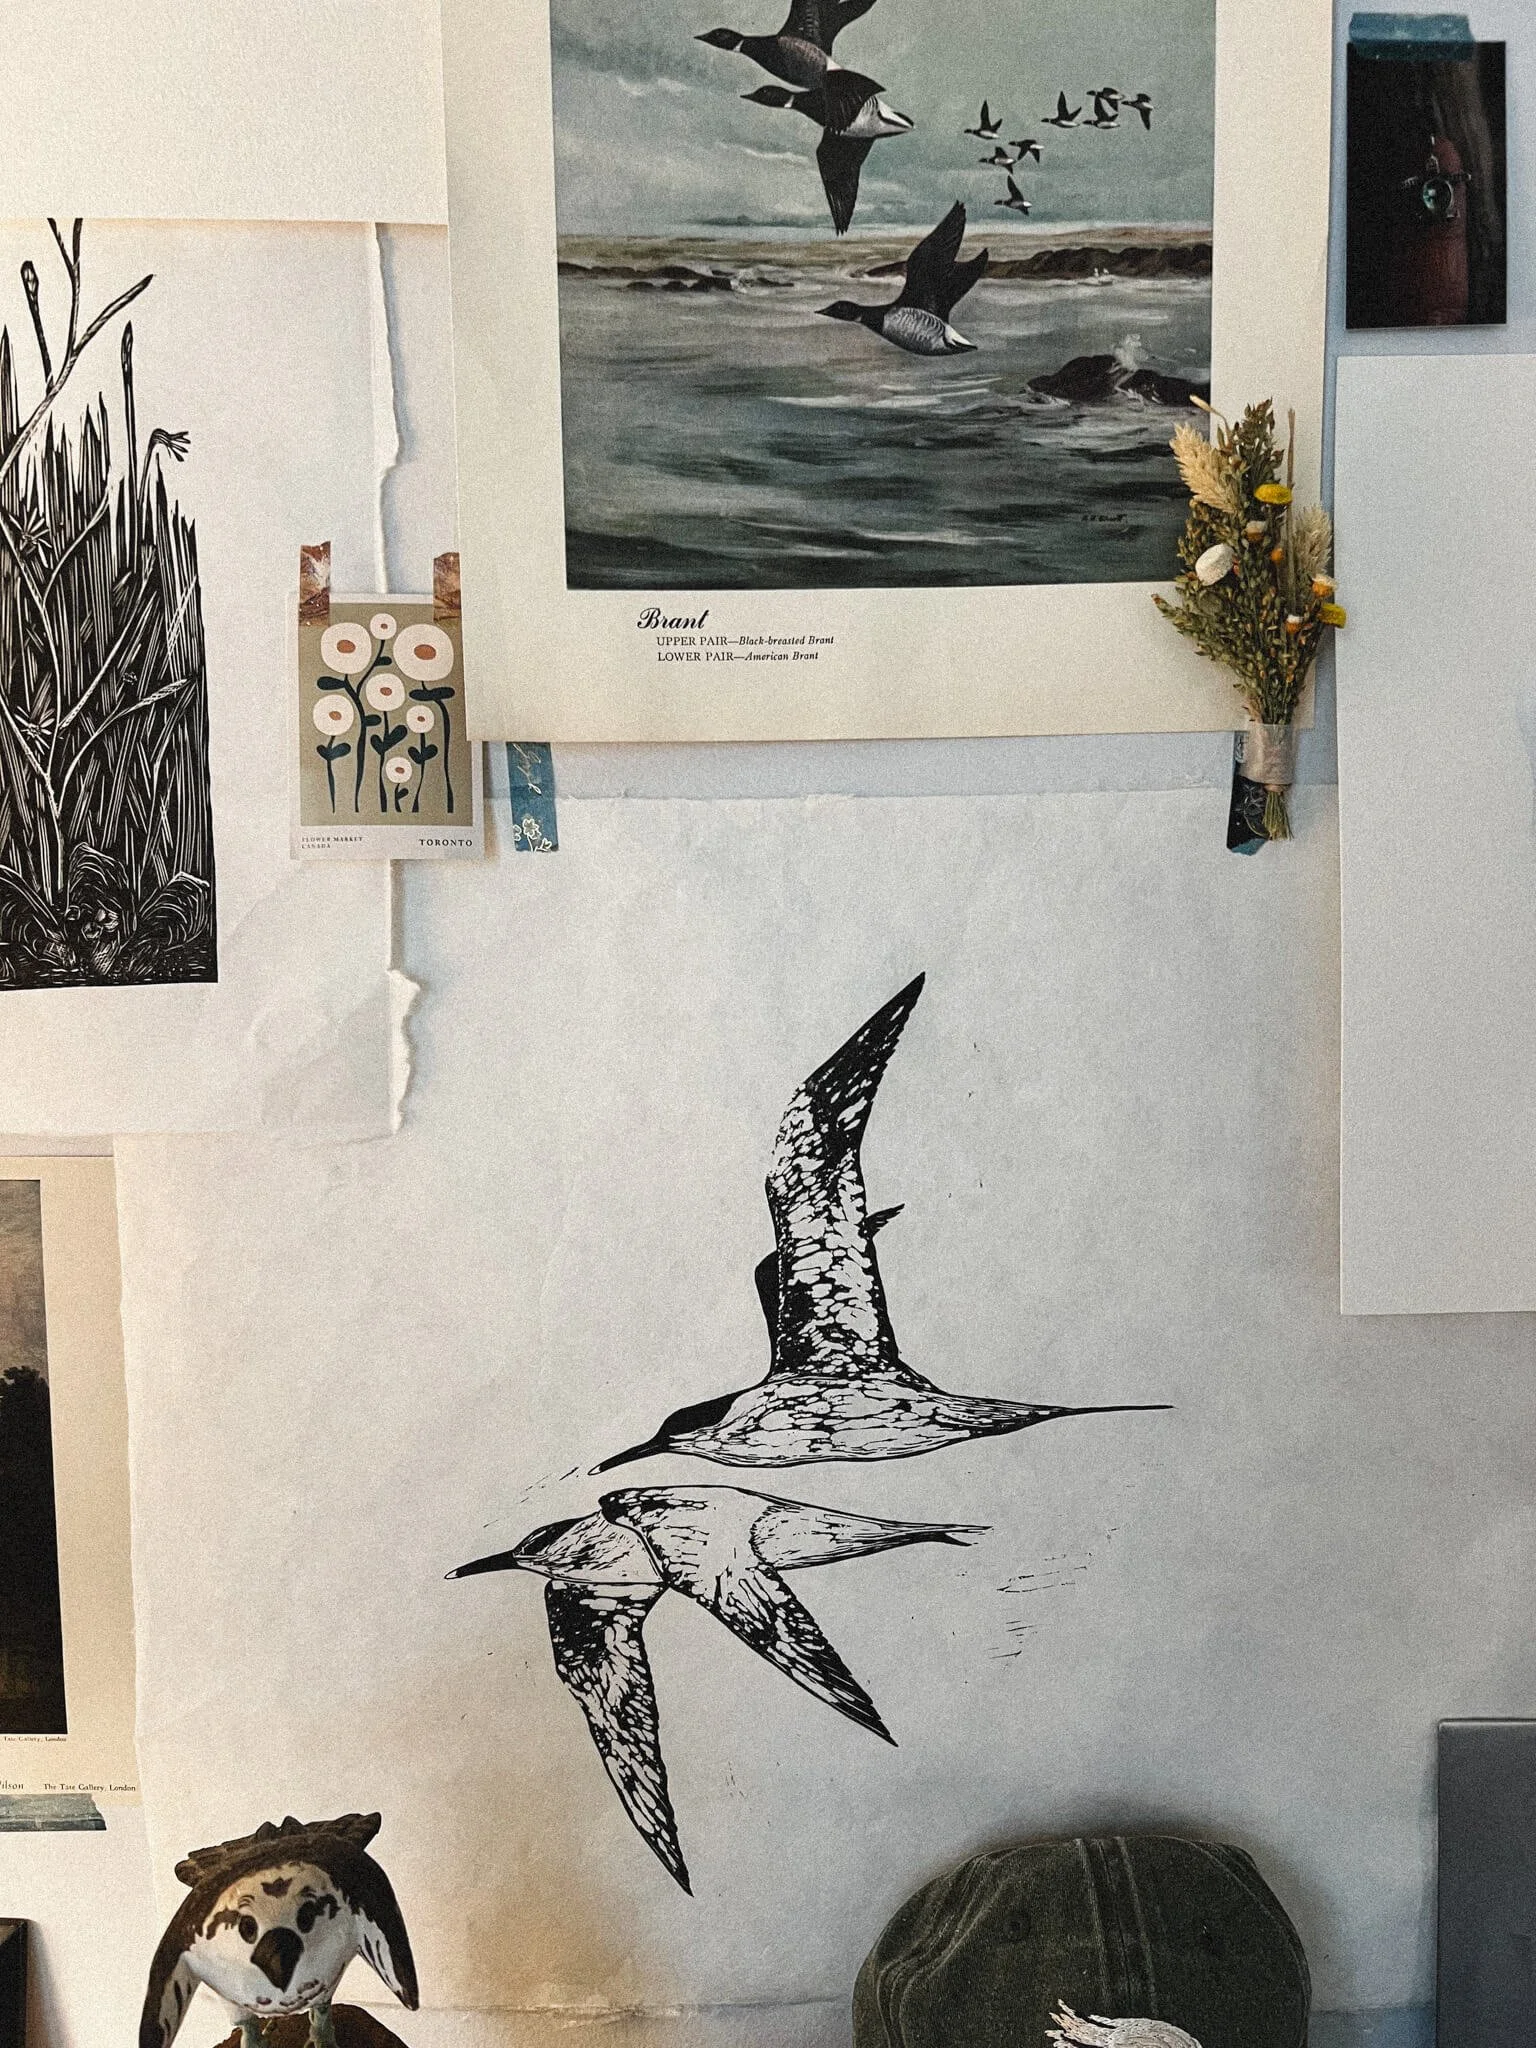
One of the very first Sandwich Tern prints
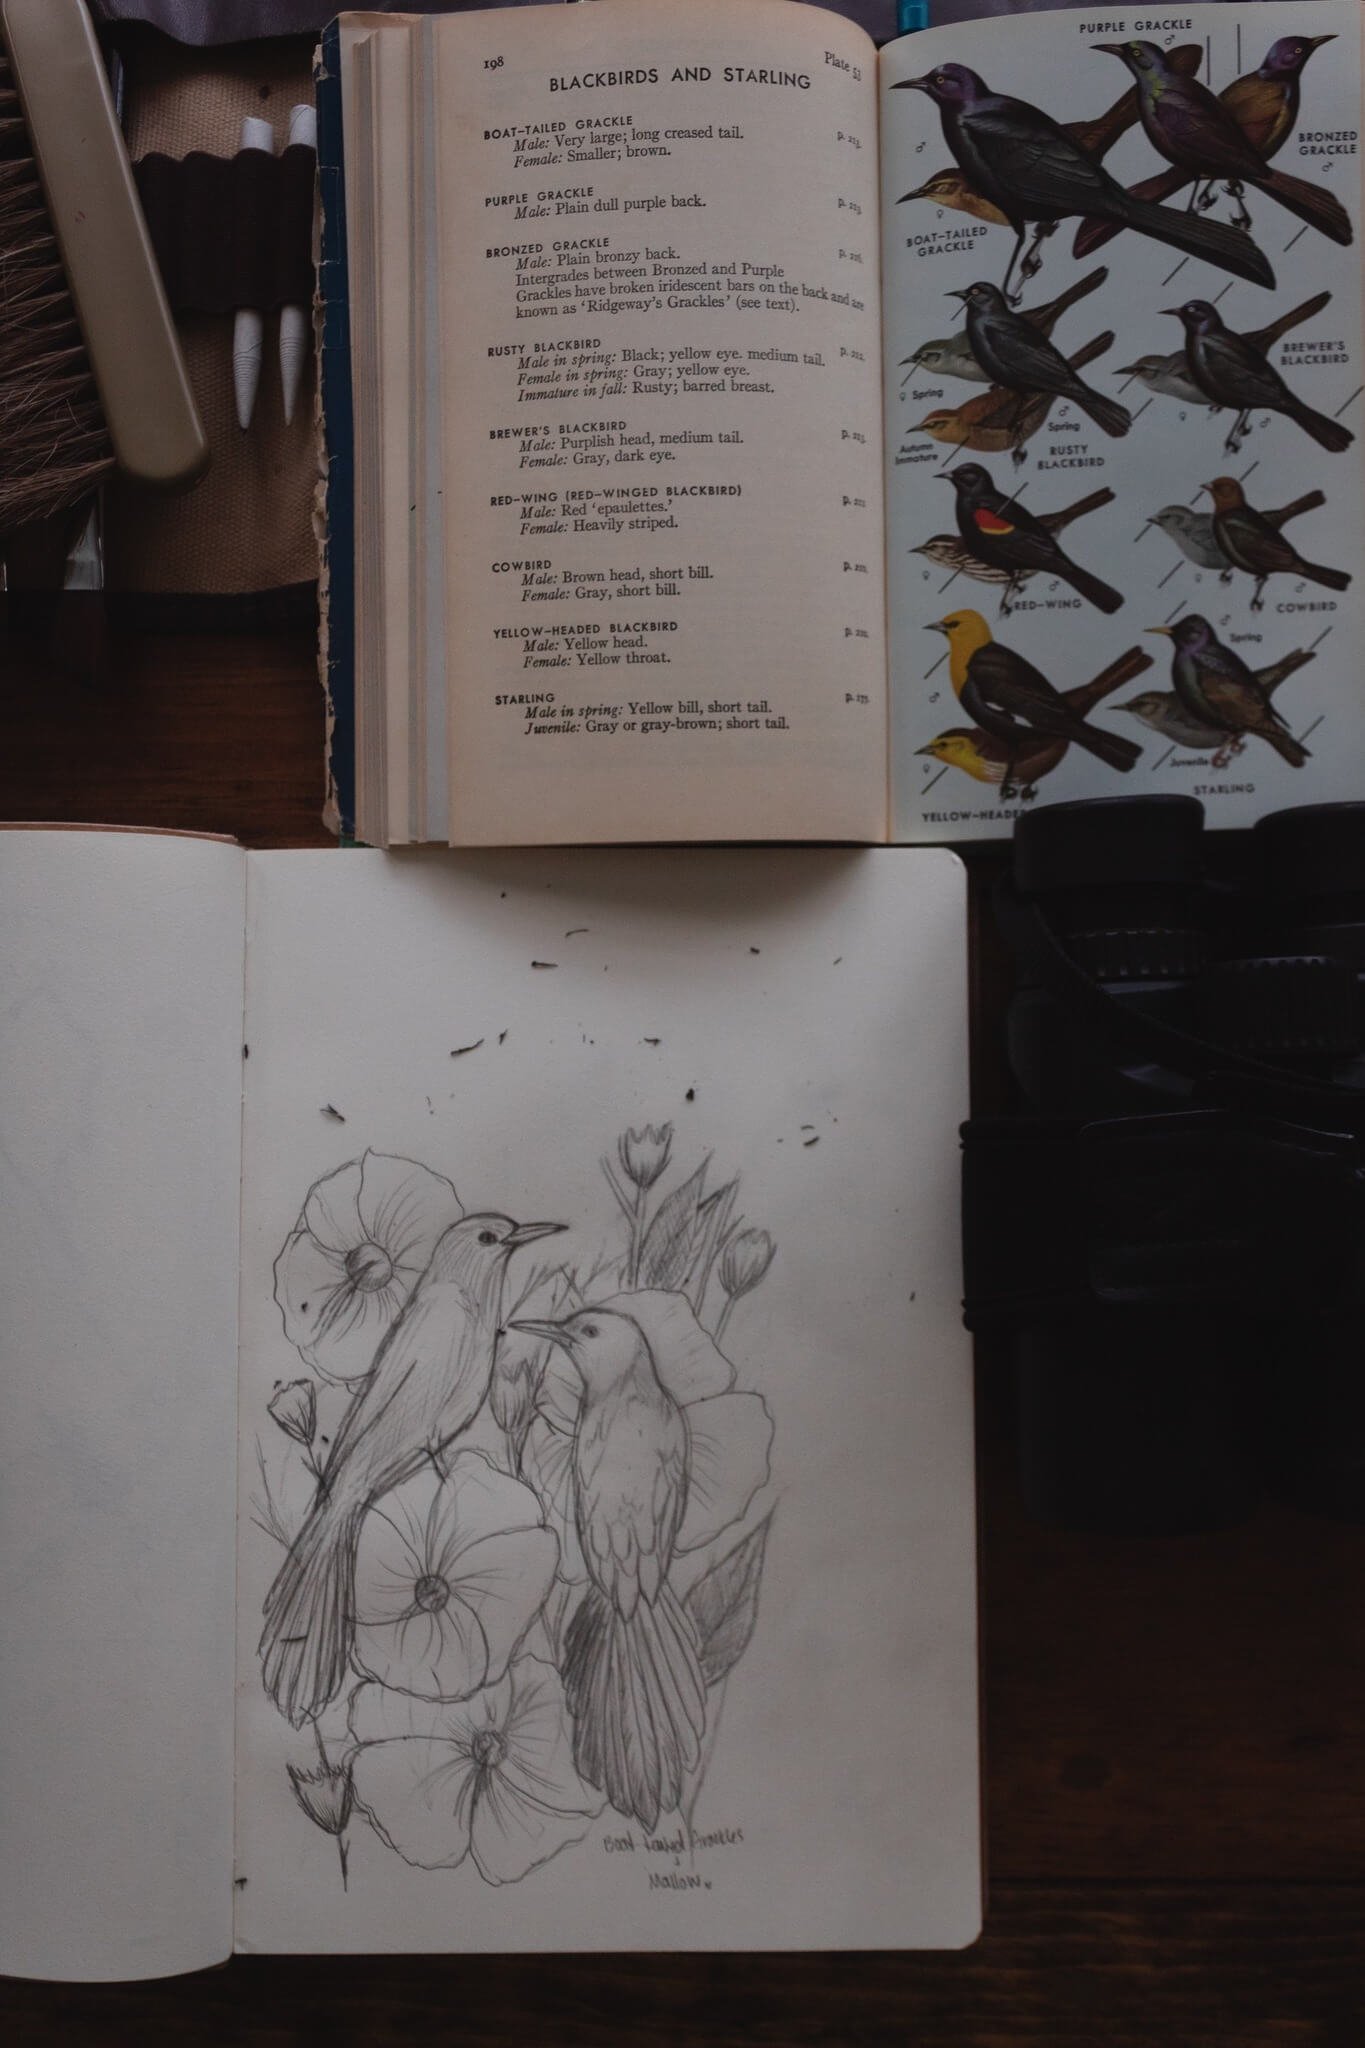
Dont forget your binoculars — inspiration is everywhere!
Have you found yourself back to the drawing board? No worries — grab a pair of binoculars, a pencil, sketchbook, and create!
Thank you for reading. Reach out and share if this was helpful. Now go make something beautiful!