
The Oystercatchers Secret
The Oystercatchers Secret — the hidden life inside one of the many salt marshes in Virginia
When I think of American Oystercatchers, I think of a vast salt marsh, the hot summer sun, and any and all curiosities along the coast. Their calls breathe life into the humid air; let’s not forget that striking, red-orange bill and bold feathers that contrast perfectly against the beige sand. Observing these unique and amazing shore birds is a treat for many birdwatchers alike—turning them into a hand-carved print..well, is a challenge. A challenge that I gladly accepted. I went back and forth with the composition for many months. That is something I take very seriously when sketching my soon-to-be-prints; a well-balanced composition is soothing to the eyes, and really makes the process easier for the viewer and myself. What originally started as three oystercatchers on the page slowly turned into two…sigh! I was a tad lost.
If you find yourself stuck on a sketch and are unable to move forward, give your eyes a few days of rest. A fresh set of eyes truly makes the difference when it involves planning and putting together an original work of art.

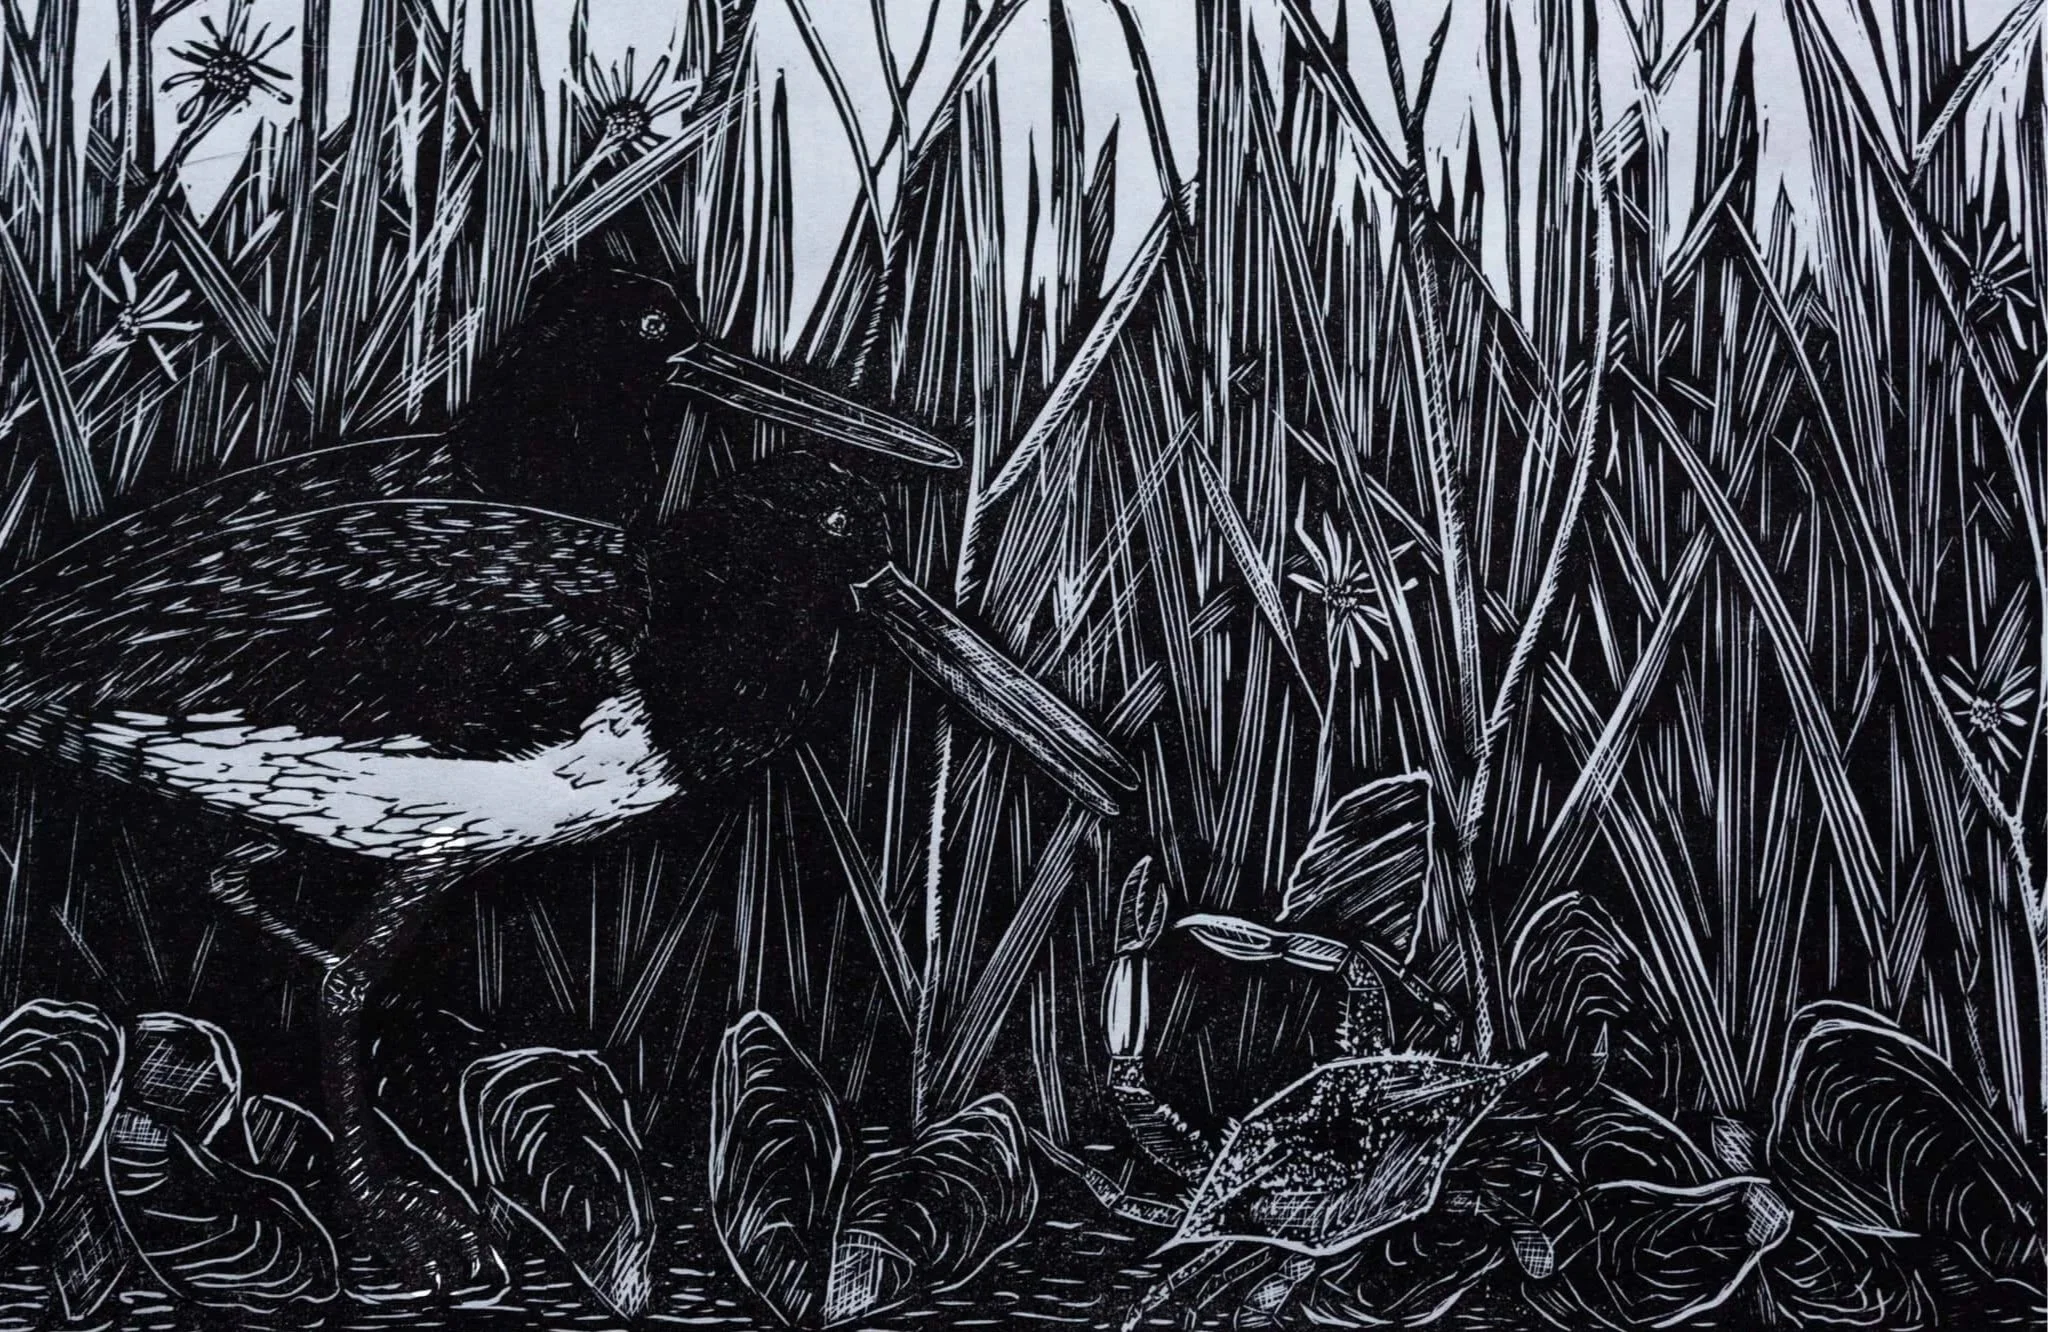
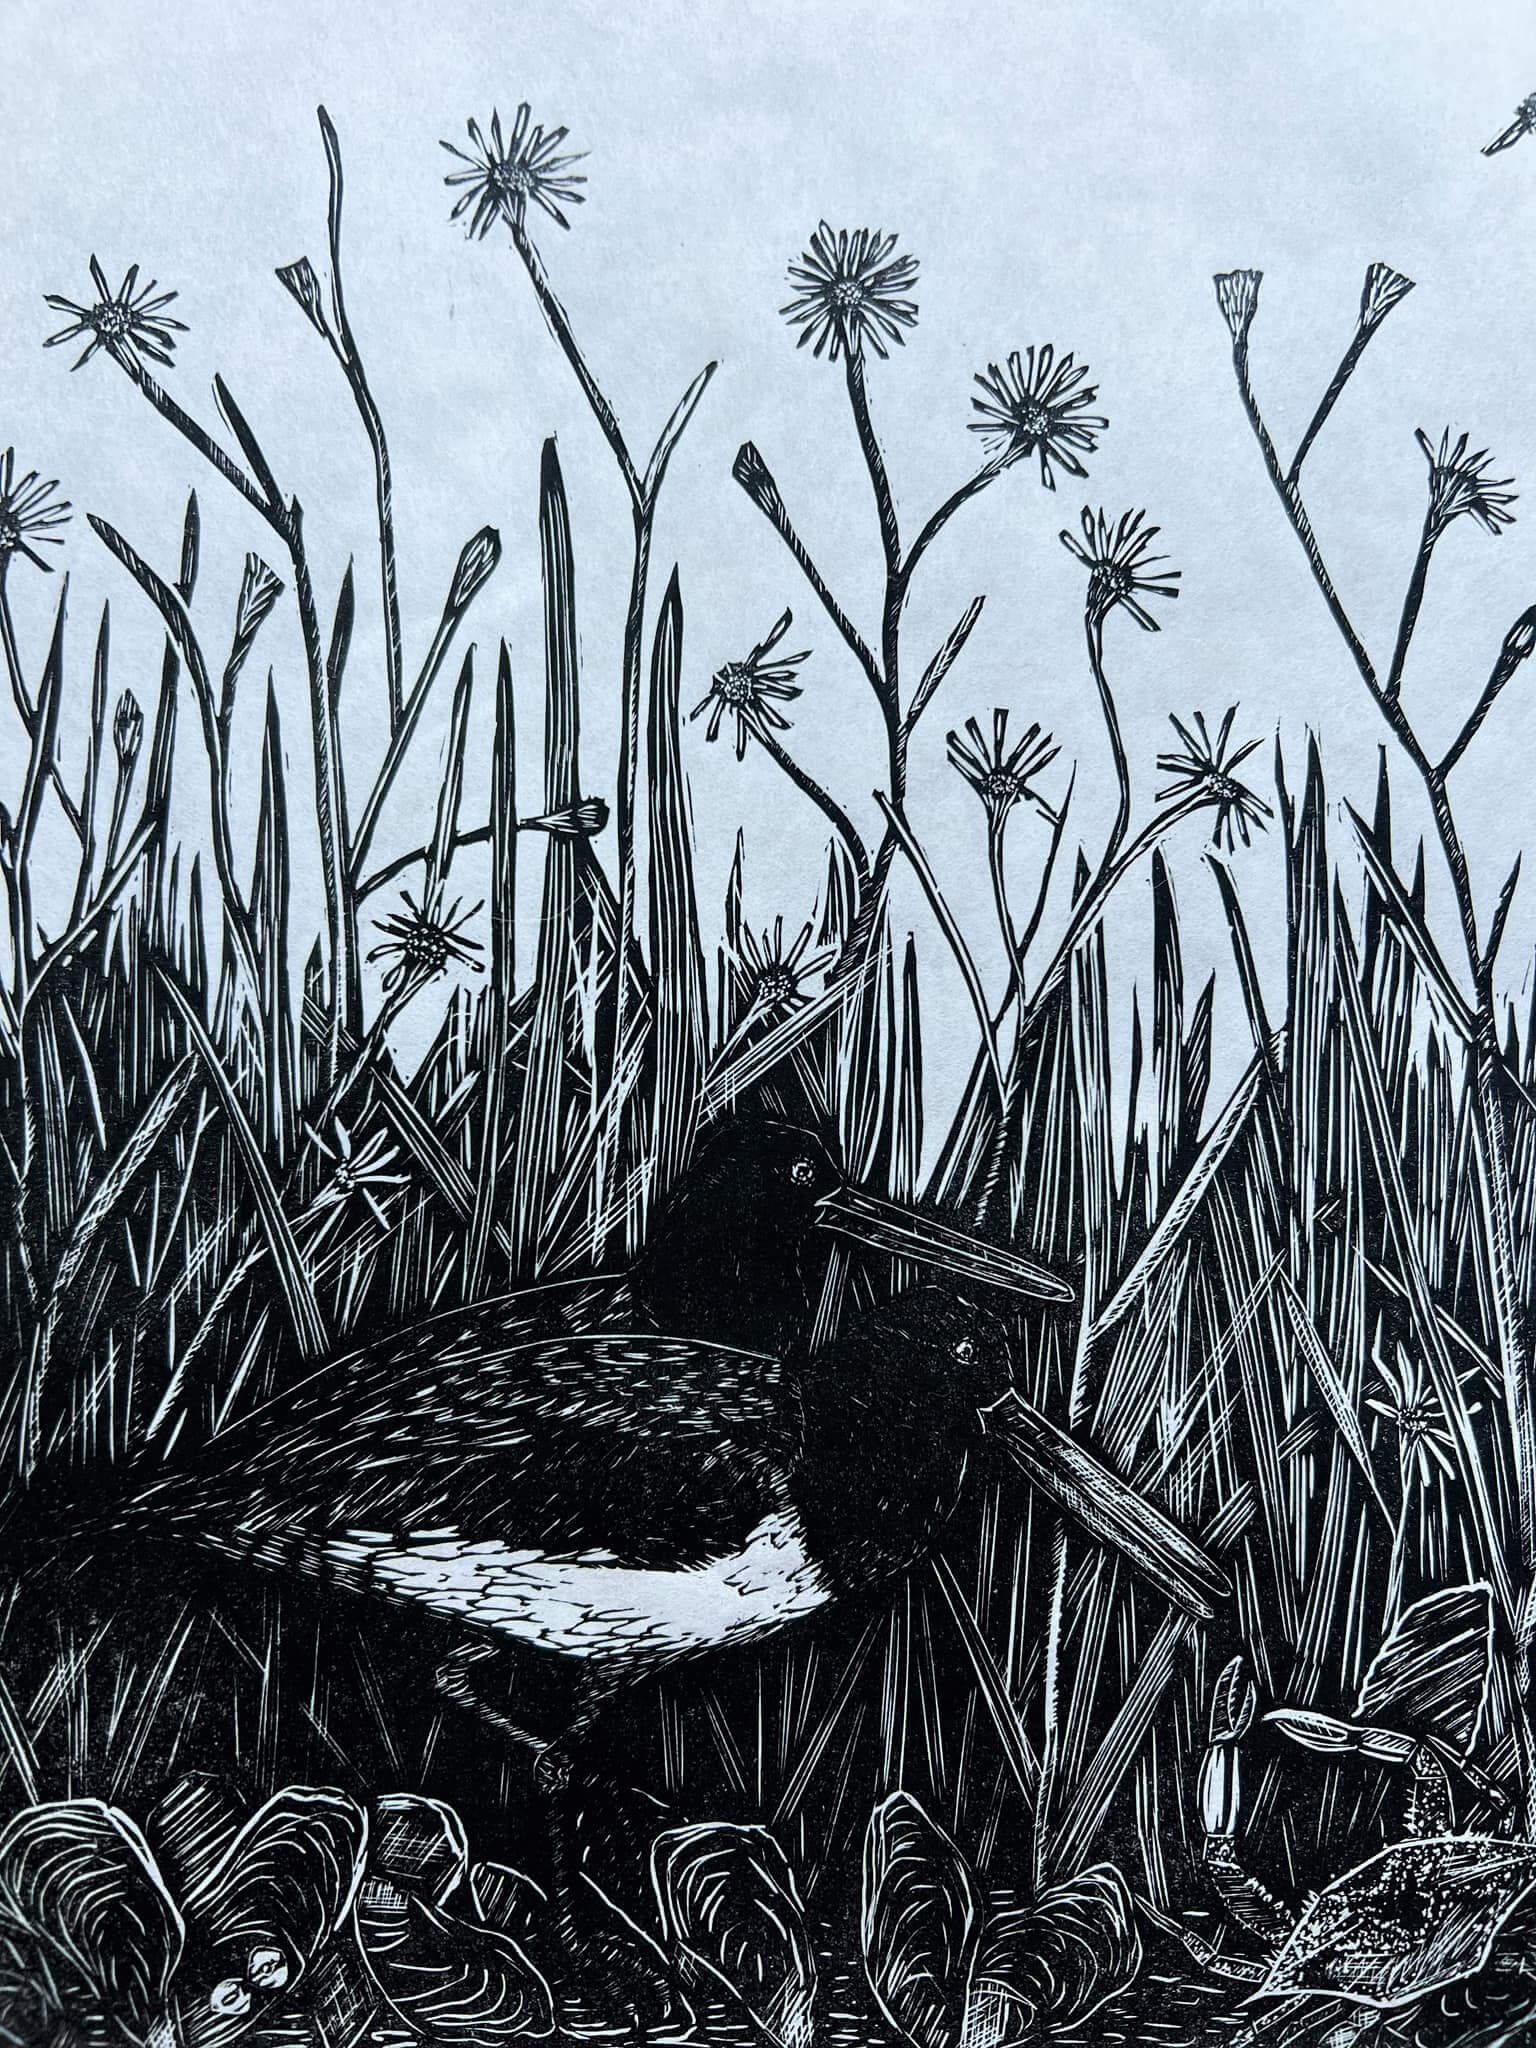
The final print — I managed to make this work after many weeks of back-and-forth decisions
Even if you think the print wont turn out well — keep going. Often, the biggest mistakes you make might turn out to be the best. In my case, those very mistakes shaped this entire print.
This block was a very difficult project to mentally sort out. I rarely use reference photographs in my work; the final image in any print I create is mapped out in my mind before I begin the initial sketch — so this was very confusing due to the vast marsh grasses. I knew I wanted to keep a “sgraffito” effect, but how would I be able to keep the contrast without losing details, or the lines getting lost in the ink? Prayers, wishes — and hope, my friend. Once you start carving away with your tools of choice, there is no going back. With most linocut, if you draw right onto the block, your image will print in reverse, or flipped the other way; a new challenge that I did not consider at first. I normally do not mind my images to be flipped, but for this specific print, I was worried. If you look at the image below, you’ll see exactly what I am talking about — look at those grasses! My eyes were getting lost a few times.
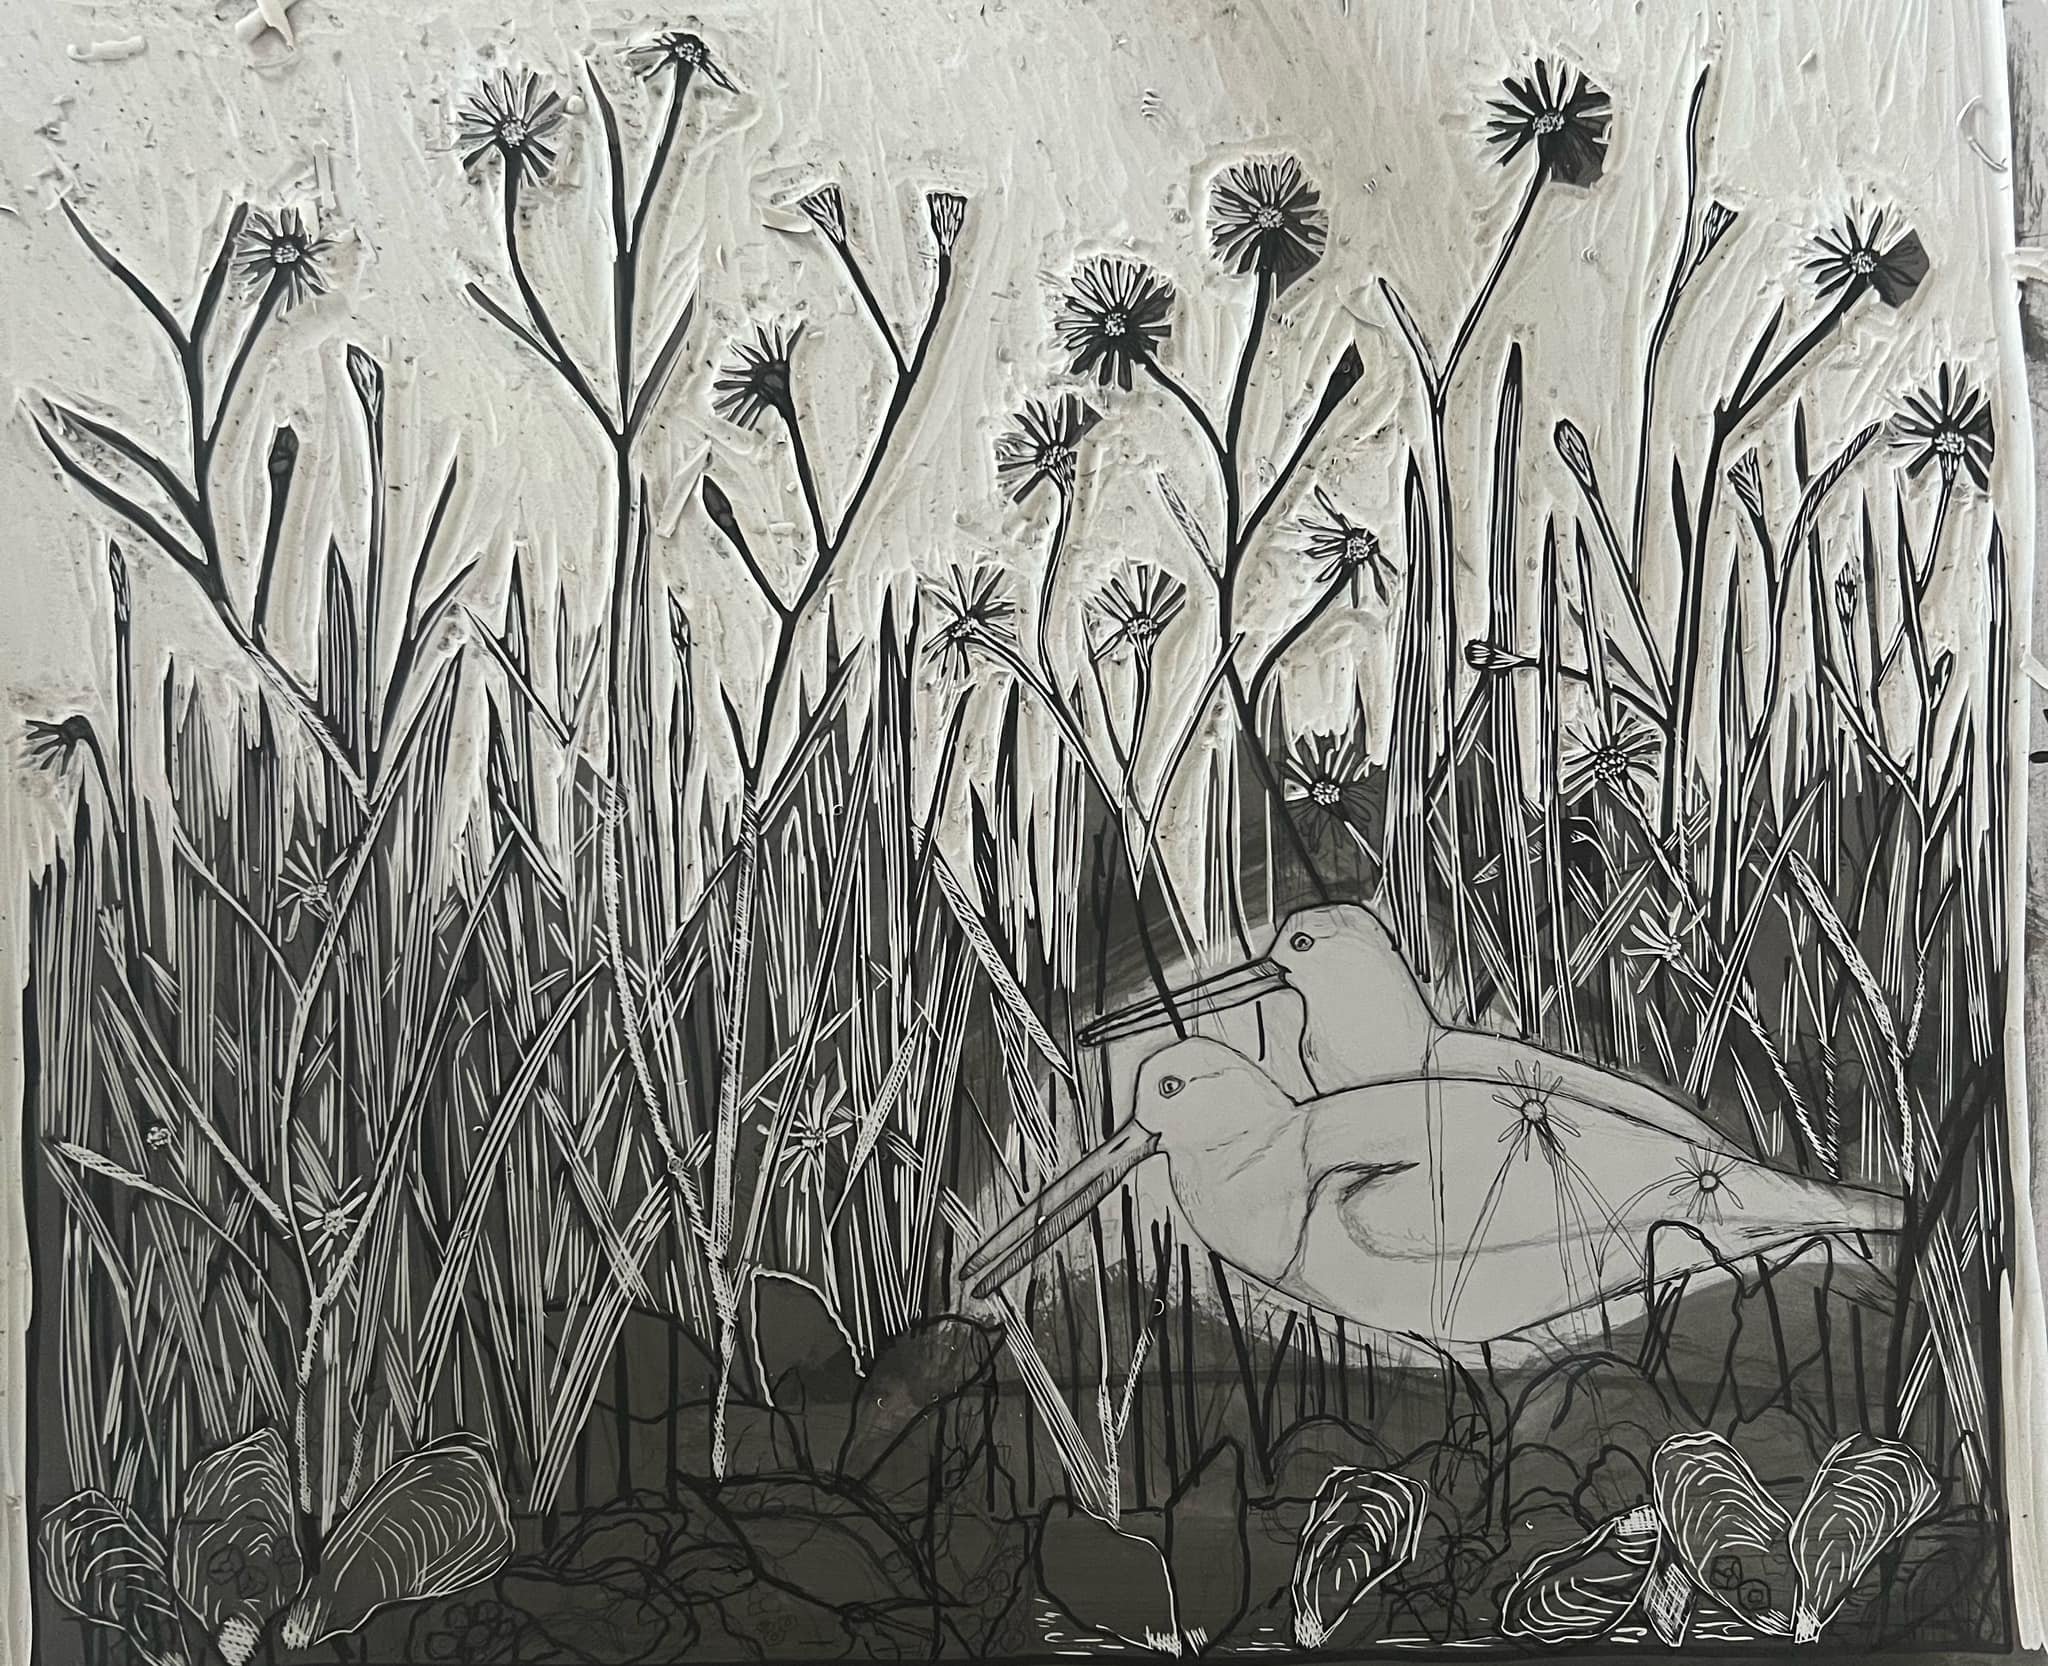
The early days of carving a linocut block — endless sharpie included
I know what you’re thinking — what a MESS! You are right, this was such a mess with little direction or vision.
This is also the fun part of carving because imagination comes into play and the possibilities are endless. The initial draft almost never looks like or resembles the finished pulled print—and that is a good thing! This means I have to work harder and challenge my brain to “keep going” and to connect that path to create the image I’m striving for. This is the best part of block printing — you learn to adapt and handle complicated matters quickly. Even though I see some mistakes in this block (during the early days) that does not mean they will show during the final pull. I had to keep my oyster beds even, yet avoid a straight line with them; salt marshes are bumpy, messy, and anything but perfect! How do you put together such a scrambled mess and make it look decent? Im still not sure but I kept going. I took out the third oystercatcher because the “rule of thirds” was starting to look out-of-sync.
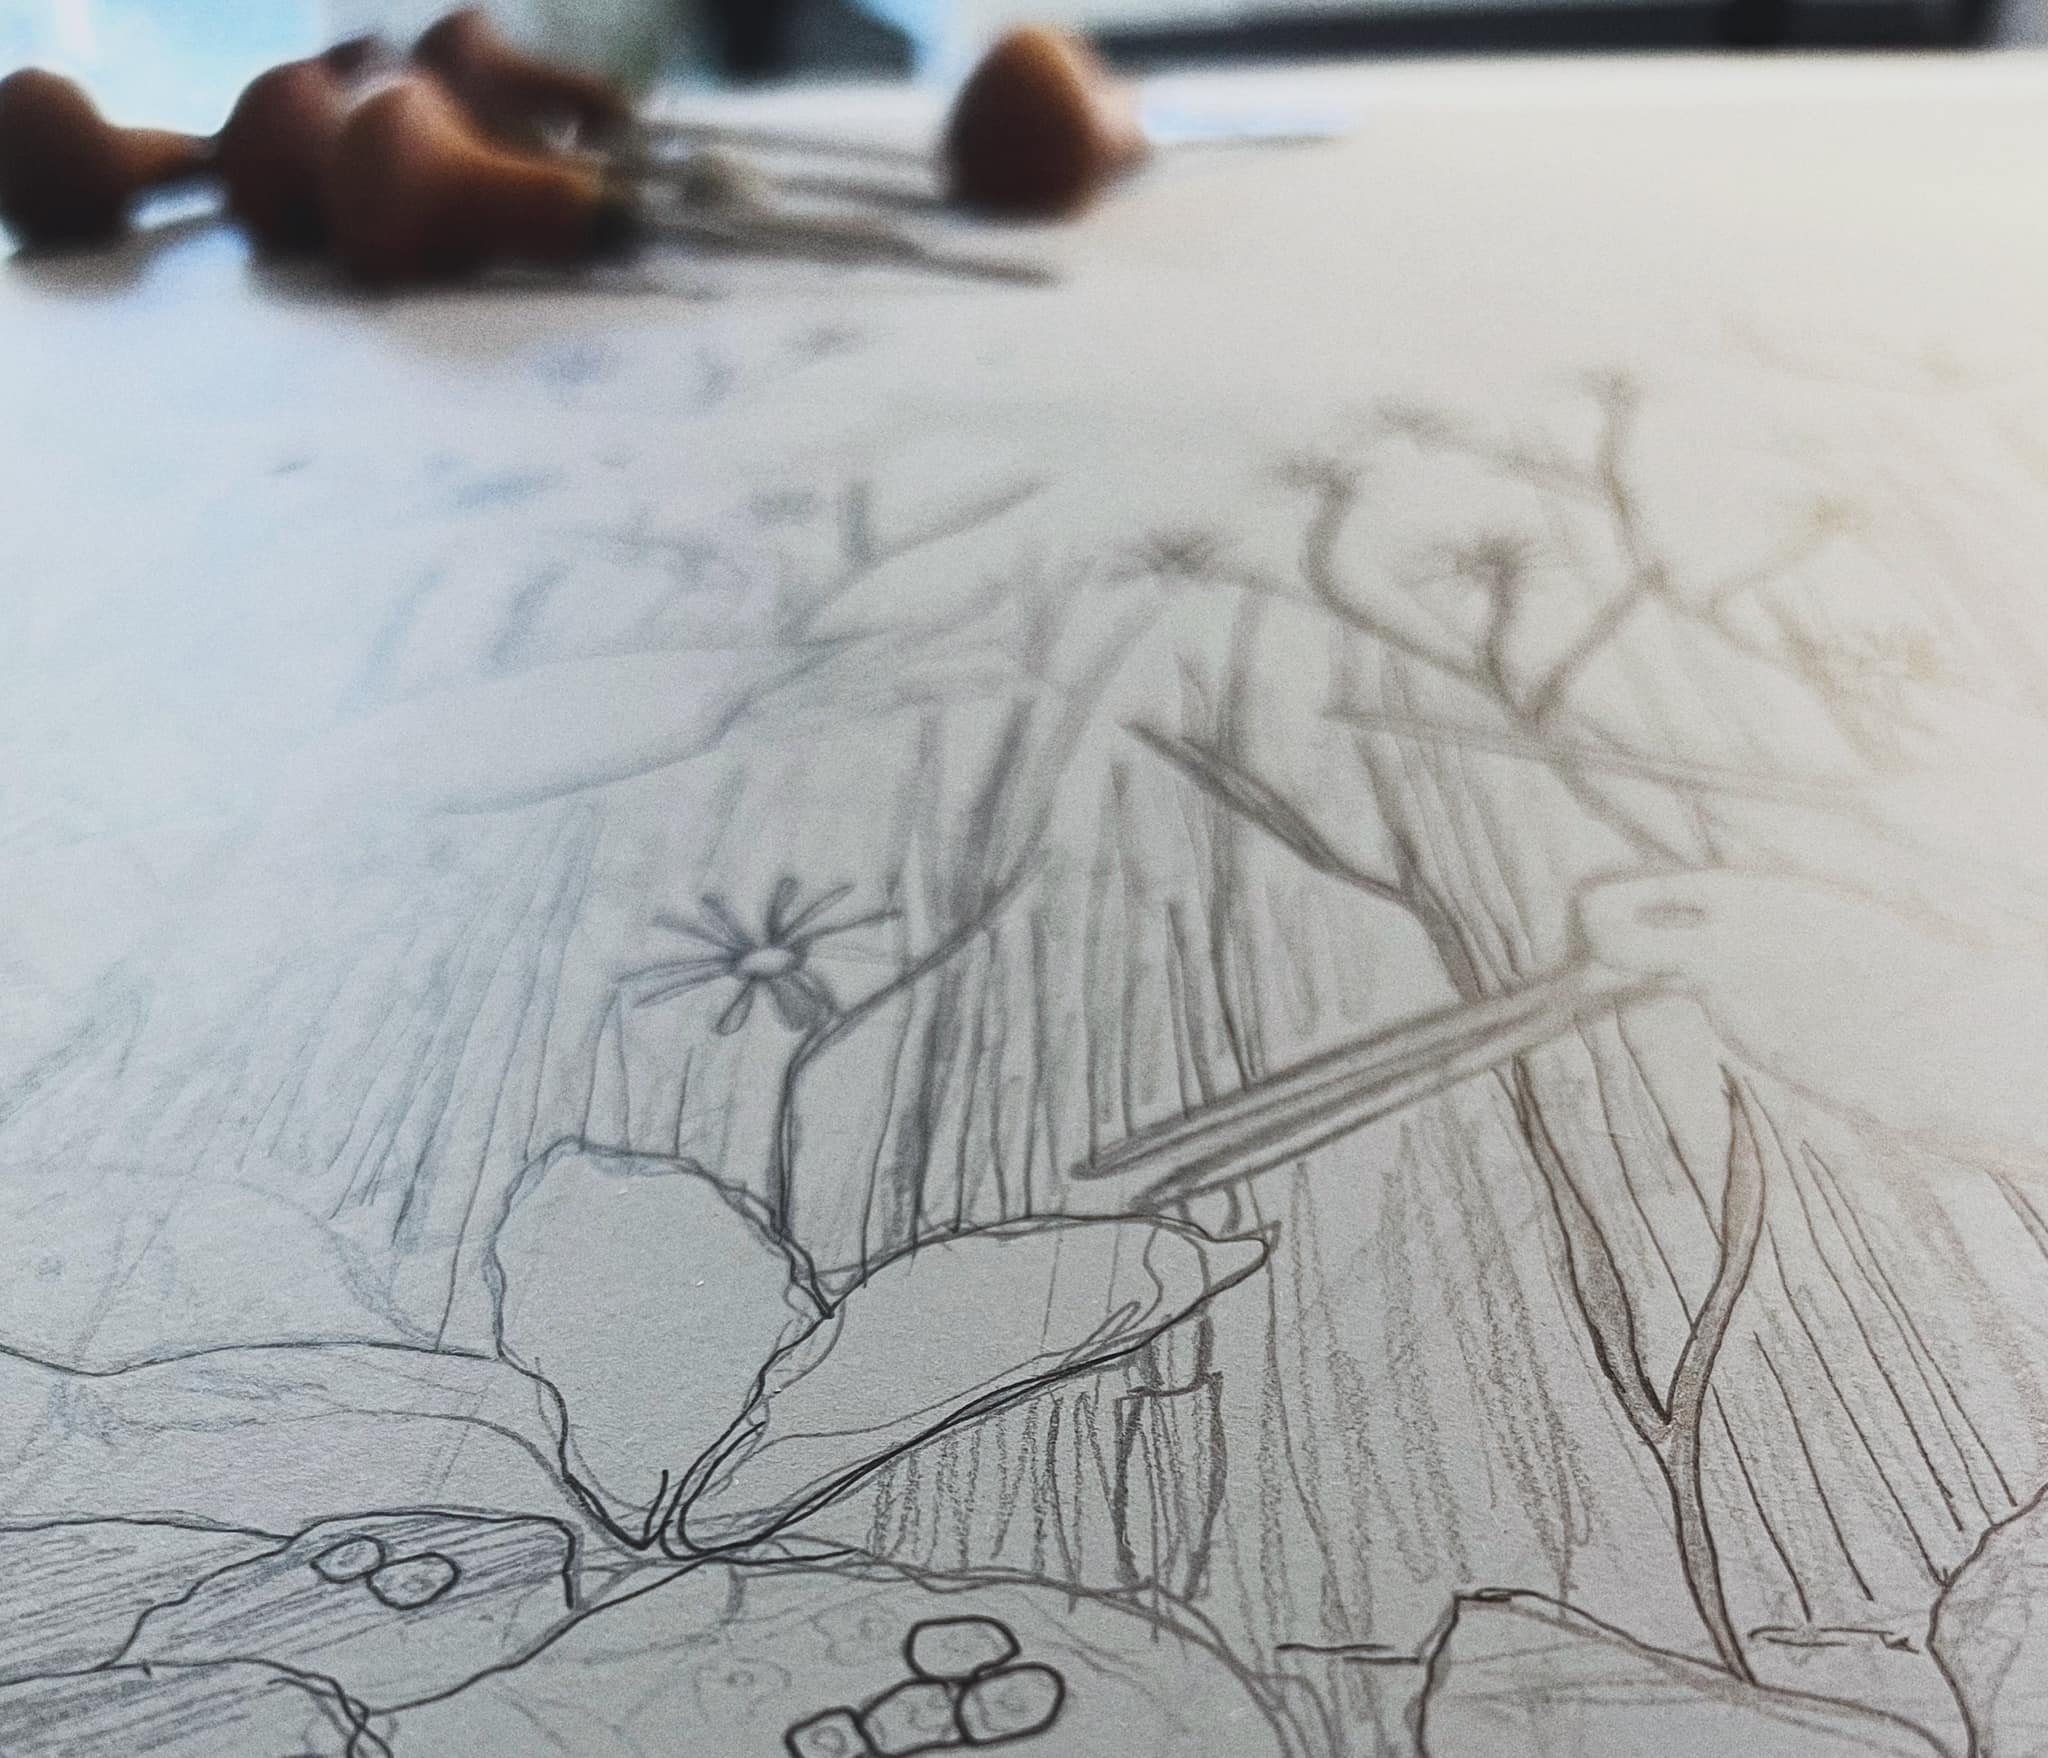
The first pencil sketch — I stared at this block for weeks before making the first marks
The test print phase is the best part because the image Ive mapped out in my mind finally comes to life!
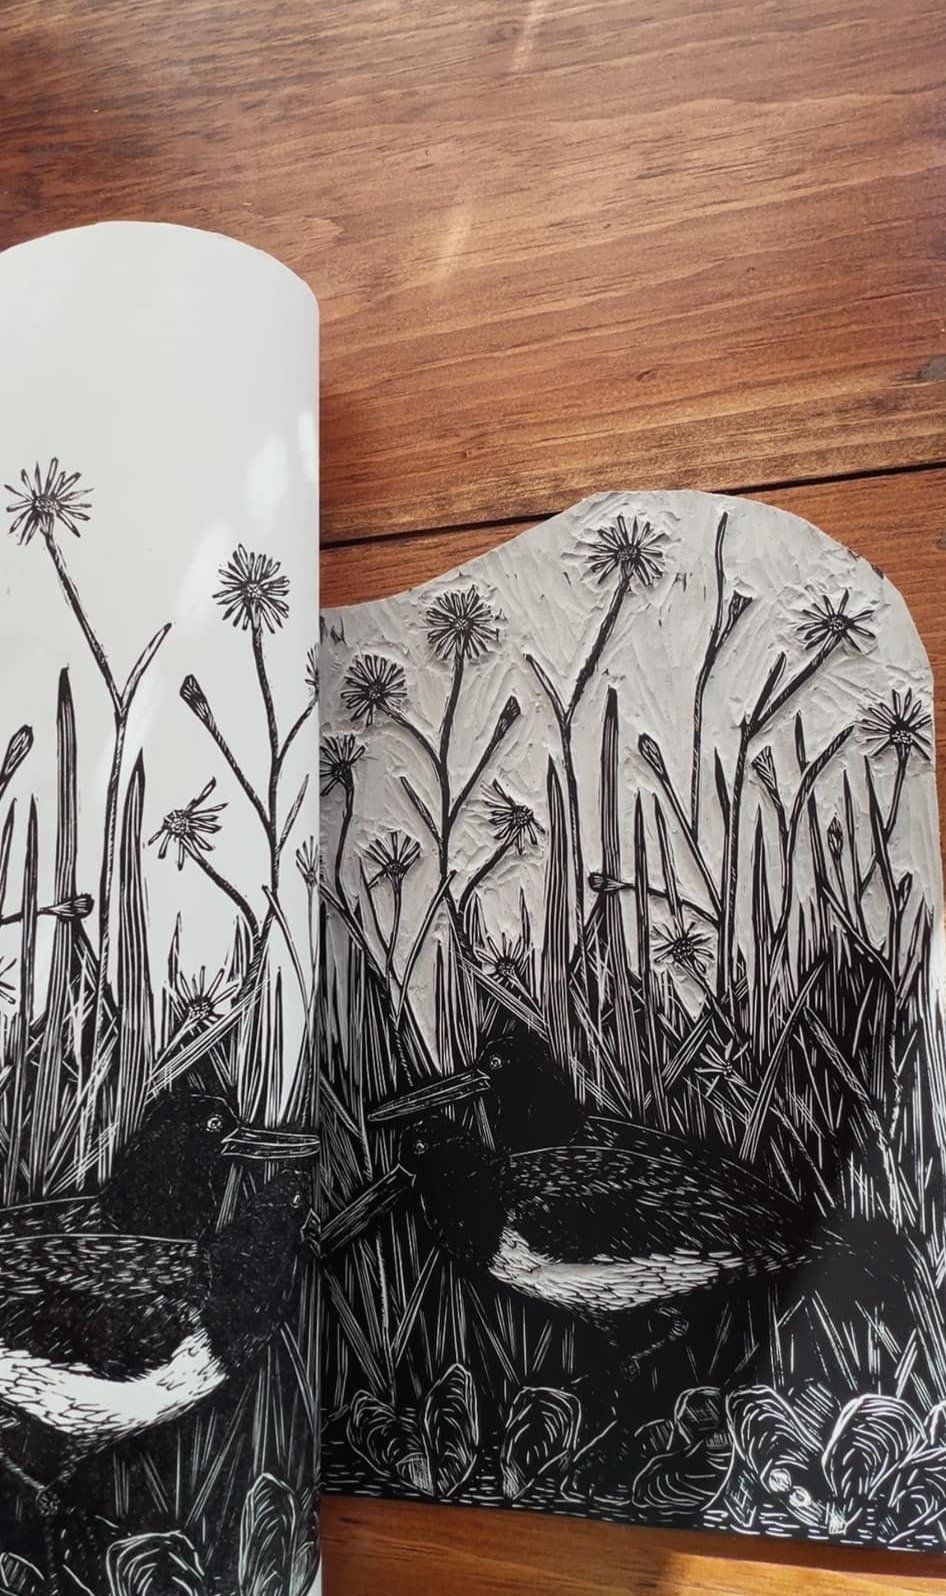
Here we go with the first test print!
I really do not want to bore you with the “how I figured things out” part with the carving of the block — so here we are! Were ready to take the first test print. I managed to workout the marsh grasses, I added in Saltmarsh Aster which is a lovely native to coastal Virginia and added in a wee Chesapeake Bay Blue Crab. This print is a great example of knowing when to carve deeper. Essentially, you want to keep your marks light yet firm, but with the legs of the Oystercatchers, I went a little too light. As you can see here, ink became trapped into the fine lines which sort of drowns out during the printing process. The ink was also a little too heavy behind one of the oystercatchers — this is why you always test print to check your mistakes! With a bit more time, patience, and constant test printing, this print finally came out well!
Even if it takes you a few times to get the print right — that doesn’t mean it wont turn out well. Keep trying until you get it right. Remember, take your time with this step.
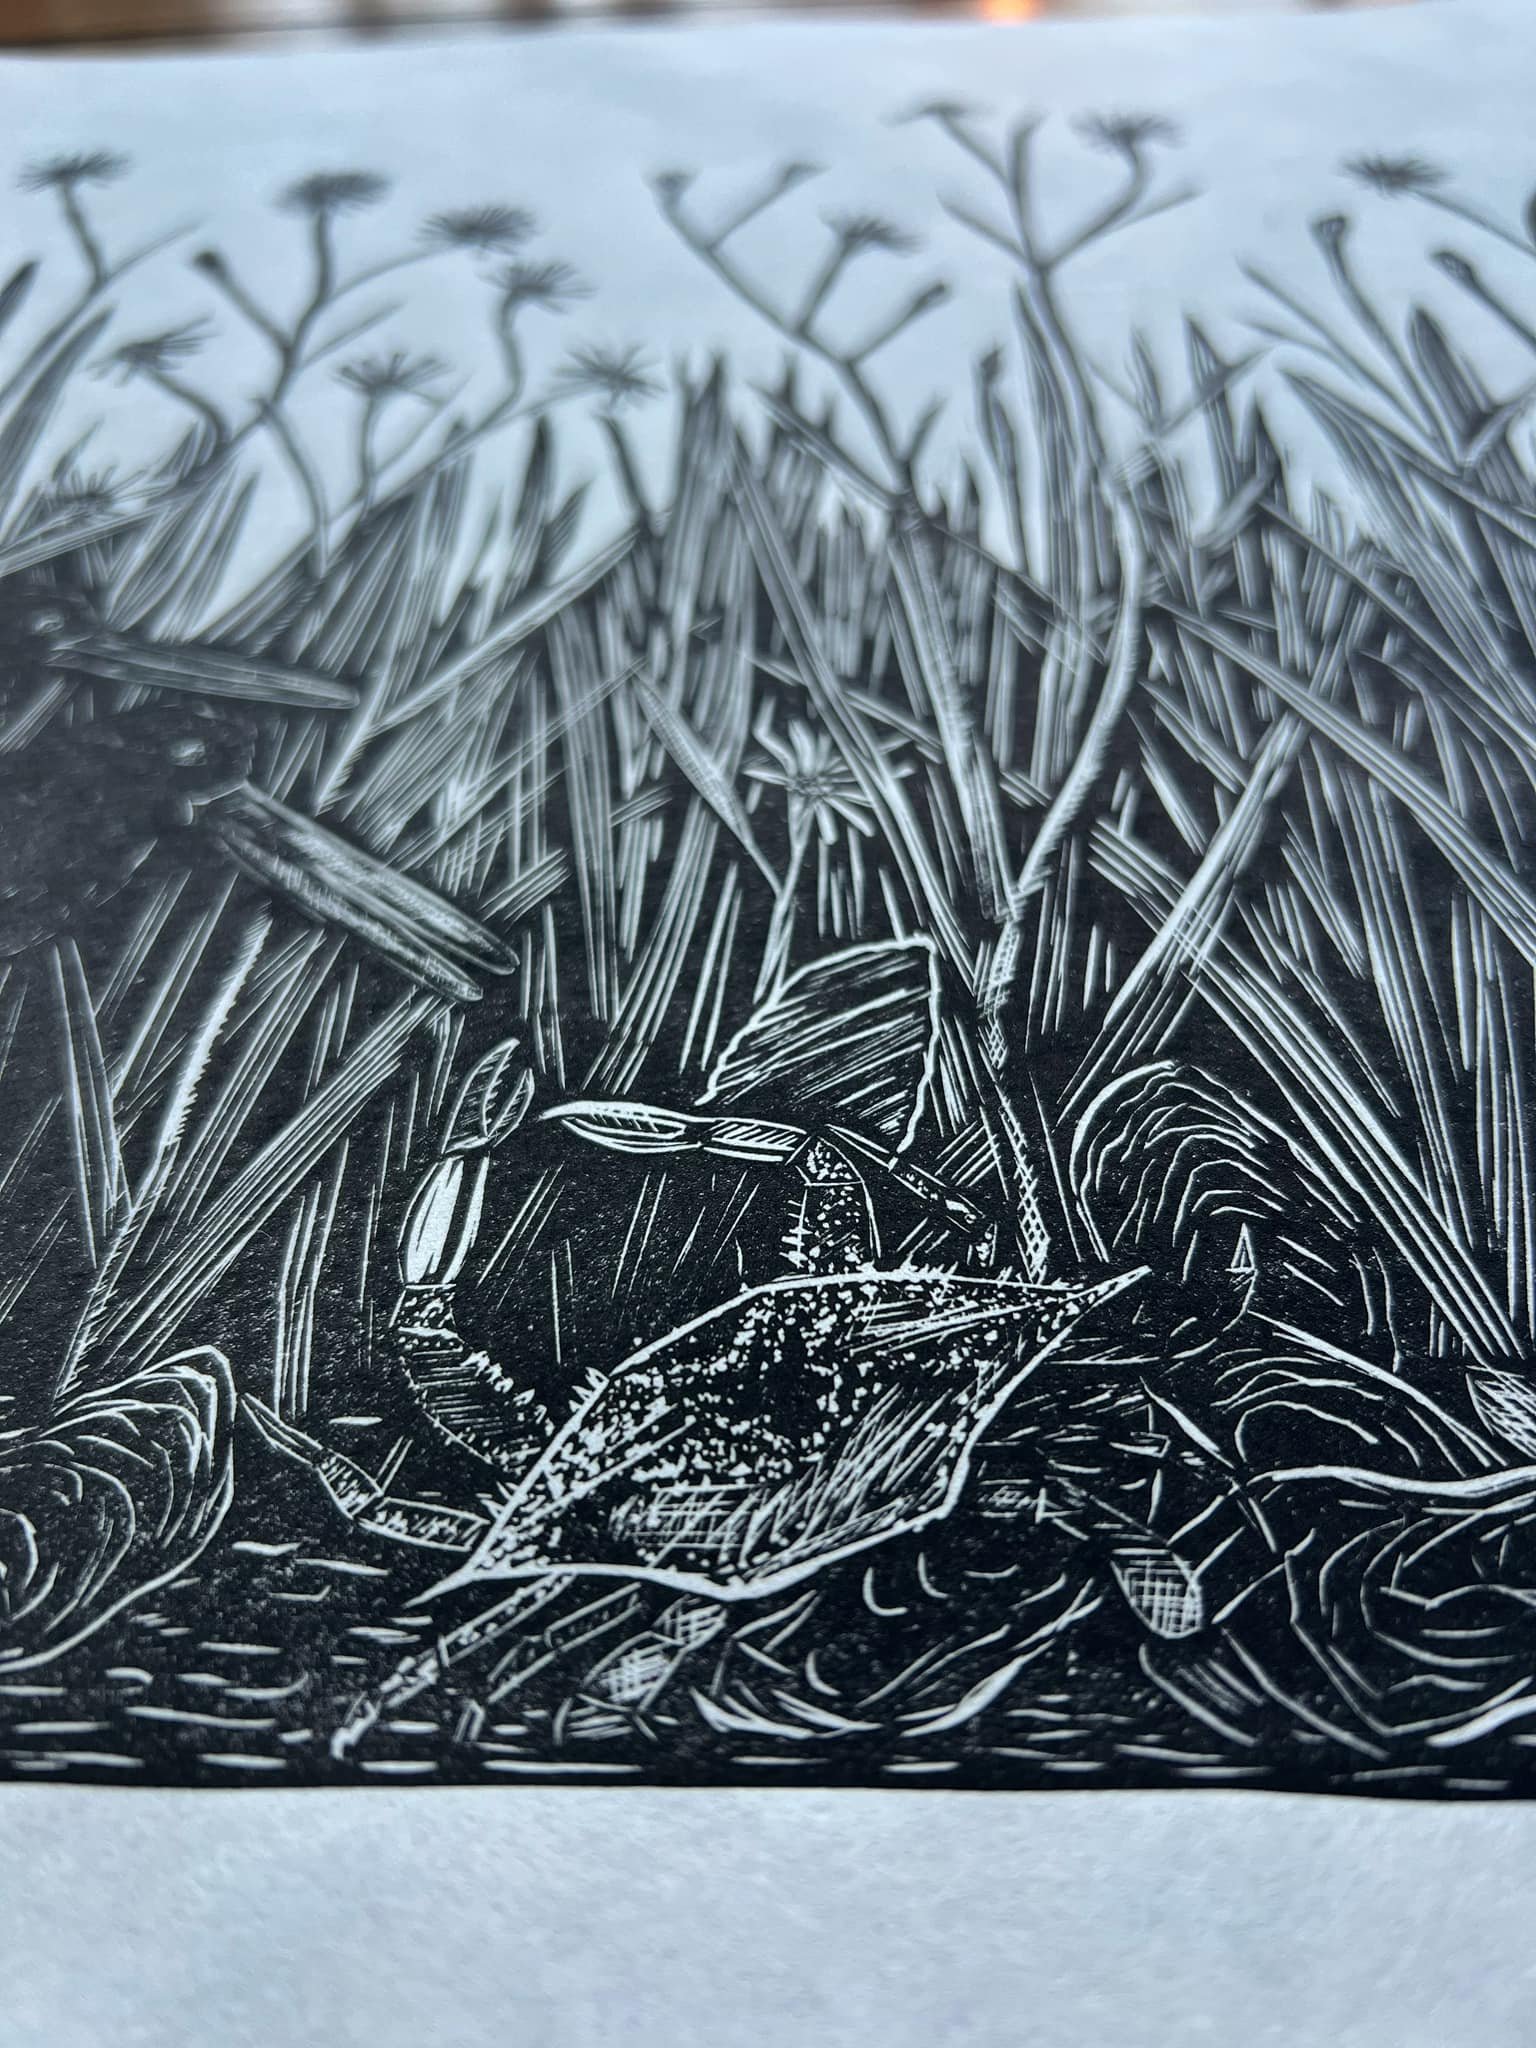
Close-up of the Chesapeake Bay Blue Crab
I think my favorite part of this print would be the oyster details, the barnacles and the floating water lines in the mud. I was worried the details would become lost but things turned out well! I tried to capture the essence of low tide and all of the wonders you might find inside a salt marsh. What a secret little world they all have.
After correcting the details behind the legs — the ink looks a bit more evened-out
This print was a great reminder to trust the process and to not let the small things get in the way. Im thrilled this turned out well and was one of the most sold prints of 2025! So, thank you to those who purchased their very own oystercatcher original! The block inked-up very well and the paper took right to it; surprisingly, the salt marsh asters were the biggest pain to print! I had to go over a few of the floral sections over and over with my brayer and glass baren — those little details refused to come through! Talk about elbow grease! Each print took over 30 minutes to carefully and correctly print.
The Oystercatchers Secret